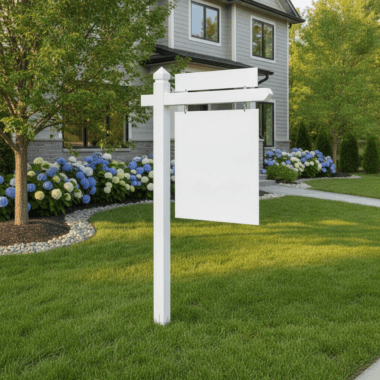


Gold foil business cards for brokerage branding are premium, foil-stamped cards that use metallic accents to highlight your logo, name, or credentials. They signal quality, consistency, and trust at first touch. For agents near 5004 Timberlea Blvd Unit#18 in Mississauga, foil cards pair perfectly with same-day local pickup and brand-aligned design services.
By Ashwani @ Top Realtor Sign & Print • Last updated: 2026-06-19
Quick Summary
Gold foil cards help brokerages win listings by elevating perceived value, reinforcing brand standards, and creating memorable, tactile first impressions. This complete guide covers what foil cards are, how they’re produced, design rules, finish types, local pickup workflows, and real estate–specific examples you can apply today.
Here’s what you’ll get in the next few minutes:
- Plain-English definitions and production stages (design to delivery).
- Foil types compared: hot foil, digital foil, foil + emboss, raised spot effects.
- Design specs that protect color, legibility, and brokerage compliance.
- Ready-to-use checklists, file-prep settings, and approval workflows.
- Real estate examples you can adapt for open houses, farming, and referrals.
What Are Gold Foil Business Cards?
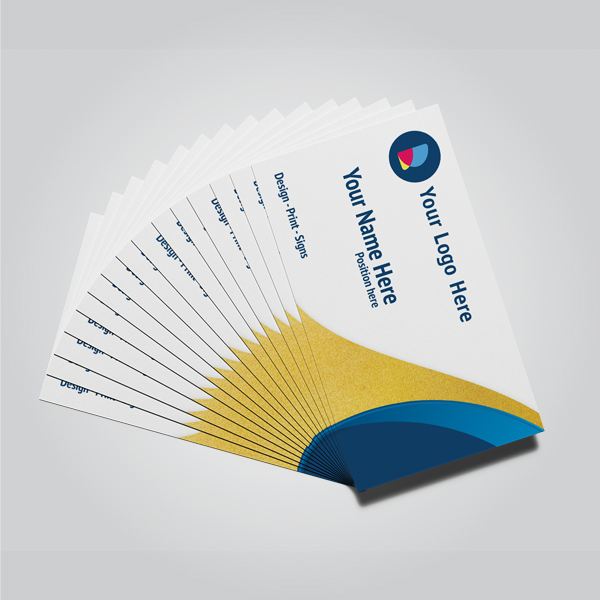
Gold foil business cards are premium cards with metallic gold accents bonded onto paper via heat, pressure, or digital foiling. They highlight key elements—logos, names, or taglines—adding shine, contrast, and texture. For brokerages, they instantly communicate quality and consistency across teams.
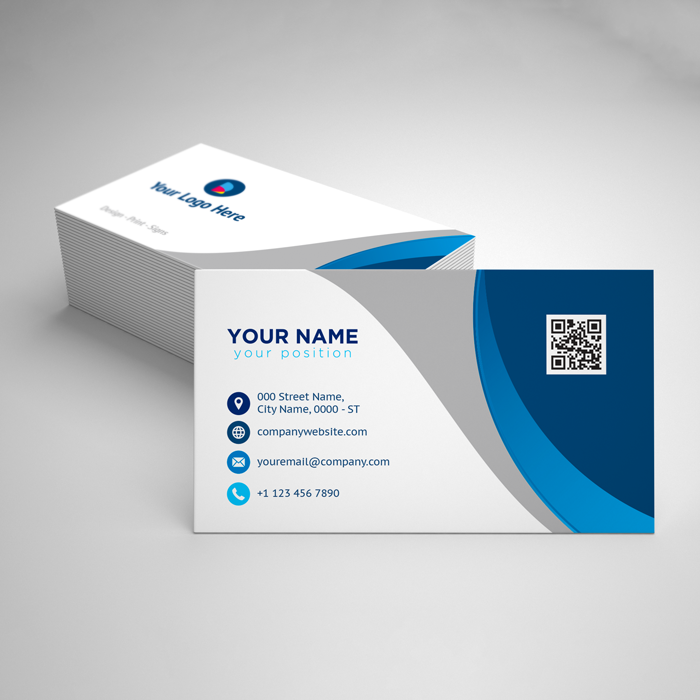
In practice, “foil” is a thin metallic layer applied where you want visual pop. Typical card size is 3.5 × 2 inches, with 0.125-inch bleeds and 0.125-inch safe margins to protect text. Most designs print in CMYK at 300 dpi, then receive foil on top using a spot mask file that targets specific areas.
Core features you can feel
- Metallic emphasis: Gold foil draws the eye to names and logos, improving recall in 3–5 seconds of handling.
- Tactile finish: Depending on process, foil can sit flat or slightly raised for grip and texture.
- Durable stock: 16pt–18pt card stocks, often with soft-touch lamination, resist scuffs and fingerprints.
- Targeted shine: Foil coverage is usually kept under 20–30% of the face to maintain balance and readability.
For real estate pros, that mix of shine, thickness, and precision sends the right message: “We protect brand standards and invest in presentation.”
Why Gold Foil Matters for Brokerage Branding
Gold foil cards anchor brokerage branding by unifying how agents show up in hand-to-hand moments across 5004 Timberlea Blvd Unit#18 and the Regional Municipality of Peel. Consistent foil placement, colors, and finishes increase trust, recognition, and listing conversion in everyday interactions.
Brand strength grows where the rubber meets the road—at open houses, door knocks, and referral coffees. Uniform, high-quality cards are a control point you can standardize across dozens or hundreds of agents without slowing them down.
Brand signals that compound
- Recognition: When your logo lockup appears in the same place and size, 100% of the time, people recognize it faster.
- Cohesion: Shared finishes (soft touch, gold foil) reduce “DIY drift” and rogue layouts.
- Trust: A thick, 16pt+ card with crisp foil edges feels substantial; that physical cue supports listing conversations.
We’ve seen brokerages systematize a single master card design with agent name, license, and QR code swap-outs. With one template, compliance and speed both jump, and reorders turn around consistently for new team members.
How Gold Foil Printing Works
Foil printing layers metallic film onto a printed card using heat, pressure, or a toner-based transfer. You’ll supply a CMYK file plus a 100% black spot mask for foil areas. After lamination (often soft touch), a die or digital unit bonds foil exactly where the mask indicates.
Understanding each step saves time, reprints, and guesswork. Here’s the high-level journey from idea to hand-off.
From concept to card in 8 clear steps
- Intake: Define size (3.5 × 2 inches), orientation, stock (16pt–18pt), lamination (matte/soft touch), quantities, and finish.
- Brand kit: Confirm logo files (vector), color formulas (CMYK + HEX), typography, and clear-space rules.
- Layout: Build files at 300 dpi with 0.125-inch bleeds and 0.125-inch safe margins; align foil to key elements only.
- Foil mask: Create a separate spot-color plate (100% K) for foil regions; avoid features thinner than 0.5 pt and gaps under 0.75 pt.
- Preflight: Check overprint settings, outline fonts, embed images, and verify black builds for rich blacks (e.g., 60/40/40/100).
- Proof: Approve a digital proof (PDF at 100%) and, where needed, a test swatch for foil shade on your chosen stock.
- Production: Print CMYK, laminate (soft touch or matte), then apply foil by hot-stamp or digital foil; allow proper curing time.
- Quality control: Inspect alignment, registration within ±0.5 mm, and clean edges; package cards to protect corners.
Tip: Keep dynamic data (agent names) in live layers so your team can reorder quickly without rebuilding master artwork.
Types of Foil and Finishes (Compared)
Hot foil delivers the sharpest edges and highest shine. Digital foil accelerates small runs with precise registration. Foil + emboss adds dimensional depth. Raised spot effects lift selected areas for tactile impact. Choose based on volume, detail, and the feel you want clients to remember.
| Finish | How it’s made | Best for | Design notes |
|---|---|---|---|
| Hot foil | Metal die + heat/pressure bonds foil | Sharp logos, crisp lines, high shine | Min line 0.5 pt; allow 0.75 pt gaps; flat feel |
| Digital foil | Toner/varnish mask transfers foil | Short runs, variable data, quick turn | Great registration; slightly different reflectivity |
| Foil + emboss | Foil then separate embossing pass | Luxury texture, crest seals, badges | Plan for 0.3–0.5 mm raise; align plates tightly |
| Raised spot effect | Selective high-build varnish or polymer | Names, icons, QR borders with grip | Use on soft touch for contrast and durability |
If you’re exploring tactile effects beyond metal shine, pair foil with a raised clear varnish on soft-touch laminate. The matte base lowers glare to make highlights and textures stand out even more in indoor lighting.
Design Best Practices for Brokerages
Protect readability and brand consistency with disciplined layouts: keep foil coverage under 30%, use 300 dpi CMYK, set 0.125-inch bleeds and safe margins, and avoid foil type thinner than 0.5 pt. Standardize master templates so every agent card prints consistently and reorders in hours—not weeks.
When you lock your master template, you make good decisions once and scale them. Here are the specifics we recommend in real estate workflows.
Layout and typography
- Hierarchy: Prioritize name (10–11 pt), title (7–9 pt), phone/email (7–9 pt). Keep line spacing at 120–140% for clarity.
- Safe zones: Maintain 0.125-inch clear space around edges and QR codes; avoid crowding foil near microtext.
- Contrast: On dark stocks, use warm gray (10–20% K) for non-foil elements to prevent “floating” text.
Color and foil interaction
- CMYK builds: Keep brand reds/blues within gamut; test swatches if you need exact undertones beneath foil.
- Black management: Rich black around foil should be controlled (e.g., 40/40/40/100) to avoid haloing.
- Foil-first logic: Use foil only where a 1–2 second shine improves recognition—logo crest, name, or a thin border.
Compliance and consistency
- One master file: Lock logo position, minimum size, and clear-space rules; leave only name/title as editable fields.
- License + disclaimers: Reserve consistent placement (e.g., 6 pt baseline at 0.125-inch from trim) so they’re never missed.
- QR standards: Use 0.75-inch minimum size with a 0.1-inch quiet zone; point to a mobile-friendly profile or listing hub.
Finally, stress test your file at 100% size on-screen. If it’s hard to read at arm’s length, it won’t improve in print. Save a versioned, locked PDF for team-wide reuse.
Tools, Templates, and Quick Wins
You don’t need pro software to launch gold foil business cards for brokerage branding. Use our browser-based editor, start from a compliant template, and export print-ready files with bleeds and foil masks. Standardized inputs cut rework and speed same-day pickup on eligible items.
If design time is tight, work smarter with these shortcuts.
- Start inside our online design tool to build a brand-aligned layout without desktop software.
- Browse luxury business card options to select stock, lamination, and foil before you design.
- Plan your launch alongside same-day pickup items so agents have matching flyers and cards on the same day.
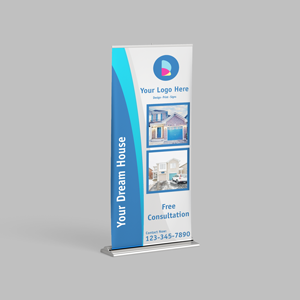
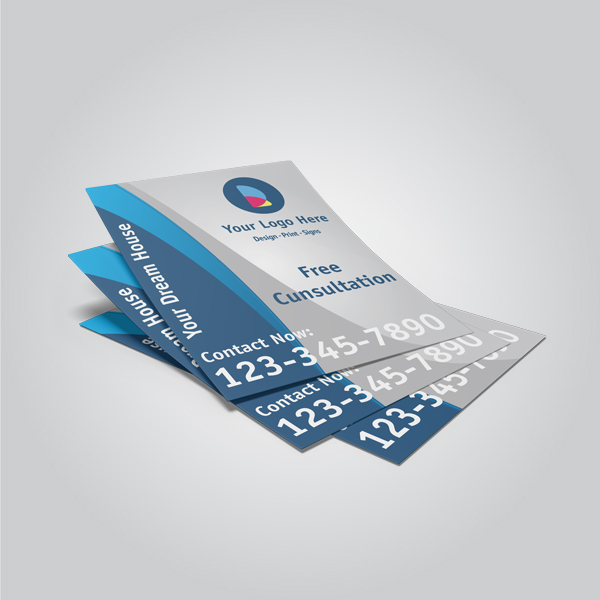
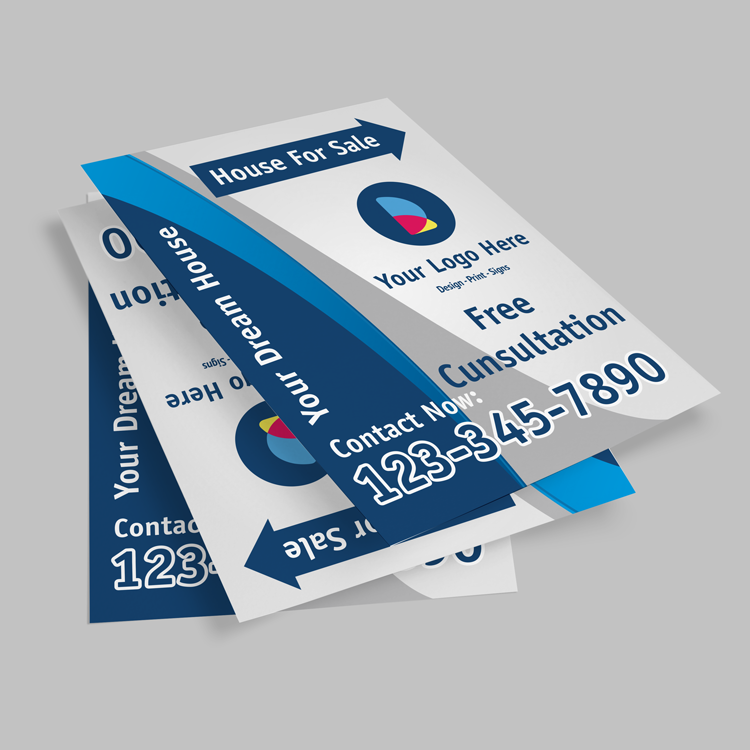
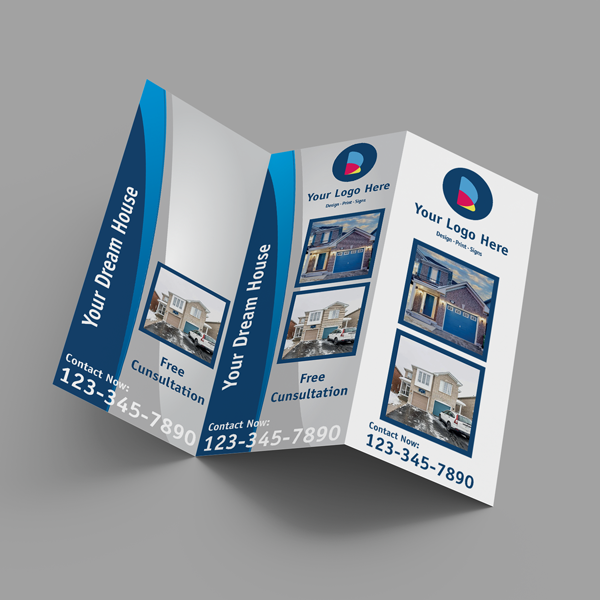
- Round out your kit with postcards for farming and a one-sheet; see our brochure planning guide for structure tips.
- Considering raised textures too? Our Raised Spot UV guide explains when tactile varnish outperforms metal shine.
Want help converting your existing card to foil? Bring your current PDF to our Mississauga shop and we’ll map foil regions, test minimum line weights, and prep a clean mask layer for quick proofing.
Real Estate Use Cases and Mini Case Studies
Foil cards work in everyday real estate moments: open houses, listing presentations, and neighborhood farming. By standardizing one master layout with agent-level variables, brokerages reduce design time by hours per order and keep every handoff on-brand—week after week.
Open house conversion
Scenario: A Mississauga agent hosts two back-to-back open houses. They hand out cards with a gold-foiled crest, soft-touch laminate, and a 0.75-inch QR linking to a mobile tour. Visitors scan in under 3 seconds and register via a simple form. Follow-ups hit within 24 hours, and appointment rates climb the next weekend.
- Card spec: 3.5 × 2 inches, soft-touch, gold foil crest, raised spot on the agent name.
- CTA: “Scan for the full tour” in 8 pt beneath the QR; no foil on microtext.
Listing presentation confidence
Scenario: A team leader equips 25 agents with the same foil layout, adjusting only names and numbers. Every new listing meeting begins with a neat handoff—cards sit flush on the table, and the crest catches overhead light. That uniformity eases brand compliance checks and reduces file prep time on each reorder.
- Template control: Locked logo and legal lines; variable fields for name, title, license, mobile.
- Turnaround: Digital proofing same day; production scheduled on a consistent cadence.
Neighborhood farming
Scenario: Quarterly farming across a 1–mile radius uses the same gold foil border and deep navy field. Cards match mailbox postcards and a tri-fold brochure. Because the visual “kit” stays consistent, residents recall the mark when the next sign goes up—even if they only touch a card for 2–4 seconds.
- Visual rhythm: The same foil accent repeats on cards, mailers, and listing kits.
- Memory cue: A thin 0.5 pt foil frame that repeats across materials builds recall.
Prepress and File-Prep Settings (Copy/Paste Ready)
Set documents to 3.5 × 2 inches plus 0.125-inch bleeds, 300 dpi, CMYK. Build a separate 100% K spot layer for foil with minimum stroke 0.5 pt and 0.75 pt gaps. Keep QR codes at 0.75–1.0 inches, export PDFs with bleeds/marks, and outline fonts before upload.
- Document: 3.5 × 2 inches; bleed 0.125 inch on all sides; safe area 0.125 inch.
- Color: CMYK only; aim for ink coverage under 300% to protect drying on laminate.
- Foil mask: Pure black (100% K), no tints; avoid gradients; keep inside trim by 0.125 inch.
- Images: 300 dpi at placed size; vector logos preferred (SVG/AI/PDF).
- Black text: Use 0/0/0/100 for microtext to keep edges clean under foil glare.
- Output: PDF/X-1a or PDF/X-4 with bleeds and trim marks; embed all profiles.
These guardrails eliminate the most common reprint issues: shifted foil, soft edges, and unreadable microtext. If you’re unsure, send your native file—we’ll preflight and return a marked-up proof with exact fixes.
Production Tips: Speed, Pickup, and Quality Control
Standardize specs, approve proofs fast, and align pickup with events. Bundle foil cards with same-day flyers so agents leave with a cohesive kit. Inspect registration within ±0.5 mm, corner protection, and lamination uniformity before cards hit the field.
Operational discipline keeps your brand tight while moving at real estate speed.
- Calendar: Back-time production 2–3 business days from your next open house; slot pick-up windows by team.
- Bundles: Pair cards with same-day flyers and a one-sheet so the story lands the moment a prospect calls.
- Packaging: Ask for rigid boxes with separators; store flat; avoid heat over 80°F that can influence lamination.
- Reorders: Keep SKU names standardized (e.g., FOIL-NAVY-SOFTTOUCH-V1) so admins can trigger repeats quickly.
When you’re ready, coordinate with our team at 5004 Timberlea Blvd #18 in Mississauga for consolidated pickup, especially ahead of weekend showings.
Pairing Cards With Your Brand Kit
Foil cards work best as part of a kit—match cardstock, colors, and finishes across cards, postcards, and brochures. Keep one accent (foil frame, crest, or name) consistent everywhere. Clients process repeated cues faster, even in 2–4 second glances at a mailbox piece or listing table.
Combine a gold foil card with a tri-fold brochure and postcard drop for cohesion. Keep your QR destinations aligned—a single landing page with lead capture beats scattered links.
- Use the same navy or charcoal across cards, mailers, and signs.
- Mirror the foil accent on high-visibility items—postcards and brochure covers.
- Set one mobile hub (bio + current listings) so every scan pays off.
Raised Spot UV or Gold Foil?
Choose gold foil when you want metallic shine and luxury cues. Choose raised spot UV when you want tactile texture on a matte base without metal reflectivity. Many brokerages combine both: foil the crest, then raise the agent name for grip and scanning ease.
Raised spot UV isn’t metal—it’s a clear, elevated varnish that catches light differently than foil. On soft touch, it creates a satin ridge you can feel as soon as you grip the card.
- Foil = mirror-like shine; tight edges; heritage feel.
- Raised spot UV = modern texture; great for names and QR borders.
- Hybrid = foil on logo, raised varnish on names/icons for quick thumb recognition.
Not sure? Test both on one-off samples, then roll your decision into the master template so every agent prints identically.
Inside the Process (Close-Up Views)
The production sequence is visual: print, laminate, foil, and finish. A heated die or digital unit presses foil onto masked regions. Texture, shine, and clean edges depend on stock thickness (16pt–18pt), lamination choice, plate alignment, and minimum line weights.
Here’s a look at the craftsmanship behind consistent foil edges and crisp details.
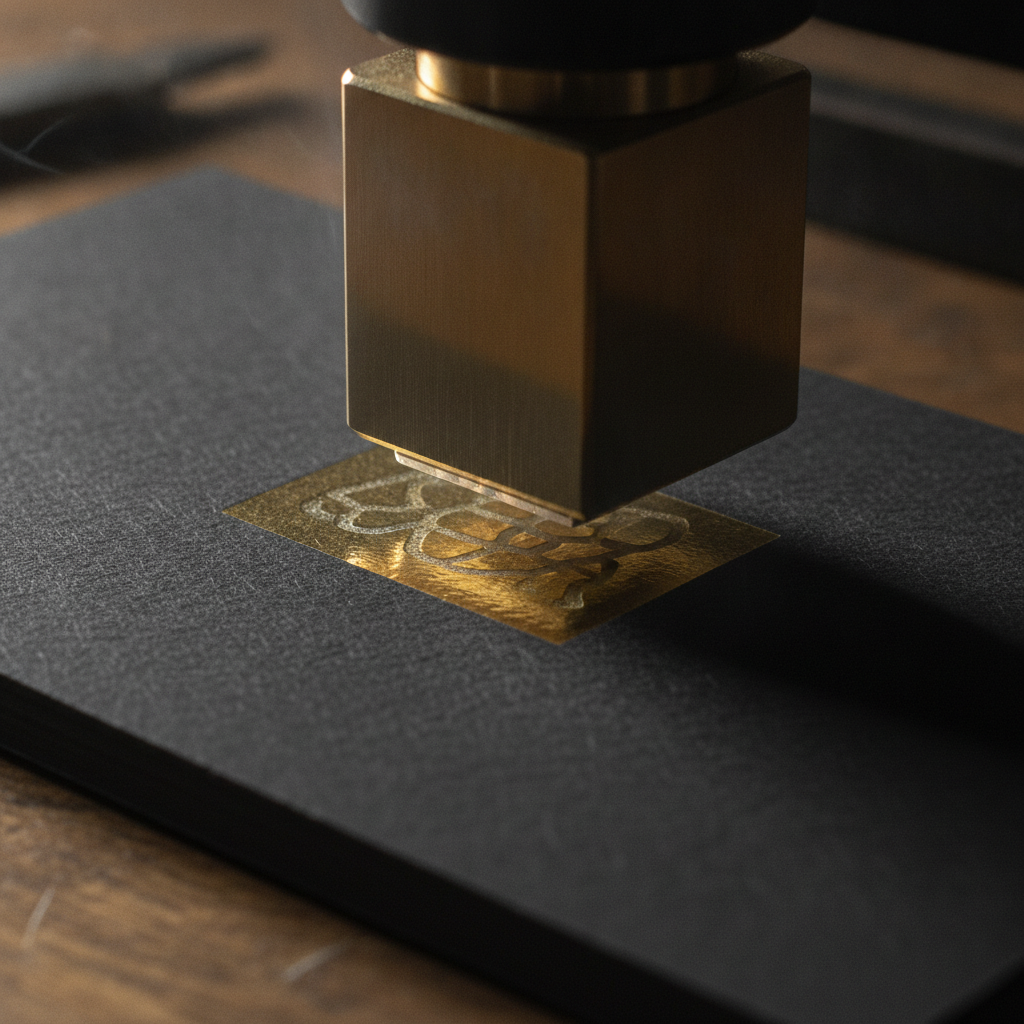
That bond between foil and laminate is why soft-touch cards feel premium and resist smudges. Keep foil features above 0.5 pt so the metal line remains crisp from hand to hand.
Photography and Presentation Tips
Great photos amplify your card’s impact on websites, profiles, and listing kits. Use natural light, shoot at f/2.8–f/4.0 for shallow depth of field, and angle cards 15–30° to catch foil reflections. Consistent imagery makes your brokerage look polished across digital touchpoints.
Need hands-on help? We’re nearby.
Bring your current card to our Mississauga shop and we’ll convert it to a foil-ready master template, prep a spot mask, and schedule fast pickup. You get one standard that every agent can reorder quickly and confidently.
Free file check: Email or drop off your PDF. We’ll confirm 0.125-inch bleeds, 300 dpi, and foil mask integrity before you commit to production.
Same-day synergy: Align your foil cards with same-day pickup items so your team walks out with a complete kit.
Local considerations for 5004 Timberlea Blvd Unit#18
- Time pickups to avoid rush periods near Tomken Station East Platform A; mid-morning windows reduce traffic and speed turnarounds.
- Before weekend opens, schedule Thursday or Friday approvals so production lands ahead of Saturday showings.
- If you’re training new agents at Canadore College at Stanford Mississauga Campus, standardize one master template with swap-out fields to simplify onboarding.
FAQ: Gold Foil Cards for Brokerages
Brokerages ask about durability, readability, QR codes, and when to choose foil versus raised textures. The short answer: use foil for logos and key names, keep microtext unfoiled, size QR codes at 0.75 inches or larger, and standardize one master template for speed and compliance.
What parts of the card should get gold foil?
Prioritize the logo crest or wordmark, the agent’s name, and thin borders or icons. Keep coverage under 30% of the face. Avoid foiling microtext (under 7 pt) so phone numbers and disclaimers stay crisp and legible.
Can I use a QR code with foil?
Yes—just don’t foil the QR. Keep it 0.75–1.0 inches with a 0.1-inch quiet zone. Print it in solid black for reliable scanning under indoor lighting. Place at least 0.125 inches from trim and away from heavy textures.
Is soft touch necessary for gold foil cards?
It’s recommended because soft touch reduces glare and fingerprints while making the foil pop. You can print without it, but a soft, matte base often makes both foil and raised textures feel more premium and durable in daily use.
When should I pick raised spot UV instead of foil?
Choose raised spot UV when you want tactile texture without metal shine, or when lighting is inconsistent and glare could hinder readability. Many teams use hybrid layouts—foil the logo, raise the agent name—for both shine and grip.
How do I keep all agents compliant with our brand?
Create one locked master file with brand elements fixed (logo size/position, legal lines), and variable fields for name, title, phone, and license. Store it centrally, require proof approval, and set reorder SKUs so staff trigger prints consistently.
Conclusion: Your Next Three Moves
Standardize one master design, decide on foil vs. raised textures, and bundle with same-day materials. With a compliant template and local pickup, your brokerage can equip every agent quickly—and your brand will look and feel premium at every handoff.
Key takeaways
- Gold foil business cards for brokerage branding boost recognition and trust in seconds.
- Specs matter: 3.5 × 2 inches, 0.125-inch bleed/safe, 300 dpi, 0.5 pt minimum foil lines.
- One master template keeps compliance high and reorders fast for every agent.
- Hybrid finishes (foil + raised spot) combine shine with tactile grip on soft touch.
Action steps
- Bring your current card to our Mississauga shop for a free file check.
- Decide on foil placements (logo, name, thin border) and protect microtext.
- Align pickup with your next open house and pair cards with same-day flyers.