


Brochure printing cost factors are the design and production variables—paper stock, size, folds, coatings, quantities, color coverage, turnaround, and finishing—that determine your total investment. For Realtors and local teams near 5004 Timberlea Blvd Unit#18, knowing these inputs helps you plan smarter orders with Top Realtor Sign & Print.
By Ashwani — Top Realtor Sign & Print
Last updated: 2026-06-14
Overview at a Glance
Brochure printing budgets hinge on a few controllable levers: paper weight and finish, trim size, fold style, ink coverage, run length, finishing steps, and turnaround. Confirm specs early, keep files print-ready, and bundle related items to streamline production and reduce waste without sacrificing brand impact.
Here’s what you’ll learn in this complete guide, built for busy real estate pros and local businesses that need fast, high-quality results.
- What “brochure printing cost factors” really include and how they interact
- Why these drivers matter for listing launches, open houses, and local campaigns
- How the print process flows from file to finished fold
- Paper, size, fold, ink, and coating trade-offs that shape outcomes
- Pro tips to optimize specs while protecting brand standards
- Local pickup logistics in Peel for same-day and rush needs
Local considerations for 5004 Timberlea Blvd Unit#18
- Plan pickups around area traffic; proximity to Tomken Station East Platform A can help teams coordinate courier handoffs and agent meetups.
- Spring and fall listing waves spike volumes. Lock specs early to secure press time and meet weekend open house timelines.
- Bring brokerage brand guides; our in-house design aligns fonts and colors so your brochures match signs and riders citywide.
What Are Brochure Printing Cost Factors?
Brochure printing cost factors are the measurable choices that affect production time and materials: paper (weight, coating), trim size, fold style, ink coverage (CMYK 4/4), quantity, finishing (scoring, perforation), and turnaround. These inputs influence machine setup, sheet yields, and labor steps—together shaping your final project investment.
Think of each spec as a dial. Change one, and it nudges time, materials, or both. For example, moving from 8.5 × 11 inches to 11 × 17 increases sheet area by about 100%, which can change imposition and finishing steps. Similarly, adding soft touch lamination adds durability and tactile appeal, but introduces an extra pass.
- Paper stock: weight (e.g., 100–200+ gsm), texture, and coating (gloss, matte, silk)
- Trim size: Letter (8.5 × 11), Legal (8.5 × 14), Tabloid (11 × 17), A4, or custom
- Folds: bi-fold, tri-fold, Z, gate, accordion; each adds panels and creases
- Ink coverage: solid backgrounds demand more ink than light layouts
- Quantity: affects sheet count, batching, and setup amortization
- Finishing: scoring, perforating, hole-drilling, corner rounding, bundling
- Turnaround: rush scheduling and pickup coordination in Peel
- File readiness: 300 dpi images, 0.125 inch bleeds, and correct color profiles reduce rework
In our experience with Mississauga agents, the biggest gains come from confirming fold panels, selecting an appropriate stock for hand-feel, and aligning print timelines with photo delivery. That trio alone prevents last‑minute changes that derail schedules.
Why These Factors Matter for Realtors and Local Marketing
Dialing in brochure specs protects brand consistency, improves lead quality, and speeds time to market. For listings and neighborhood outreach, the right paper, fold, and finish elevate perceived value, while print-ready files and smart run lengths keep your team on schedule for open houses and showings.
Brochures are often your first leave-behind after a showing. Hand-feel signals quality in seconds. A tri-fold on a sturdy cover stock with crisp 300 dpi photography feels more credible than a thin sheet. Out in the field, clear panels guide buyers through highlights, floor plans, and calls to action that connect to your sign, rider, and web presence.
- Brand continuity: Match colors with your signs, riders, and business cards so your identity reads instantly from curb to coffee table.
- Conversion clarity: Use simple CTAs (scan a QR, call, or book) and design them to land on a dedicated panel.
- Operational speed: Ready-to-print PDFs and realistic timelines reduce revisions and compress handoff-to-pickup cycles.
We often pair brochures with presentation folders during listing presentations to organize comps, disclosures, and feature sheets—an easy way to extend your brand into a polished package.
How Brochure Printing Works: From File to Finished Fold
The brochure workflow moves from design to proofing, imposition, printing (digital or offset), finishing (scoring, folding, trimming), quality checks, and packing. Clean files with 300 dpi images, 0.125 inch bleeds, and CMYK color simplify each step and reduce delays, especially on rush or same-day pickups.
Here’s the typical path your piece follows in our shop. Understanding this flow helps you set the right timelines and handoffs with your team and photographer.
- Design: Build CMYK layouts, embed/outline fonts, and place images at 300 dpi or better.
- Preflight: Verify bleeds (0.125 inch), safe margins (0.125–0.25 inch), and panel widths for folds.
- Proof: Approve a digital PDF proof; for color-critical jobs, discuss a printed proof.
- Imposition: Arrange panels/pages to maximize sheet yields and correct fold sequence.
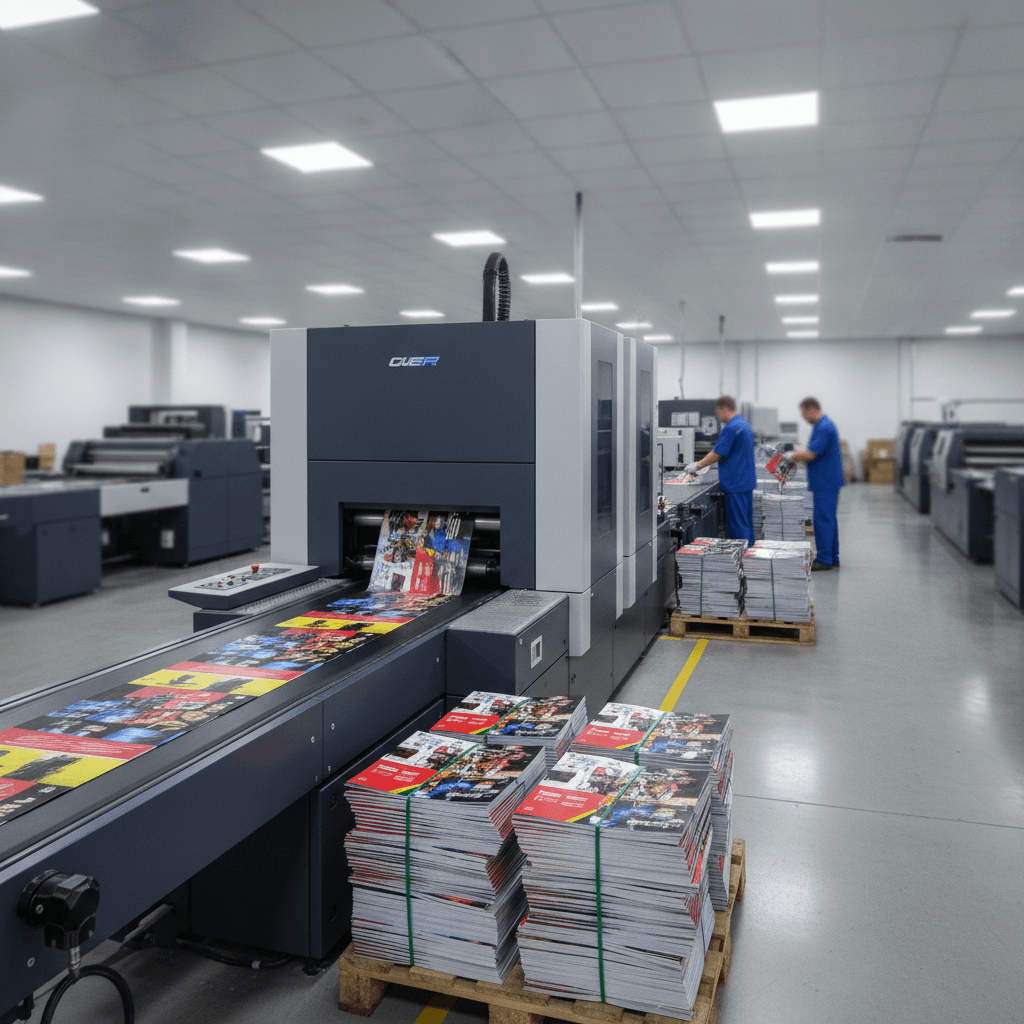
- Printing: Choose digital for short runs and fast turns; offset for large, color-stable runs.
- Finishing: Score heavier stocks to prevent cracking; fold, trim, bundle, and, if needed, laminate.
- QC + Pack: Check color, alignment, and counts; pack by route or agent.
- Pickup/Delivery: Coordinate handoff windows and vehicle space for larger cartons.
When every handoff is clean—especially the proof stage—you avoid back-and-forth that adds hours. For tight windows, align your photographer’s delivery with design and proofing blocks to secure same-day readiness.
Types of Brochures, Folds, and Finishes That Shape Budgets
Fold complexity and finishing steps add time and handling. Tri-folds are efficient for 8.5 × 11. Gate folds add visual drama but require precise scoring. Lamination, soft touch, and spot UV elevate feel and durability, introducing extra passes that extend production timelines.
Each structure carries implications for design, yield, and workflow. Here’s how common setups influence the path from press to hand.
Common fold formats
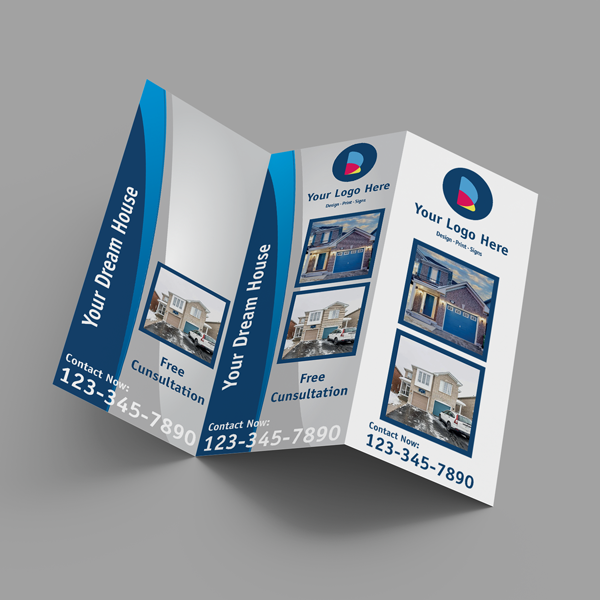
- Tri-fold (letterfold): Six panels (3 per side) on 8.5 × 11. Compact, mail-friendly, and strong for property highlights.
- Half-fold (bi-fold): Four panels. Great for larger images, maps, or floor plans.
- Z-fold: Six panels; unfolds in a sequence that’s ideal for timelines or step-by-step tours.
- Gate fold: Two end panels open to a center reveal—excellent for hero imagery or premium launches.
- Accordion: Multiple panels extend content; useful for neighborhood guides.
Finishing options
- Scoring: Essential for heavier cover stocks to prevent edge cracking.
- Lamination: Gloss, matte, or soft touch adds protection and tactile appeal.
- Spot UV (raised or flat): Emphasizes logos or headings and pairs well with matte surfaces.
- Perforation: Supports coupons, tear-off maps, or RSVP slips.
- Bundling: Pre-counted stacks speed distribution to offices or events.
For real estate launches, we see tri-folds dominate because they balance space and mailing ease. Premium listings sometimes upgrade to gate folds with soft touch to match luxury cards and signage.
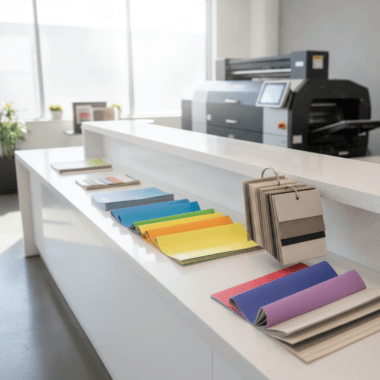
Paper Stocks, Sizes, and Coatings: Practical Trade-offs
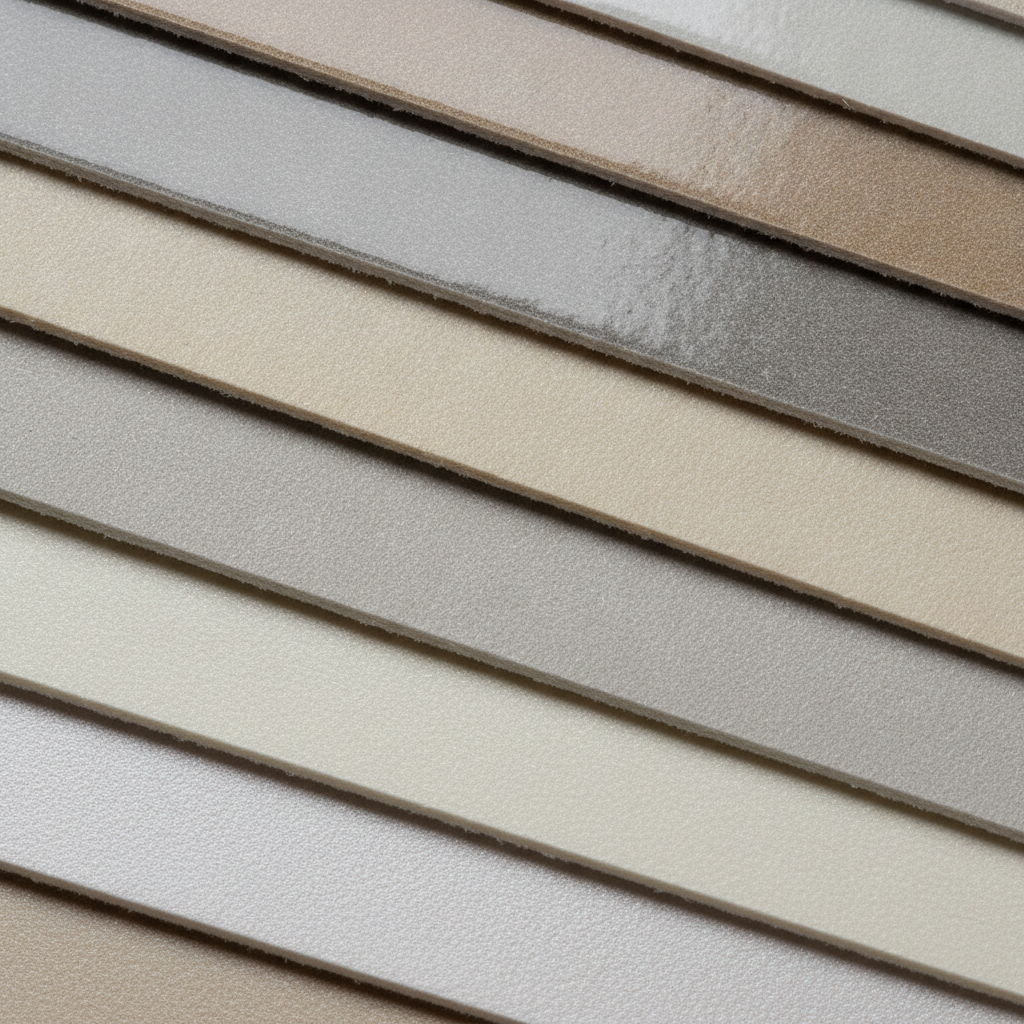
Paper weight, texture, and coating drive first impressions and durability. Heavier cover stocks and protective laminations feel premium, while lighter text stocks improve mailing efficiency. Match stock to use case: handouts for open houses versus folders for listing presentations and client packets.
Most brochures split into two families: text-weight (lighter, flexible) and cover-weight (heavier, more rigid). Designers often pair 8.5 × 11 tri-folds on text-weight gloss for mass outreach, then produce smaller premium runs on cover-weight with soft touch for high-value appointments.
- Weight: 100–170 gsm (text) for handouts; 200–300+ gsm (cover) for premium impact.
- Finish: Gloss for vibrant photos; matte/silk for soft tones and easy reading; soft touch for tactile memorability.
- Size: 8.5 × 11 (tri-fold staple), 11 × 17 (half-fold with bigger canvases), custom trims for distinctive branding.
- Durability: Laminates add scuff resistance for fieldwork and repeated handling.
When choosing among options, bring sample cards or existing signs so we can align surface sheen and color expectations across your full kit.
Design Choices That Save Money Without Sacrificing Impact
Efficient layouts, consistent styles, and print-ready files reduce revisions and ink usage. Use 300 dpi photos, vector logos, and 0.125 inch bleeds. Avoid heavy solids over folds, and standardize grid systems across brochures to accelerate approvals and protect readability.
Small choices compound. Swapping a full-bleed solid for a lighter gradient can reduce ink load. Aligning panels to a consistent 12-column grid allows you to reuse modules across listings. And when photography is shot with brochure panels in mind (e.g., a cover hero at 8.5 × 11 crop), design moves faster.
- Photography: Use high-resolution images and consistent color temperature across spreads.
- Typography: Set headline sizes that survive folds; avoid tiny footers near trim edges.
- Color: CMYK builds over 240% total area coverage can cause set-off; lighter builds dry faster.
- File hygiene: Package fonts, embed links, and export press PDFs with bleeds and crop marks.
- Reuse: Create a master template; swap address, QR, and specs per property.
For agent marketing kits, we often pair brochures with branded presentation folders so your print assets travel together cleanly from the office to the showing.
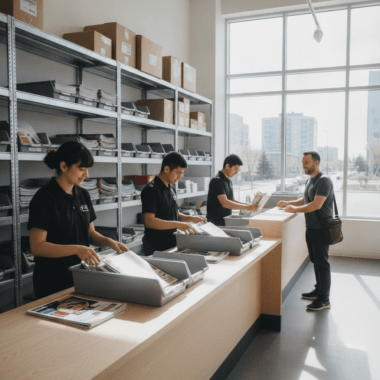
Quantities, Turnaround, and Pickup Logistics in Peel
Right-size your run length to campaign goals, then align design, proof, and pickup windows with your listing calendar. For teams near 5004 Timberlea Blvd Unit#18 in the Regional Municipality of Peel, batching orders and scheduling pickup slots keeps rush timelines realistic and distribution smooth.
Order volumes should reflect field realities. A neighborhood drop might need hundreds of pieces; a luxury appointment set may only need a few dozen premium brochures. Build your run plan around how and where you’ll hand them out—from weekend opens to office mailers.
- Calendar: Map photoshoot, copy, design, proof, and pickup windows to your open house date.
- Batching: Combine brochures with flyers and feature sheets to streamline finishing.
- Same-day needs: Review same-day pickup options and secure press time early.
- Distribution: Pre-bundle by route or agent so cartons go straight to cars and showing kits.
- Coordination: Use your office near Tomken Station East Platform A as a meetup point to relay materials.
If your team regularly updates a farm area, consider a standardized spec that stays locked all season—only the address, QR, and hero image change. That consistency speeds every subsequent run.
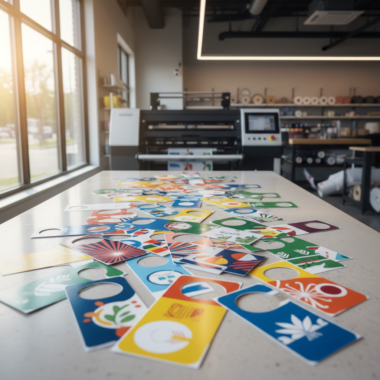
Digital vs. Offset vs. Large-Format for Brochures
Choose digital presses for short runs, frequent updates, and rush turnarounds. Select offset for larger runs with tight color tolerance. For oversized pieces or foam-core-backed brochures used as displays, large-format devices provide durable, UV-stable output for events and lobbies.
Each print technology balances setup time, per-sheet efficiency, and color characteristics. In practice, most real estate brochures under a few hundred pieces run on digital. Seasonal or multi-office campaigns might benefit from offset for color stability across thousands. Oversized panels or rigid handouts fit best on large-format equipment.
- Digital: Fast makeready, variable data friendly, ideal for agile marketing.
- Offset: Best for high volumes and precise Pantone matching at scale.
- Large-format: Great for event collateral and display-style “brochure boards.” Pair with open house displays for impact.
If you’re unsure which path fits, bring your timeline and audience size; we’ll advise the route that meets your quality bar without overcomplicating production.
Comparison Table: Folds, Stocks, and Production Implications
Use this quick comparison to map fold styles and stocks to workflow implications. It highlights how panel count, scoring needs, and finishing steps affect timelines. Pick the structure that aligns with your content density and handout context before you brief design.
| Format | Typical Size | Panels | Stock Guidance | Finishing Notes | Best Use |
|---|---|---|---|---|---|
| Tri-fold | 8.5 × 11 | 6 | Text 130–170 gsm | Score heavier stocks; watch panel creep | Mailers, neighborhood drops |
| Half-fold | 11 × 17 → 8.5 × 11 | 4 | Text or light cover 170–220 gsm | Large images; minimal cracking risk | Feature spreads, floor plans |
| Gate fold | Varies | 4 + gates | Cover 220–300 gsm | Precise scoring; optional soft touch | Premium property launches |
| Z-fold | 8.5 × 11 | 6 | Text 130–170 gsm | Clear sequencing for step flows | Timelines, tours, process |
Best Practices to Optimize Your Brochure Budget
Lock specs, standardize templates, and proof once. Reuse grids, brand styles, and hero ratios across listings. Batch related items to reduce handling. Prep press-ready files, keep photos at 300 dpi, and schedule pickups that align with launches to avoid rush friction.
These practices protect quality and velocity while minimizing rework. They’re simple to apply and compound over a season of listings.
- Template once: Build a master brochure with editable content blocks.
- Standardize: Fix size, fold, margins, and typographic scales for repeatability.
- Bundle: Print brochures with matching brochures and inserts or feature sheets to streamline.
- Proof decisively: One approver, one deadline, one final pass.
- Color manage: Use CMYK ICC profiles; avoid RGB surprises.
- Image stewardship: Request consistent edits from your photographer for predictable skin tones and skies.
When teams adopt a shared spec sheet, we see fewer questions, faster approvals, and more consistent field results across offices.
Tools and Resources: Templates, Specs, and Proofing
Work faster with ready-to-edit templates, a browser-based design tool, and clear spec sheets. Use 0.125 inch bleeds, 300 dpi imagery, CMYK color, and panel-safe margins. Preflight PDFs before upload, and keep a single source-of-truth folder for brand assets and property details.
If you prefer to self-serve, our browser editor helps you arrange panels and headlines without pro software. When you need help, in-house design aligns layouts with brokerage rules and creates reusable masters for your team.
- Design faster in our online design tool with brand-safe templates.
- Coordinate rush pickups by reviewing our same-day printing guide.
- Explore outreach add-ons like flyers and door hangers for farm routes.
- Plan leave-behinds with presentation folders that carry brochures, cards, and comps.
For a primer on print-on-demand concepts and artwork prep mindsets, see this general overview from Shopify’s print-on-demand guide—helpful for creative planning even when you’re not using POD.

Mini Case Examples: Realtor and Local Business Scenarios
Real-world scenarios illustrate how paper, fold, and finish choices align with goals. From neighborhood mailers to luxury showpieces, fitting specs to context speeds delivery and boosts perceived value—without overbuilding. Use these examples to brief your next project clearly and confidently.
1) Neighborhood farm tri-fold: A Mississauga agent targets a 0.5-mile radius with a tri-fold on text-weight gloss. 8.5 × 11 keeps mail-friendly proportions; a clear QR drives traffic to the listing page. Pre-bundled stacks go from pickup directly to canvassing routes.
2) Luxury listing gate fold: A premium property launch uses a gate fold on cover stock with soft touch. The center spread holds a two-page hero image and floor plan. Spot UV lifts the logo subtly. The tactile feel mirrors the agent’s raised spot UV business cards.
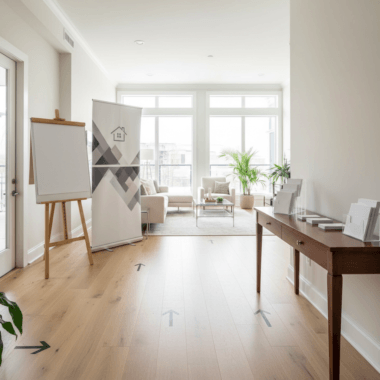
3) Open house companion: For weekend opens, a half-fold 11 × 17 brochure lays out photos, features, and a neighborhood map. It rides alongside signage and a thoughtful open house display, guiding visitors through key talking points.
4) Brokerage recruiting piece: A Z-fold brochure explains onboarding steps and tools. Clean icons, modular panels, and short copy blocks make it easy to skim—ideal for events and office visits.
5) Business outreach kit: A local service business pairs brochures with door hangers and flyers. Shared colors and typography maintain consistency; batching jobs reduces handling, and the team schedules a single pickup run.
Content, Images, and Accessibility Considerations
Clarity beats cleverness. Keep headlines concise, body copy legible, and alt text descriptive when repurposing brochure content online. Use consistent image ratios, maintain 300 dpi for print, and ensure adequate contrast for readability across panels and folds.
Photography quality defines perceived value. Well-lit, sharp images elevate even simple layouts. For real estate teams, professional branding photography guidance like this overview from Silver Valley Studios can help your visuals stay consistent across signs, cards, and brochures.
- Copy blocks: 40–75 characters per line improves readability.
- Contrast: Aim for adequate contrast ratios to keep text clear over images.
- Alt text: When posting panels online, describe images functionally, not just visually.
- QR codes: Test scans at arm’s length; keep quiet zones clean.
When in doubt, print a one-off proof and tape-fold it on your desk; panel flow and type size issues jump out immediately in physical form.
Mailing and Distribution Notes
If you’re mailing brochures, confirm trim size, panel sequence, and addressing areas before design. Keep weight and dimensions within your chosen service’s guidelines to avoid surcharges, and test a folded mockup to ensure it closes cleanly without cracking.
Even when you’re not executing a full mail campaign, planning for mail-friendly sizes gives you flexibility to pivot outreach. General best practices on layout and fulfillment mindsets are outlined in resources like TechWyse’s commentary on print advertising shifts, which underscores why targeted, well-planned print still wins when it’s relevant and timely.
- Leave room for mailing panels and indicia if you may post later.
- Keep folded thickness within envelope and sorting constraints.
- Consider aqueous or matte coats to reduce scuffing during transit.
Hand distribution still shines at opens and community events. Pair brochures with business cards so contacts can reach you quickly after the visit.
Need a Fast, On-Brand Brochure?
If you have photos and copy ready, we can move from proof approval to pickup quickly. Use our online templates or request in-house design support, then coordinate a pickup window that aligns with your listing calendar.
Let’s streamline your next run. Start with our brochure ordering page or spin up a layout in the online design tool. Prefer a consult? Call 647.632.9600 and ask for brochure spec help.
Frequently Asked Questions
These quick answers address common brochure planning questions for real estate and local marketing teams. They focus on quality, timelines, and practical setup—not pricing—so you can brief projects clearly and hit your launch dates.
What resolution should brochure photos be?
Use 300 dpi at the final print size. For a full-bleed 8.5 × 11 cover, supply at least 2550 × 3300 pixels. Lower resolutions risk softness and banding, especially on gradients and skies.
Which fold works best for open houses?
Tri-folds are compact and easy to carry, with six panels to organize features, maps, and CTAs. Half-fold 11 × 17 options are great when you need bigger photos and floor plans without overwhelming visitors.
How do I keep colors consistent with my signs and cards?
Work in CMYK, use a stable ICC profile, and provide vector logos. Share prior printed pieces for visual targets, and request a printed proof on the intended stock for color-critical campaigns.
What’s the most durable finish for field handouts?
Matte or soft touch lamination adds scuff resistance and a premium feel. For heavy handling, consider a cover-weight stock with scoring to prevent cracks at the folds.
Conclusion and Next Steps
Define your audience, lock specs, and align timelines with your listing calendar. Prioritize paper feel, fold logic, and clear CTAs. Keep files press-ready, batch related items, and choose the right press path to deliver polished brochures—on time and on brand.
Here’s how to move forward with confidence and less friction.
- Key takeaways:
- Stock, size, fold, coating, and ink coverage drive the most impact.
- 300 dpi images, 0.125 inch bleeds, and CMYK color prevent delays.
- Templates and batching save time across a season of listings.
- Right-size quantities to your actual distribution plan.
- Action steps:
- Gather photos and copy, then choose a fold that fits your story.
- Open a template in our online design tool.
- Book a pickup slot tied to your open house or showing window.
Questions about brochure printing cost factors for your next campaign? We’re here to help in Mississauga and across Peel—so your materials look sharp, feel great, and arrive right when you need them.