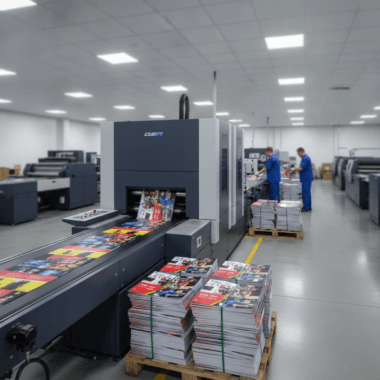


Setting up an open house display is the structured arrangement of signs, staging, and visitor flow that guides buyers from street to sign-in. Done right, it boosts foot traffic, collects leads, and showcases the listing. At Top Realtor Sign & Print in Mississauga (5004 Timberlea Blvd Unit#18), we provide the signage and print essentials to make this process smooth.
By Ashwani — Top Realtor Sign & Print • Last updated: 2026-06-11
Summary
A high-performing open house display uses clear curbside wayfinding, branded entry signage, and a tidy lead-capture table. Plan your route, place 6–10 directional signs, stage a welcoming foyer, and prepare print kits (brochures, flyers, cards). Arrive 60 minutes early, test flow, and keep materials stocked throughout the event.
Here’s what you’ll get in this step-by-step guide and how to use it today.
- Street-to-door signage plan you can copy and reuse
- Exact checklist of supplies, tools, and timing windows
- Lead capture system that produces follow-up-ready data
- Fixes for common day-of issues (wind, parking, low light)
- Pro tips for branding, accessibility, and neighbor goodwill
Before You Start (Prerequisites)
Confirm your route, materials, and rules before event day. Map driver approach roads, check sign bylaws, and assemble a labeled kit with A-frames, riders, stakes, and print collateral. Assign timing: 60 minutes for setup, 15 minutes for tests, and 10-minute restocks every 45 minutes during the open house.
Preparation reduces day-of friction and ensures every piece of your open house display works together. Use this pre-flight to lock the basics.
Core materials for a professional setup
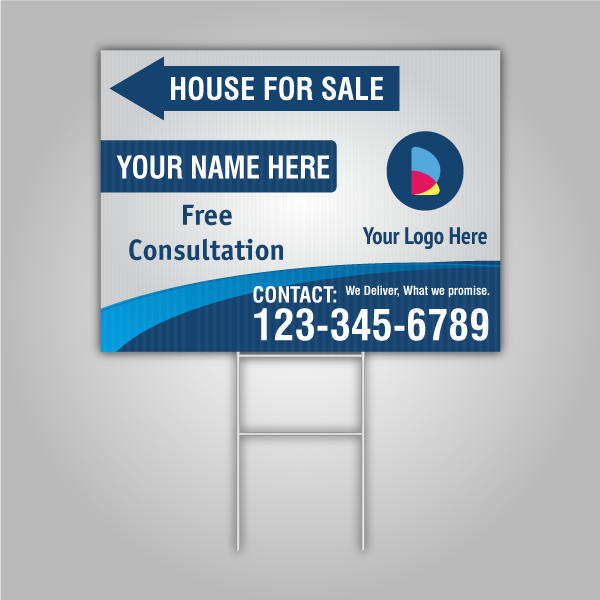
- Street-level signs: 4–8 directional A-frames guiding drivers from primary intersections.
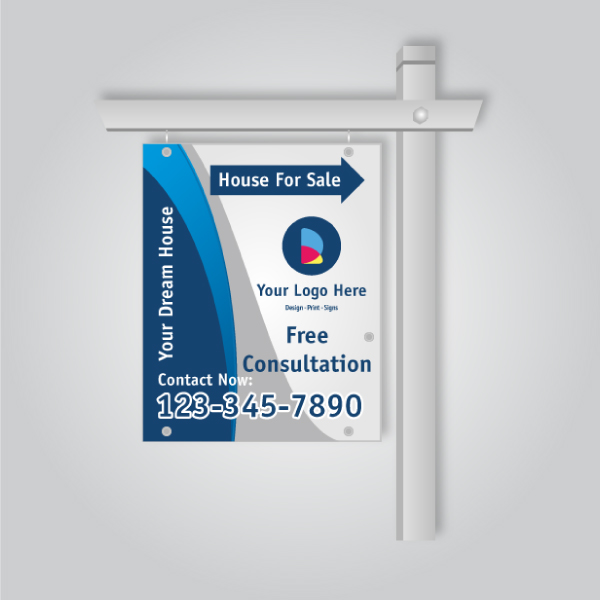
- Property frontage: 1 lawn post or frame, plus a bold Open House sign at eye level.
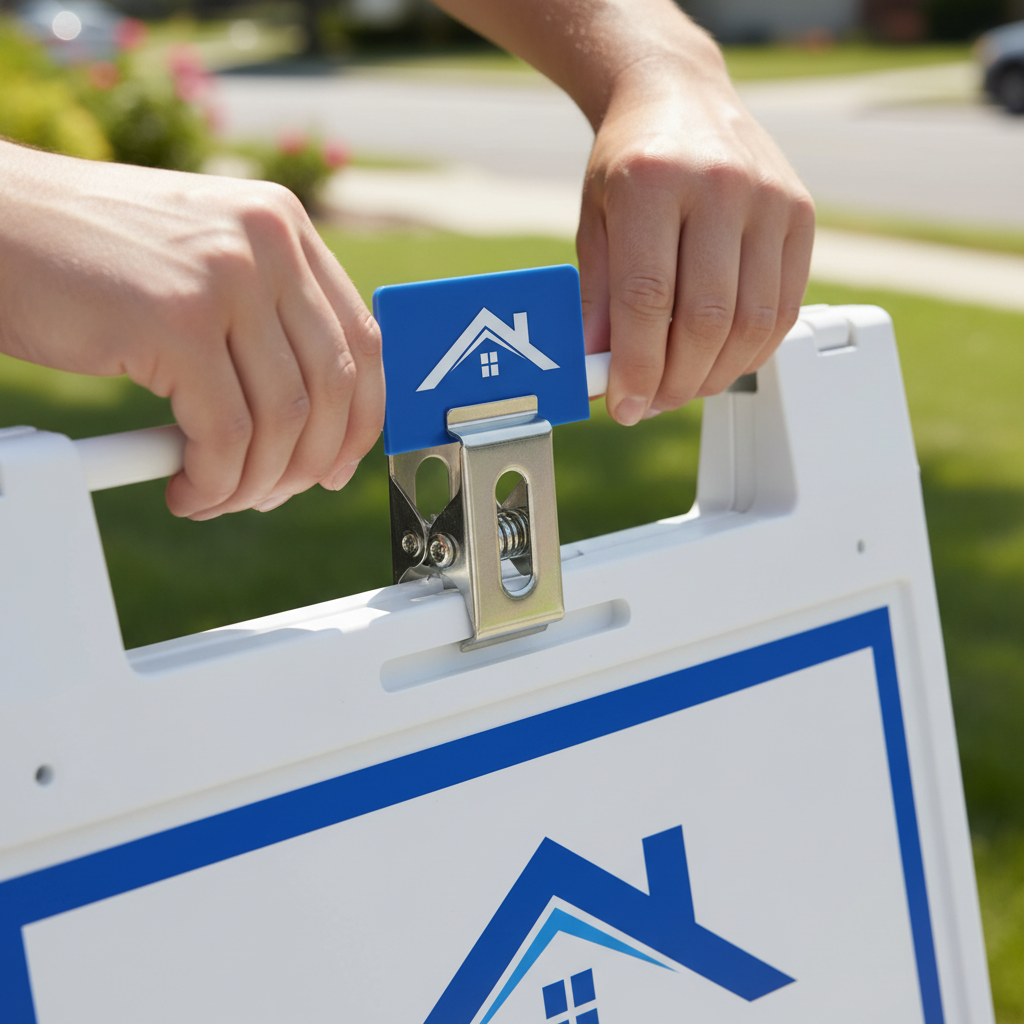
- Supplemental riders: Branded arrows, time/date riders, or “Just Listed” riders from our custom riders category.
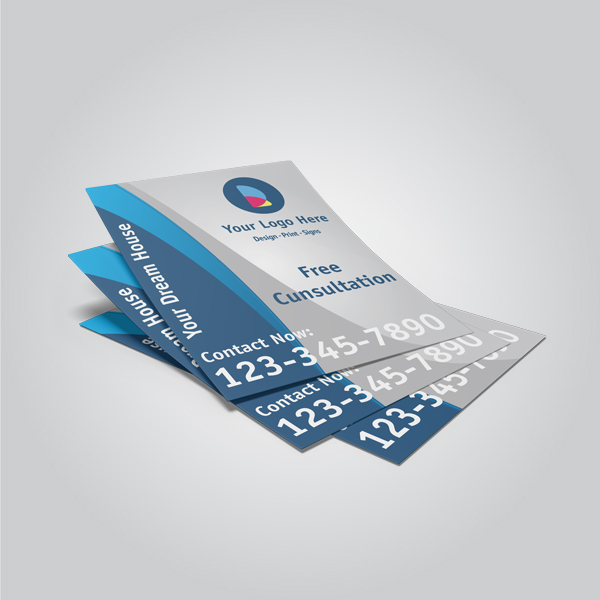
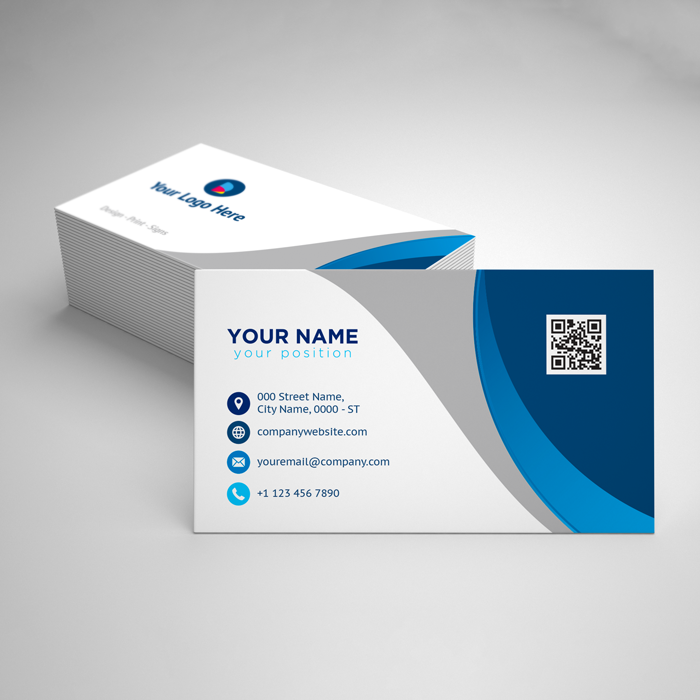
- Entry table: Clipboard sign-in, pens, hand sanitizer, and neatly stacked brochures, postcards, and business cards.
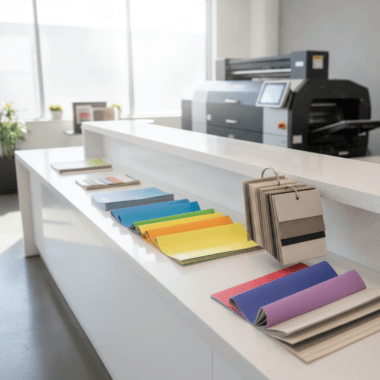
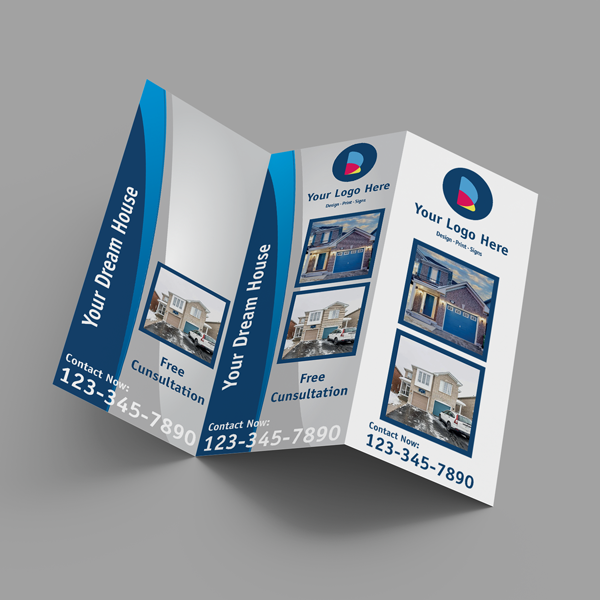
- Printed collateral: Neighborhood flyer, feature sheet/trifold, postcard takeaways, and a few door hangers for neighbors.
Tools and quick checks
- Toolkit: Zip ties, sandbags (2–4), extra stakes, microfiber cloth, blue painter’s tape, spare rider clips, and gloves.
- Timing: Arrive 60 minutes early; place signs in 25–35 minutes; stage interior in 15–20 minutes; test walk-through in 5–10 minutes.
- Rules & permissions: Confirm HOA or municipal sign placement windows and any temporary-parking constraints.
- Branding alignment: Verify brokerage color and logo rules before printing; our in-house design team can help ensure compliance.
Local considerations for 5004 Timberlea Blvd Unit#18
- Expect weekend traffic pulses near Tomken Station East Platform A</em); set your first directional sign 250–350 feet before key turns for safe notice.
- Weather swings happen; pack 2–4 sandbags for A-frames and keep umbrellas at the foyer during spring and fall showers.
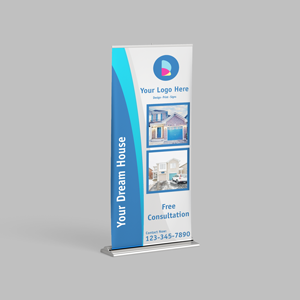
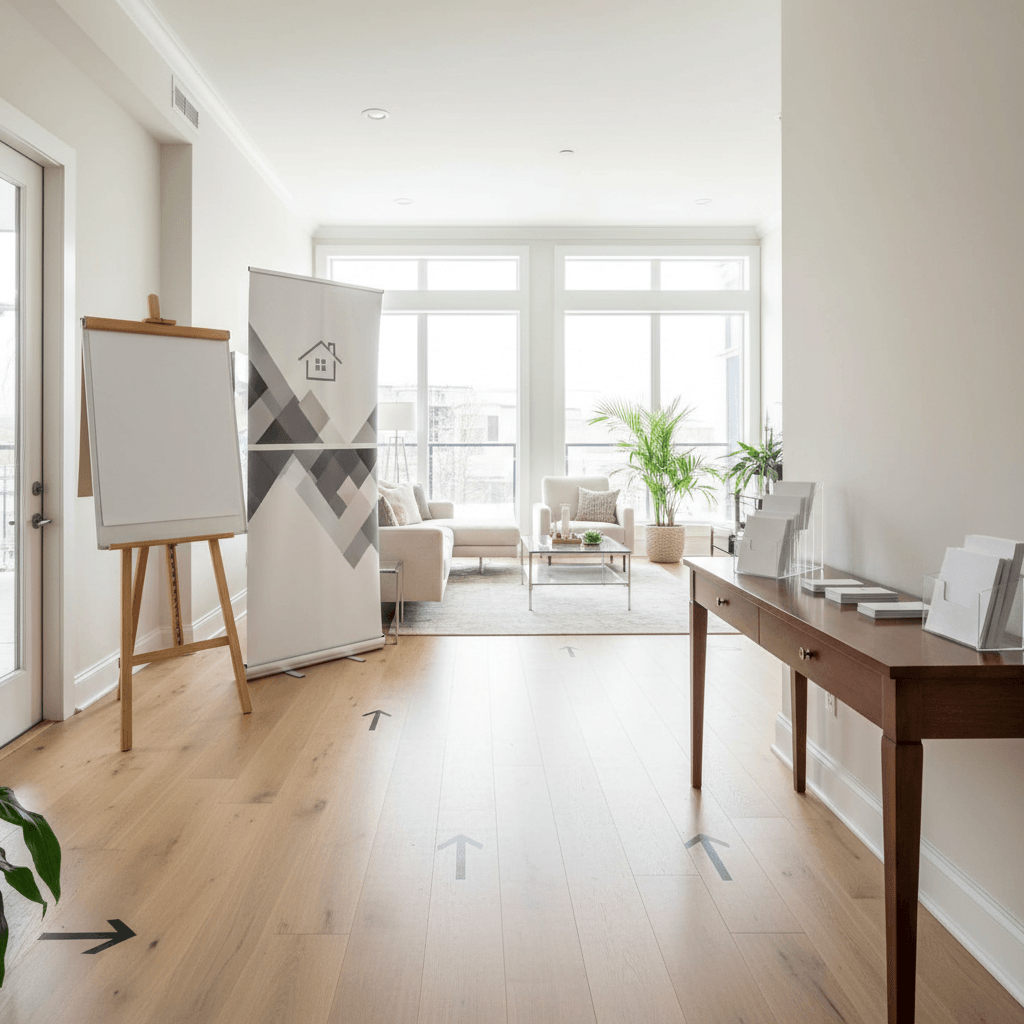
- For condo/townhome showings in the Regional Municipality of Peel, pre-clear lobby signage with management and use a compact roll-up banner at the entry.
Step-by-Step: How to Set Up an Open House Display
Build your display from street to foyer: map approach roads, place 6–10 directional signs, stage a branded exterior, then set a clean sign-in table inside. Add brochures, flyers, and cards, test visitor flow, and keep restocks every 45 minutes. Finish with clear closing signage and quick takedown.
Follow these numbered steps for a reliable, repeatable setup you can run in any neighborhood.
Step 1 — Map the approach (10 minutes)
- Trace the two most common GPS routes and mark the last 0.5–1.0 mile of turns.
- Identify 4–6 safe, legal spots for directional signs near intersections and roundabouts.
- Note speed limits; on 35–45 mph roads, position signs 250–400 feet before a turn.
Step 2 — Place curbside directionals (25 minutes)
- Use 6–10 A-frames or stakes with arrows facing oncoming traffic; add a time rider if allowed.
- Reinforce windy corners with 10–15 lb sandbags per sign; wipe reflective faces for visibility.
- At the last turn, double up: one sign at the corner and one 50–70 feet after.
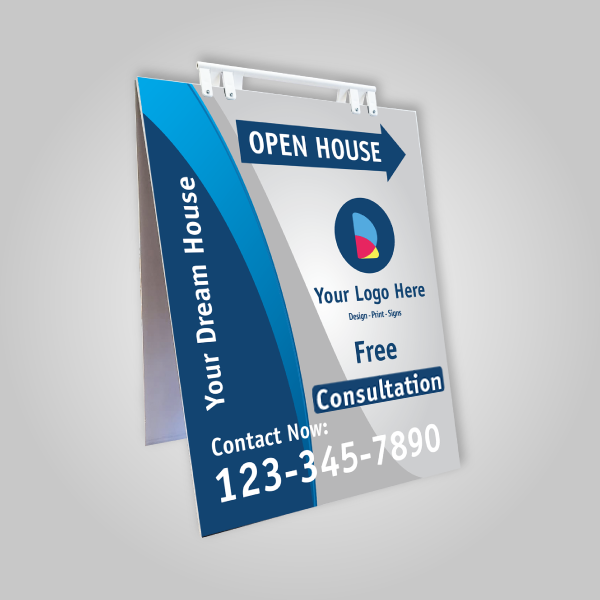
Step 3 — Brand the frontage (8 minutes)
- At the property, place a bold Open House sign at eye level and angle it 5–10 degrees toward traffic.
- Snap in a rider: “Today 1–4 PM” or an arrow; keep total message to 5–7 words for fast reads.
- If permitted, add 1–2 feather flags or a compact marketing sign for motion and height.
Step 4 — Stage the entry table (12 minutes)
- Set a 30–36 inch table in the foyer; leave 36 inches of clear walkway.
- Arrange top-to-bottom: welcome sign, sign-in clipboard, sanitizer, stacked brochures, postcards, and business cards.
- Use our trifold brochures for features and door hangers for neighbor invites after the event.

Step 5 — Optimize the walk-through (10 minutes)
- Set a clockwise route: living room → kitchen → backyard → bedrooms → office → garage.
- Open interior doors 90 degrees; set thermostat 70–72°F for comfort.
- Add scent-neutralizing charcoal bags; avoid candles. Keep background music at 55–60 dB.
Step 6 — Lead capture and follow-up (8 minutes)
- Use a printed sign-in and a QR form; aim for 90%+ capture by asking at greeting and exit.
- Place 2–3 prompts around the kitchen island and foyer to nudge sign-ins.
- Bundle a take-home kit: brochure + postcard + agent card (pack 30–50 sets).
Step 7 — Monitor, restock, and adapt (ongoing)
- Every 45 minutes, check exterior signs, refill brochures, and wipe the entry table.
- Track peak times; many markets see surges at :15 and :45 past the hour as tours rotate.
- Log questions to tailor follow-ups within 24 hours.
Troubleshooting: Fast Fixes for Day-Of Problems
Solve wind, parking, and low-light issues with backup hardware and layout tweaks. Add sandbags, shift curb signs 10–15 feet for sightlines, use battery lanterns near dim entries, and place overflow shoe trays by the door. Keep a 10-item kit to resolve 80% of on-site issues quickly.
Wind or rain is knocking over signs
- Add 10–15 lb sandbags per A-frame; on stakes, use 2 zip ties high and low.
- Relocate signs 5–10 feet away from crosswind corridors or hedges.
- Wipe reflective faces every 60–90 minutes for readability in drizzle.
Parking bottlenecks at the curb
- Cones every 8–10 feet to mark a no-park zone at the driveway.
- Place one sign 50–70 feet before the house noting “Use Next Street” if allowed (keep to 5–7 words).
- Set indoor route counterclockwise if entry congestion forms; it disperses groups faster.
Low light or glare at the entry
- Position the entry table 3–4 feet from direct glass glare; rotate 15–20 degrees if needed.
- Use two LED lanterns at 2700–3000K; avoid harsh 5000K light that flattens interiors.
- Clean sign protectors with a microfiber cloth to remove smudges that kill contrast.
Advanced Tips (Pro-Level Setup)
Elevate your open house display with consistent brokerage branding, modular signage, and neighborhood outreach. Pre-pack 3 kits by home type, keep a compact roll-up banner for condos, and distribute 25–50 door hangers. Photograph your setup at 3–4 angles to reuse as a proven checklist next time.
Branding consistency that compels action
- Use broker-approved HEX or Pantone values; keep headline contrast at a minimum 4.5:1 ratio.
- Limit curbside text to 5–7 words; fonts 6–8 inches tall are readable at 35–45 mph.
- Build a template set in our online editor so you can reorder in under 5 minutes.
Modular kits by property type
- Detached: 8–10 directionals, 1 lawn post, 2 riders, 1 feather flag.
- Townhome: 6–8 directionals, 1 A-frame at complex entrance, 1 roll-up banner inside.
- Condo: 4–6 directionals, lobby-approved roll-up banner, table-top sign holder.
Neighborhood goodwill and lead gen
- Drop 25–50 neighbor invites day-before; after the open house, leave 10–20 informational door hangers.
- Offer a 1-page neighborhood snapshot with walk times (3–5 minutes) to parks and transit.
- Keep litter-free zones; retrieve every sign within 30 minutes of closing.
Your Essential Print + Signage Kit
A complete open house kit includes directionals, a property-front sign with riders, and branded print collateral. Pair A-frames with riders, add a foyer sign-in station, and stock 30–50 brochure packs. Refill mid-event and keep a spare stack in your vehicle for quick swaps.
Use these proven items our real estate clients rely on week after week.
- Open house signs with interchangeable riders for times and arrows.
- Directional signs for the last 0.5–1.0 mile of approach roads.
- Custom riders (Just Listed, Price Reduced, Arrow) for quick swaps.
- Real estate signs for the lawn or post at the property frontage.
- Brochures, flyers, and postcards for take-home kits; add door hangers for neighbors.
- Agent business cards to attach to every brochure stack (30–50 minimum).
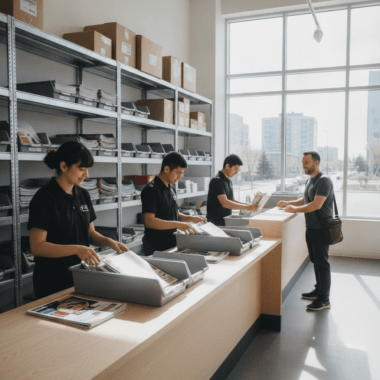
Need it today? Explore our same-day pickup options in Mississauga and grab essentials before showtime.
| Item | Purpose | Pro Tip |
|---|---|---|
| Directional A-frames (6–10) | Guide drivers the final 0.5–1.0 mile | Place 250–400 ft before turns on 35–45 mph roads |
| Frontage sign + rider | Grab attention at the curb | Limit to 5–7 words; tilt 5–10° toward traffic |
| Roll-up banner | Branding in condos/townhomes | Set beside elevator/lobby within allowed rules |
| Brochures (30–50) | Feature digest and photos | Tri-fold keeps info scannable in 6 panels |
| Postcards (30–50) | Take-home reminder | Include QR for virtual tour access |
| Business cards (30–50) | Contact handoff | Attach to brochure stacks with a paper clip |
Friendly heads-up: If you’re short on time, our team can prepare your open house bundle for pickup at 5004 Timberlea Blvd Unit#18. Ask about bundled printing so everything matches your brokerage brand.
Safety, Accessibility, and Event Etiquette
Keep safety and inclusivity central: clear 36-inch pathways, avoid open flames, place non-slip mats, and post a simple “watch your step” sign where needed. Minimize trip hazards, secure pets, and keep valuables out of sight. A thoughtful plan protects guests and your seller’s home while improving buyer comfort.
- Accessibility: Maintain 36-inch routes; avoid tight corner tables; position brochures between 34–48 inches high.
- Slip/trip prevention: Non-slip mats inside the door; cable-manage any chargers behind furniture.
- Scent and air: Neutral over perfumed; open two windows 2–3 inches each to create cross-ventilation.
- Pets & kids: Post a small note at the foyer; provide a shoe tray with 12–16 pairs capacity.
- Neighbor courtesy: Leave a door hanger after the event to thank neighbors and confirm signs were removed.
Frequently Asked Questions
Answer common open house questions quickly: how many signs to use, what to print, and when to arrive. Aim for 6–10 directional signs, stock 30–50 brochure packs, and get on site 60 minutes early. Keep pathways clear, avoid candles, and follow any HOA or municipal sign rules.
How many signs do I need for a typical open house?
Most agents see strong results with 6–10 directional signs plus one property-front sign and 1–2 riders. Use more on winding approaches or where speed limits exceed 35 mph, and add a roll-up banner for condos where lobby rules allow.
What should be on my entry table?
Keep it simple and scannable: a welcome sign, sign-in clipboard, hand sanitizer, stacked brochures, a few postcards, and your business cards. Leave at least 36 inches of clear walkway and place the table at a natural pinch point so every guest sees it.
What’s the best arrival time for setup?
Arrive about 60 minutes early. Spend 25–35 minutes placing street signs, 15–20 minutes staging the entry, and 5–10 minutes testing the walk-through. That schedule leaves a buffer to solve parking, wind, or lighting issues before the first guest.
Do I need riders, and what do they do?
Yes—riders add context in seconds. Use arrows, “Today 1–4 PM,” “Just Listed,” or neighborhood names. They help buyers confirm they’re in the right place and can double as quick updates without reprinting an entire sign.
Additional Resources
Use these resources to refine your open house setup and buyer outreach. Review signage categories, explore same-day pickup, and scan examples from active property pages. Keep a checklist and reuse your best-performing layout for future showings.
- Browse our curated open house signs for fast ordering.
- See directionals and arrows in directional signs for clear wayfinding.
- Customize quick-swap riders in custom riders to update times or arrows.
- Plan pickup with same-day printing Mississauga when timelines are tight.
- See practical listing context on open house property pages.
- Scan a general for-sale-by-owner guide and property listing examples for layout inspiration.
Key Takeaways
Use 6–10 directionals, one strong curb sign with a rider, and a neat entry table to capture leads. Keep 36-inch pathways, restock every 45 minutes, and photograph your best layout to repeat it. Consistent branding and a simple route make your open house feel effortless.
- Plan routes and sign placements before event day; arrive 60 minutes early.
- Use riders for quick updates; keep curb text to 5–7 words.
- Stock 30–50 brochure packs and combine them with your business card.
- Measure success: sign-ins, quality conversations, and post-event follow-ups within 24 hours.