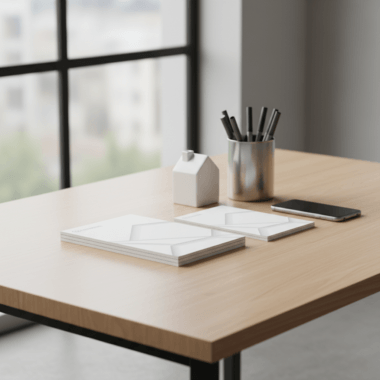


Mississauga large format printing for events is the professional production of oversized graphics—banners, backdrops, floor decals, posters, and wayfinding—built to move people and amplify brands. From our shop at 5004 Timberlea Blvd Unit#18, Top Realtor Sign & Print delivers same-day options, in-house design, and local pickup so your show opens on time and on brand.
By Ashwani — Top Realtor Sign & Print
Last updated: 2026-06-01
At a Glance: Summary
Plan event signage by mapping attendee flow, choosing durable substrates for each space, and locking artwork specs early. Local Mississauga production compresses timelines and reduces risk. Use this guide to align creative, print, and installation for a smooth day-of experience across the Regional Municipality of Peel.
Great events don’t happen by accident; they’re choreographed. The right message at the right distance eliminates confusion and raises engagement. In our experience serving realtors and local businesses across Ontario, the most successful programs follow a repeatable plan and rely on a responsive, nearby print partner.
- What large-format event printing includes and when to use each format
- Why local production near Mississauga venues saves hours
- How to translate goals into a signage plan and timeline
- Design, accessibility, and file-spec best practices
- Real examples, checklists, and a soft CTA to get started
Above the Fold: Why this guide matters + quick table of contents
If your signage plan is late or unclear, setup runs long, booths miss traffic, and teams waste hours. This guide gives you the exact steps, formats, and specs we use daily so you can print, pick up locally, and install with confidence—no reprints, no guesswork.
Use this linked outline to jump to what you need now.
- What is large-format event printing?
- Why Mississauga large-format printing for events matters
- How the event printing process works
- Types, materials, and best uses
- Design and accessibility best practices
- Artwork specs, files, and proofing
- Installation and on-site logistics
- Local printing advantages at 5004 Timberlea Blvd Unit#18
- Tools, resources, and templates
- Real examples and use cases
- Frequently Asked Questions
- Key Takeaways + Next steps
What is large-format event printing?
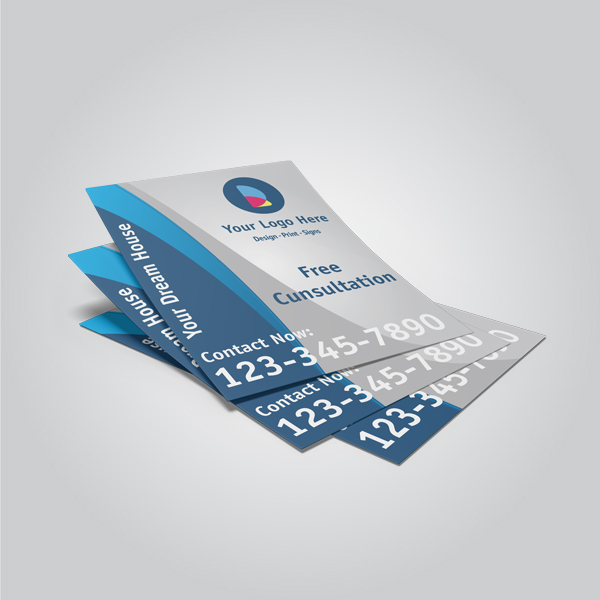
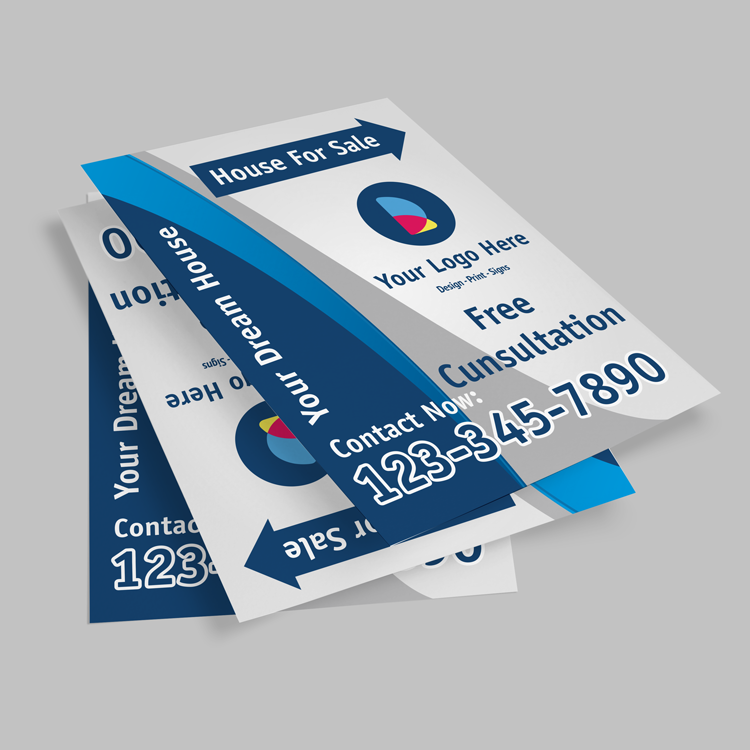
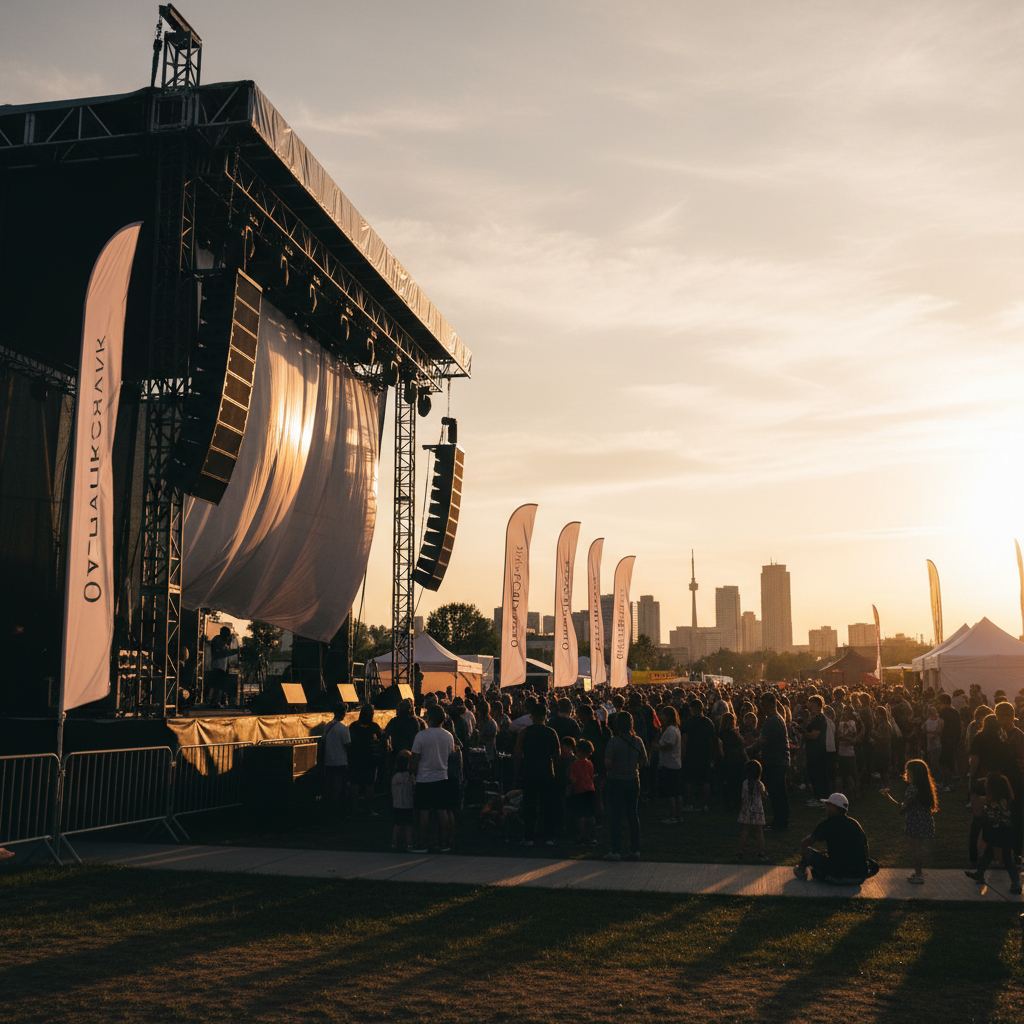
Large-format event printing refers to oversized visuals—from 18 inches wide up to full media walls—engineered for readability at distance. Typical pieces include step-and-repeat backdrops, retractable banners, foam board signs, floor decals, and outdoor flags chosen to match viewing distance and venue rules.
Event signage has three core jobs: attract, inform, and direct. Most programs blend hero graphics (stages and photo ops), persuasive displays (product walls and benefit boards), and utility signs (registration, schedules, and arrows). Sizes often range from 24×36 inch boards to 10×10 foot fabric backdrops, with letter height scaled for legibility: as a rule of thumb, 1 inch of letter height is readable at roughly 10 feet.
Essential outputs you’ll see at nearly every event
- Backdrops and media walls: Fabric or vinyl, typically 8–12 feet wide for photo moments and stages.
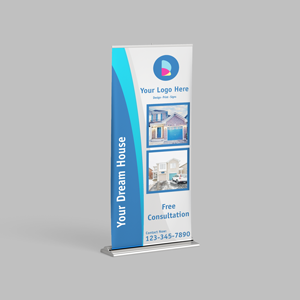
- Retractable banners: The 33×81 inch workhorse for lobbies, aisles, and sponsor callouts.
- Foam board and PVC signs: 18×24 to 24×36 inches for schedules, maps, and room IDs.
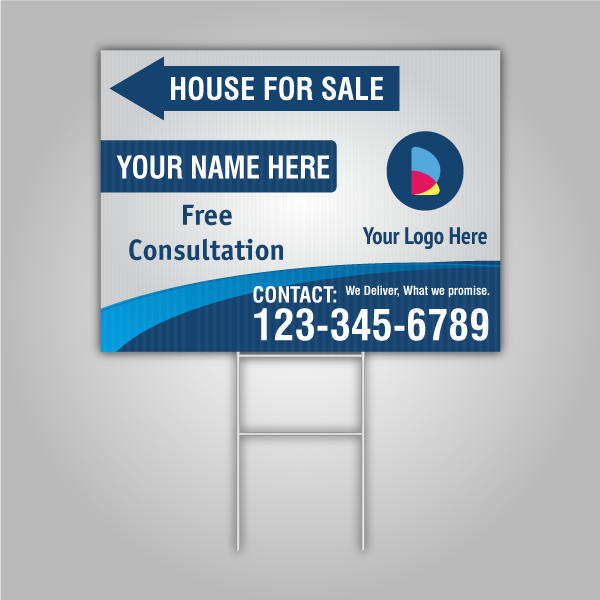
- Directional arrows: Coroplast with H-stakes or foam board on easels to guide foot traffic.
- Floor graphics: Slip-resistant vinyl to mark queues and branded paths.
- Flags and outdoor banners: Feather flags and scrim vinyl to draw eyes at distance.
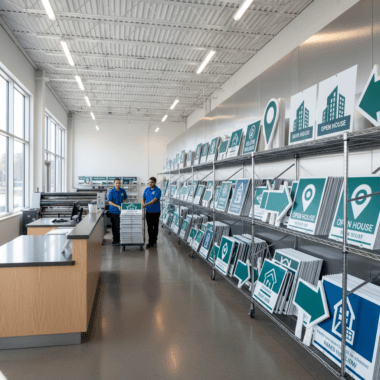
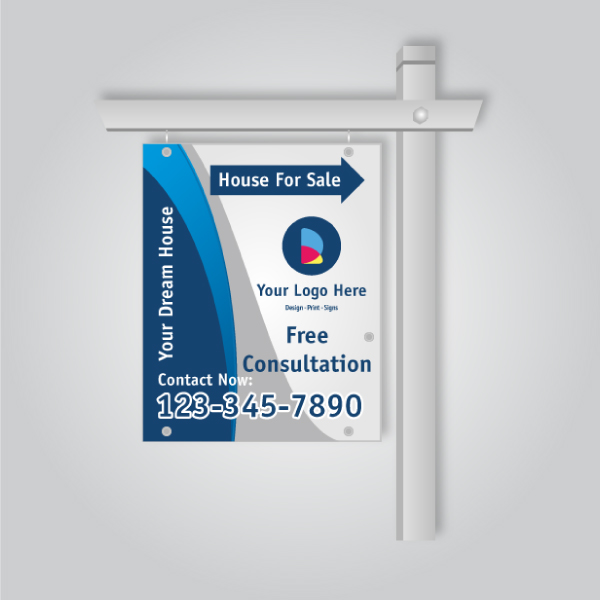
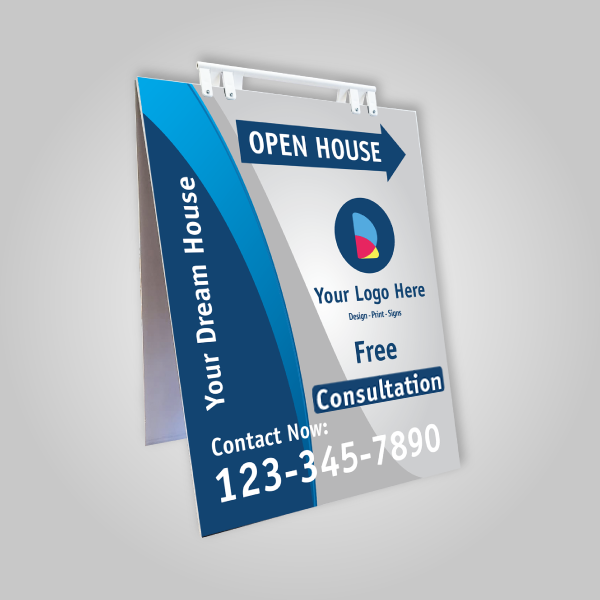
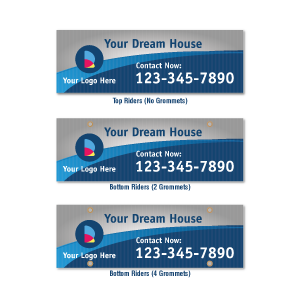
We produce these daily in Mississauga, pairing substrates to conditions—matte for camera-friendly photos, rigid boards for crisp schedules, and scrim vinyl where wind or foot traffic demand durability. For real estate teams, we often complement event kits with Open House and Directional signs, plus custom riders when listings and events overlap. If you’ve wondered what is a rider sign used for, it’s a modular way to add timely messages above your core signage without a full reprint.
Why Mississauga large-format printing for events matters
In a dense local calendar, clear signage speeds arrivals, lifts booth traffic, and standardizes brand moments. Keeping production in Mississauga cuts shipping risk, enables same-day pivots, and aligns with venue requirements before you print, especially across the Regional Municipality of Peel.
Mississauga’s event rhythm is fast—corporate trainings, broker open houses, campus fairs, condo launches, and community festivals often finalize layouts 3–5 days before doors. Local pickup from our 5004 Timberlea Blvd Unit#18 shop removes courier uncertainty, and in-person proofing reduces color surprises or hardware mismatches on show day. When a last-minute sponsor logo appears or a room assignment shifts, a nearby print partner turns stress into a quick detour.
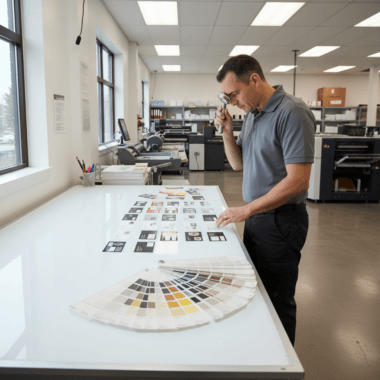
Lighting and ambient color vary by venue. Warm halogen in lobbies can shift brand reds, while cool LED on the show floor can desaturate blues. A small physical proof under both lighting conditions helps you keep brand color faithful. For staging that needs balanced light, guidance from industry venues can help. According to Mississauga Convention Centre, even illumination across backdrops prevents hot spots and banding in photos—useful when planning stage media walls and photo areas.
How the event printing process works
Successful programs follow a five-stage flow: set goals, map the attendee journey, choose materials, finalize art and specs, then produce, deliver, and install. Lock approvals early and reserve the final 48 hours for print and finishing so on-site setup runs predictably.
- Clarify goals: Registrations, booth visits, demos, photo shares, or lead captures.
- Journey map: Entrance → info desk → session rooms → expo aisles → exit.
- Sign plan: Match each touchpoint to a format, size, finish, and hardware.
- Artwork: Build print-ready files with bleeds, safe zones, and outlined fonts.
- Production: Print, laminate (if needed), trim, pack, and hardware-fit for install.
Typical timeline we recommend
| Stage | Lead time | Notes |
|---|---|---|
| Discovery | 2–3 weeks out | Collect brand assets; confirm venue specs and restrictions. |
| Design & proof | 7–10 days out | One digital proof; optional on-site color swatch. |
| Approval lock | 5 days out | All sizes, quantities, substrates, and hardware finalized. |
| Print & finish | 2–3 days out | Production, lamination, trimming, stand fitting. |
| Pickup/Install | Show‑1 to Show‑0 | Local pickup or coordinated load-in windows. |
When real life compresses that schedule, we prioritize fast movers. Retractable banners, foam boards, posters, and basic coroplast can be turned quickly without sacrificing quality. Our team keeps in-house equipment calibrated for rush work so last-minute changes don’t derail your start time.
Want help choosing between retractables and larger pop-up displays? See our quick comparison in roll-up vs. pop-up displays for setup speed, footprint, and reusability insights.
Types, materials, and best uses
Match format to function: fabric for glare-free backdrops, scrim vinyl for durable banners, foam board or PVC for rigid indoor signs, and coroplast for lightweight, budget-friendly directionals. Add anti-slip laminates for floors and weighted bases for outdoor flags.
Common formats and where they shine
| Format | Best for | Typical size | Material | Key advantage |
|---|---|---|---|---|
| Fabric backdrop | Photo ops, stages | 8×8 to 12×8 ft | Polyester knit | Matte, wrinkle-resistant, camera-friendly |
| Retractable banner | Entrances, aisles | 33×81 in | PET/non-curl film | Portable, fast setup, reusable |
| Foam board sign | Schedules, maps | 24×36 in | 3/16″ foam core | Crisp print, lightweight, easy to mount |
| PVC board | Reusable signage | 18×24 to 24×36 in | 3–6 mm PVC | Durable, clean edges, longer life |
| Coroplast | Directional arrows | 18×24 in | 4 mm corrugated PP | Weather-ready, economical, great for stakes |
| Floor decals | Wayfinding, queues | Custom | Vinyl + anti-slip lam | Safe traction, keeps lines moving |
| Feather flags | Outdoor draws | 8–15 ft | Poly fabric | High visibility at distance |
For indoor photography, fabric or non-glare finishes keep skin tones natural and prevent reflections. In high-traffic halls, PET films resist edge curl. Outdoors, add wind slits to banners and use water or sand bases for flags to prevent tipping during gusts. For table communication, see our tips on open house table cards—a simple add-on for check-in counters and sponsor tables.
Need a retractable fast? Our roll-up banners are built for quick assembly and repeated use, ideal for lobby placement and tight timelines.
Design and accessibility best practices
Prioritize legibility: short headlines, strong contrast, and generous negative space. Keep key copy in a safe zone clear of grommets, poles, and trims. Use one clear message per sign so attendees process it in under three seconds as they move.
- Hierarchy first: One idea per sign. Headlines 2–3× the body text.
- Viewing distance: 1 inch letter height ≈ 10 feet readability.
- Color contrast: Pair light/dark hues for visibility in mixed lighting.
- Photography: On retractables, keep faces above the center to avoid base hardware.
- Bleeds & safe zones: Add 0.125–0.25 inch bleed; keep vital text clear of trims and seams.
- Accessibility: Favor high-contrast palettes and clear icons; avoid text over busy textures.
Staging also matters. According to Mississauga Convention Centre, angled entries and open corners increase approachability and improve booth flow. We’ve seen that pairing one hero backdrop with two flanking retractables builds a strong visual frame without blocking foot traffic.
For realtor activations, align materials with brokerage brand guidelines across business cards, flyers, and signs. Our realtor marketing checklist helps maintain consistency from event graphics to take-home collateral.
Artwork specs, files, and proofing
Build at final size with 100–150 PPI for large pieces, vector logos, and outlined fonts. Export high-quality PDFs with bleeds and crop marks. When color accuracy matters, request a small physical proof under both warm and cool light before running the full set.
- Resolution: 100–150 PPI at final size (higher for close-view boards like 18×24 inches).
- Color: CMYK with embedded profile; reserve spot colors for brand-critical elements.
- Fonts: Outline or package; avoid missing glyphs that trigger substitutions.
- Rich black: Use a balanced build (e.g., C60 M40 Y40 K100) for dense areas.
- Panels: For wide walls, design with seam overlap and alignment marks.
We preflight files in-house and flag issues such as low-res imagery or trim conflicts. For teams without design software, our browser-based editor makes it easy to place logos, set safe margins, and export print-ready PDFs without guesswork.
New to picking a provider? Start here: how to choose a print shop—a quick framework for evaluating speed, proofing, and support.
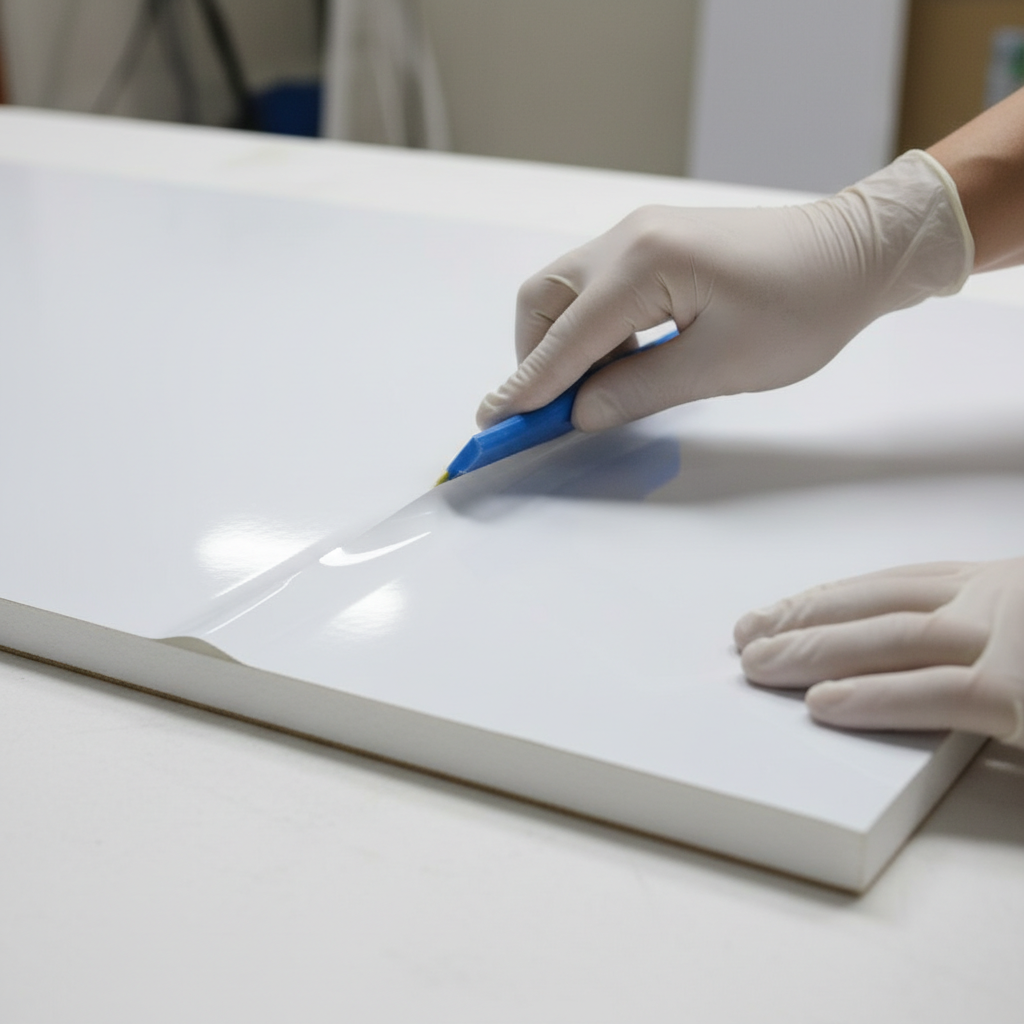
Installation and on-site logistics
Walk the space before load-in, confirm power, ceiling height, and mounting rules, and stage signage by zone. Bring spare hardware, gaffer tape, and zip ties. Photograph final placements to speed teardown and plan reusability for the next event.
- Load-in prep: Label each sign by location; pack hardware with the sign.
- Hardware: X-bases for pavement, water bases for turf, sandbags for indoor safety.
- Compliance: Keep aisles and exit sightlines clear; follow venue clearance rules.
- Teardown kit: Gloves, blades, tape, zip ties, wipes, and spare end caps.
Booth layout choices influence results. According to Mississauga Convention Centre, balanced focal points and uncluttered entries improve time-on-stand and photo opportunities. We see the same on realtor launches: a 10-foot fabric wall centered behind a table, plus two side banners, draws the eye without creating bottlenecks.
Local printing advantages at 5004 Timberlea Blvd Unit#18
Local Mississauga production reduces risk, compresses timelines, and lets you proof in person. Our 5004 Timberlea Blvd Unit#18 location serves the Regional Municipality of Peel with same-day pickup, quick reprints, and last-minute changes without relying on couriers.
We’re minutes from major corridors, which makes load-ins predictable. Clients often pull into the lot, check a retractable’s mechanics, and drive straight to setup with confidence. We also see fewer damages versus shipped rolls, and we can address a missed sponsor or room change the same day. Nearby campuses and community venues benefit from this agility when schedules shift.
Local considerations for 5004 Timberlea Blvd Unit#18
- Plan pickups outside peak times near Tomken Station East Platform A to avoid delays.
- Expect wind gusts at open lots; choose heavier bases for flags in shoulder seasons.
- Universities nearby (e.g., Stanford International College) often host fairs; confirm table sizes to right-size runner banners.
Soft CTA: Want a 10-minute sanity check on your signage list? Bring your draft to our counter at 5004 Timberlea Blvd Unit#18 and we’ll help right-size formats and hardware before you print.
Tools, resources, and templates
Speed execution with an online design tool, preflight checklists, and size templates for common pieces. Keep a shared spec sheet listing each sign’s size, substrate, finish, hardware, and placement so on-site teams don’t need to guess.
- Design: Use our browser-based editor for banners, boards, and flyers—no software required.
- Templates: Retractable banner, 24×36 foam board, 8×8 backdrop, feather flag.
- Checklists: Preflight, load-in, and teardown kits; labeled bins per zone.
- Brand kit: Logos, fonts, and CMYK values; photo usage rules for faces and logos.
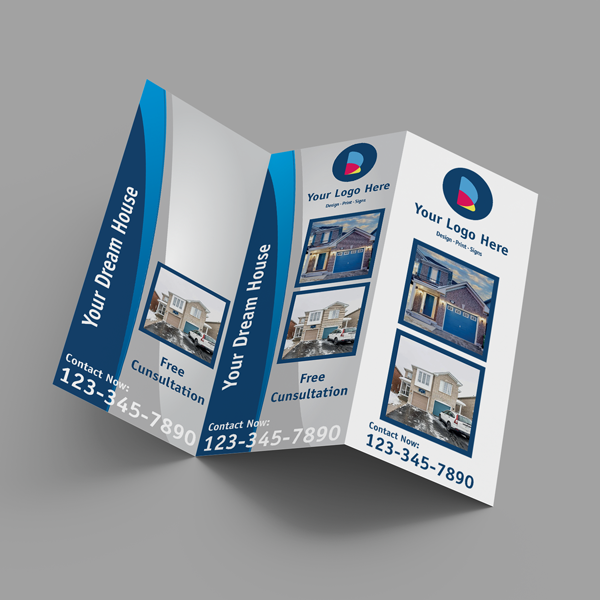
For realtor teams, pair event graphics with take-home materials—business cards, flyers, and brochures—to extend the conversation beyond the booth. If timing is tight, consult our turnaround guide to prioritize what can print fastest without compromising finish quality.
Real examples and use cases
Across broker opens, corporate trainings, and community fairs, the most effective kits pair one hero backdrop with 3–5 directional and schedule signs plus two retractable banners. This mix balances impact and wayfinding without cluttering aisles or booth entries.
- Broker open house: 8×8 photo wall, two 33×81 retractables, four directional coroplasts, and one 24×36 schedule on an easel.
- Condo launch lobby: 10-foot fabric wall, two PVC feature boards, and floor arrows to model suite tours.
- Campus fair: Two feather flags outside, roll-ups at each building entry, and foam boards at every table.
- Community festival: Mesh fence banners, a stage backdrop, a sponsor board, and wayfinding to restrooms and first aid.
- Training day: PVC room IDs, 24×36 schedules, and color-coded floor decals guiding attendees between sessions.
For recurring programs, we store your artwork and specs so the next run only updates dates or sponsors. Durable hardware—retractable cartridges, telescoping poles, and weighted flag bases—extends value over multiple outings. For open houses that segue into weekend events, our advice from open house signage best practices carries over: keep one message per sign, and place arrows where drivers decide.
Frequently Asked Questions
Most questions center on lead times, file specs, and venue rules. Aim for 7–10 days from design to pickup when possible; build files at 100–150 PPI at size; and confirm approvals for adhesives, hanging methods, and floor graphics before print to avoid rework.
How early should I finalize artwork?
Lock designs 5–7 days before your event to protect 2–3 days for print and finishing. For color-critical work, request a physical proof or on-press check, especially for backdrops and sponsor boards where photography is expected.
What resolution works best for big prints?
For large visuals viewed from several feet away, 100–150 PPI at final size prints cleanly. Use vector art for logos and icons, and embed or outline fonts to prevent substitution issues at the printer.
Can floor graphics be used at any venue?
Always check the venue’s rules for adhesives and finish requirements. Choose slip-resistant laminates rated for pedestrian areas and plan a small test patch when surfaces are delicate or newly finished.
What if a sponsor logo changes last minute?
Keep modular pieces—retractables, foam boards, and coroplast—ready for rapid swaps. With local production in Mississauga, we can reprint select items same day so your kit stays accurate without delaying setup.
Key Takeaways + Next steps
Great event signage is planned, not improvised. Map attendee flow, match materials to environment, proof early, and keep production local to Mississauga for speed and control. A simple, repeatable process avoids reprints and keeps your show on schedule.
- Start with goals and a journey map; set one message per sign.
- Use fabric for glare-free backdrops; PET or PVC for durable boards.
- Design at final size with 100–150 PPI, outlined fonts, and bleeds.
- Stage by zone, label everything, and photograph placements.
- Leverage same-day pickup at 5004 Timberlea Blvd Unit#18 for agility.
Ready to plan your next program? We’ll help you scope, template, and produce a clean, on-brand package—then support you on show day with pickup and last-minute tweaks. Explore fast options for roll-up banners or use our turnaround guide to prioritize what prints first.