








 Our Price Brochure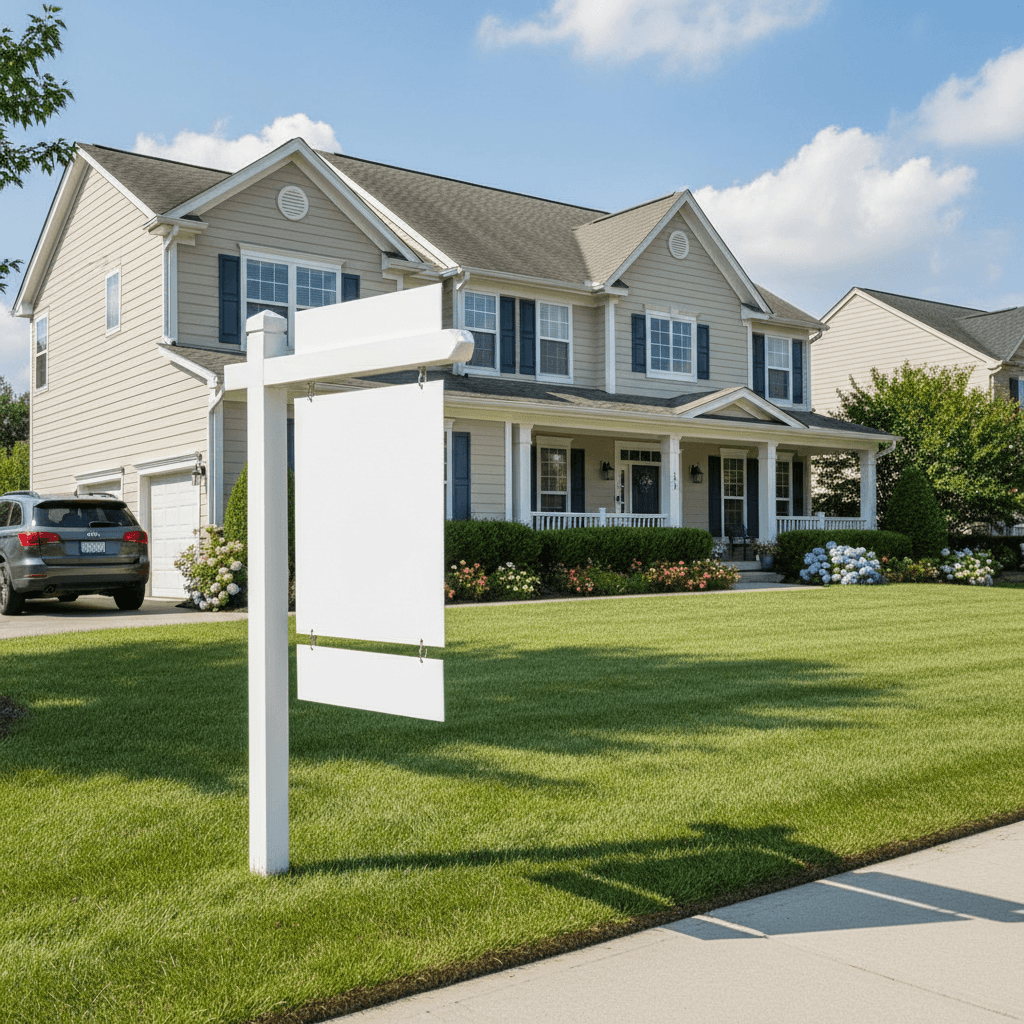
Realtor signage compliance basics are the rules that govern what your real estate signs can say, where they can go, and how long they can stay. At 5004 Timberlea Blvd Unit#18, our Top Realtor Sign & Print team helps agents follow these rules while producing standout For Sale, Open House, and directional signs that get attention—without risking fines.
By Ashwani — Top Realtor Sign & Print • Last updated: 2026-05-28
At a Glance
This guide distills the must-know rules for real estate signs into plain, actionable steps. You’ll learn what compliance means, why it matters, how different rules interact, and how to choose sign types, layouts, and placements that meet standards while maximizing visibility and lead flow.
- Quick definitions of signage compliance and how it applies to real estate marketing
- Simple framework: Federal/provincial, municipal, property, and brokerage brand rules
- Placement, size, rider, lighting, and duration guidelines by sign type
- Checklists, templates, and tools to speed up compliant design and ordering
- Local tips for Mississauga and the Regional Municipality of Peel
What Is Realtor Signage Compliance?
Realtor signage compliance is the practice of designing, placing, and maintaining real estate signs to meet advertising laws, municipal sign bylaws, property rules, and brokerage brand standards. The goal is simple: generate leads while avoiding violations, fines, takedowns, and reputational harm.
In our experience helping Ontario agents every day, compliance starts at the design stage and continues through installation and removal. The most efficient teams bake rules into their templates, so every new listing or open house runs on rails rather than custom one‑offs.
- Design compliance: Fair housing wording and imagery; readable broker ID and agent licensure where required; no misleading claims.
- Placement compliance: Municipal setbacks, A‑frame sidewalk rules, visibility/line‑of‑sight, and traffic safety standards.
- Lifecycle compliance: Duration limits, lighting rules, and timely removal after events or closings.
- Brand compliance: Brokerage color, logo, and minimum readable sizes across cards, banners, and signs.
Here’s the thing: once your base templates are right, compliance stops being a scramble. You’ll ship faster and make fewer mistakes—especially on urgent listings.
Why Signage Compliance Matters
Compliance protects your reputation, budget, and deal flow. Aligning with fair housing rules and municipal bylaws reduces complaint risk, prevents takedown orders or fines, and preserves brand trust—while keeping your signs visible long enough to convert drive‑by interest into showings.
We’ve seen avoidable issues derail momentum: missing broker identification; A‑frames outside allowed hours; riders left up after a sale. Each slip invites penalties or forces removal—right when you need visibility most.
- Risk reduction: Complaints, citations, and forced removals are time‑sinks you can largely prevent with the right setup.
- Listing velocity: Compliant, legible signs improve wayfinding and response, especially on busy weekends.
- Brand trust: Clear attribution and inclusive messaging project professionalism, which sellers and buyers remember.
- Team efficiency: Pre‑approved templates and checklists reduce back‑and‑forth and training overhead.
How Signage Compliance Works (Layer by Layer)
Think in layers: fair housing and advertising rules, municipal sign bylaws, property or HOA restrictions, and brokerage brand standards. Design to the strictest rule that applies. Then document your process so every listing, rider, and A‑frame follows the same checklist.
We organize compliance into four predictable layers you can audit in minutes:
- Fair housing and ad standards: Avoid discriminatory wording or imagery and use inclusive language. Many cities also restrict signs in medians or on utility poles.
- Property/HOA/condo rules: Some communities limit post height, rider count, or temporary signs on common elements.
- Brokerage brand standards: Required colors, logo clear space, font sizes, and mandatory disclaimers (e.g., REALTOR and MLS marks usage).
Document these once per market and review quarterly. When our clients centralize this knowledge in a one‑page playbook, new assistants and showing partners get productive much faster.
Types of Real Estate Signs and Typical Rules
Every sign type has a purpose and typical constraints. Yard posts focus on visibility and setbacks; A‑frames center on sidewalk safety and hours; directionals handle wayfinding; banners and window graphics emphasize property boundaries and permit triggers. Match your sign to the rule profile.
Top Realtor Sign & Print produces compliant options across formats so you can build a package for each listing:
Common sign types and where they shine
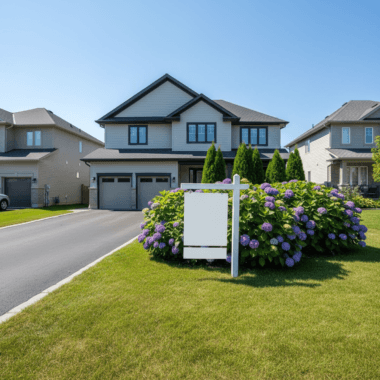
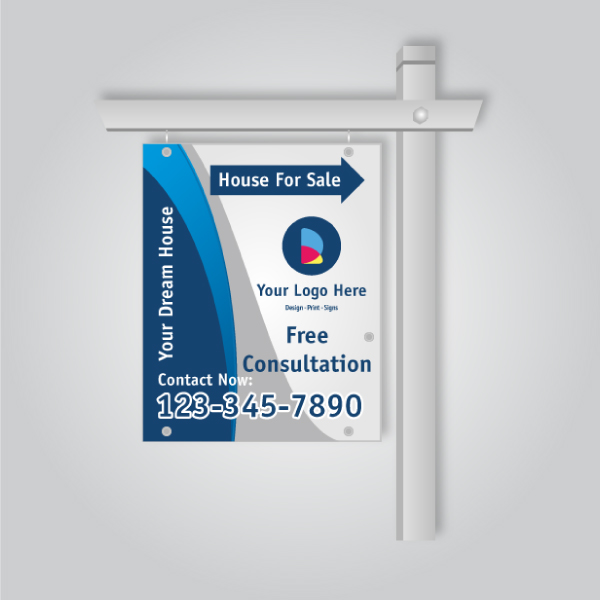
- Yard post-and-panel (For Sale): High street visibility, readable from 30–50 feet when using bold fonts and color contrast.
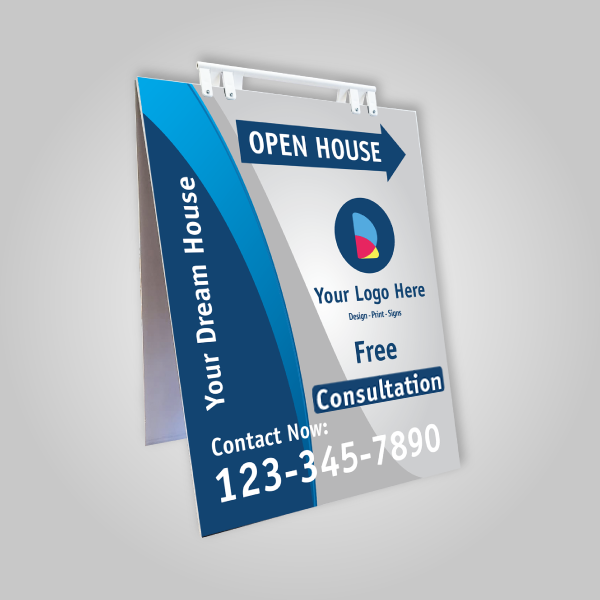
- A‑frame (Open House): Rapid deployment; typically limited to event hours and placement near the entrance without blocking accessibility.
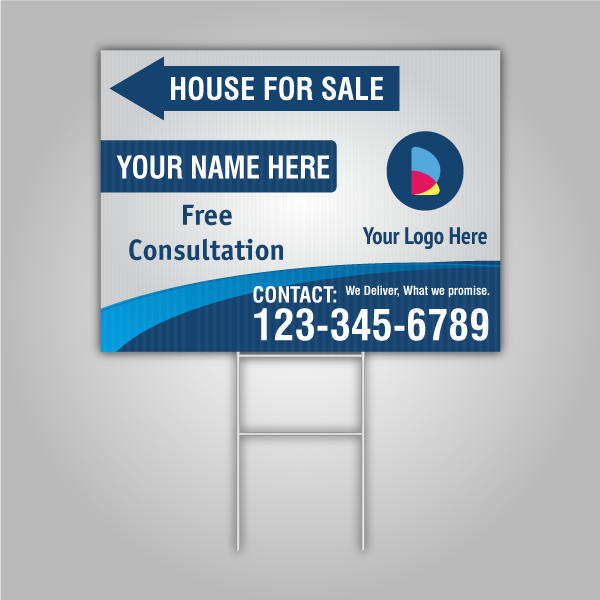
- Directional arrows: Strategic corners to guide traffic; avoid medians, utility poles, and private yards without permission.
- Riders: Compact information like “Coming Soon” or “Sold”; keep to allowed count and avoid clutter that reduces legibility.
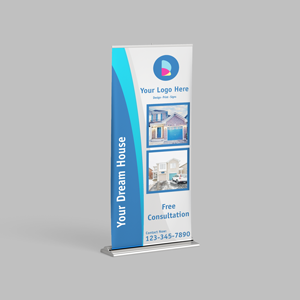
- Roll‑up banners: Great for indoor showings and broker opens; no wind load issues; easy to brand with brokerage assets.
- Window decals: Inside glass to stay on private property; mind local rules on coverage and egress visibility.
Use our sign sizes guide and design and placement tips to select readable dimensions and color contrast that meet typical standards.
| Sign Type | Primary Use | Common Constraints | Compliance Tips |
|---|---|---|---|
| Yard Post/Panel | Listing visibility | Height, setback, night lighting, duration | Choose reflective film only where permitted; confirm removal times after closing |
| A‑Frame | Open house foot traffic | Sidewalk clearance, hours of use, blockage hazards | Keep clear path for wheelchairs; deploy within allowed event window |
| Directional Arrow | Wayfinding | Off‑premises rules, medians/poles bans | Place only with permission on private property or where the city allows |
| Rider | Supplemental info | Count limits, size relative to panel | One or two riders max; use short, neutral wording |
| Roll‑Up Banner | Indoor events | Fire egress, interior pathways | Keep banners off exit routes; stabilized base for safety |
| Window Decal | Private property visibility | Coverage %, sightlines | Leave clear view for safety; avoid covering required notices |

Best Practices: Design, Placement, and Removal
Standardize your templates, use high-contrast legibility, add mandatory IDs, and map placements before installation. After events or closings, remove promptly. This checklist-driven approach reduces citations, preserves brand clarity, and gets your team in and out faster on busy listing days.
Design do’s that keep you safe
- Readable hierarchy: Brokerage name and logo, then the property callout; keep agent details clear and scannable.
- Inclusive language: Avoid phrases that imply preference or exclusion; use neutral, benefit‑focused wording.
- Contrast and size: Aim for bold color blocks and large sans‑serif fonts visible at driving speeds.
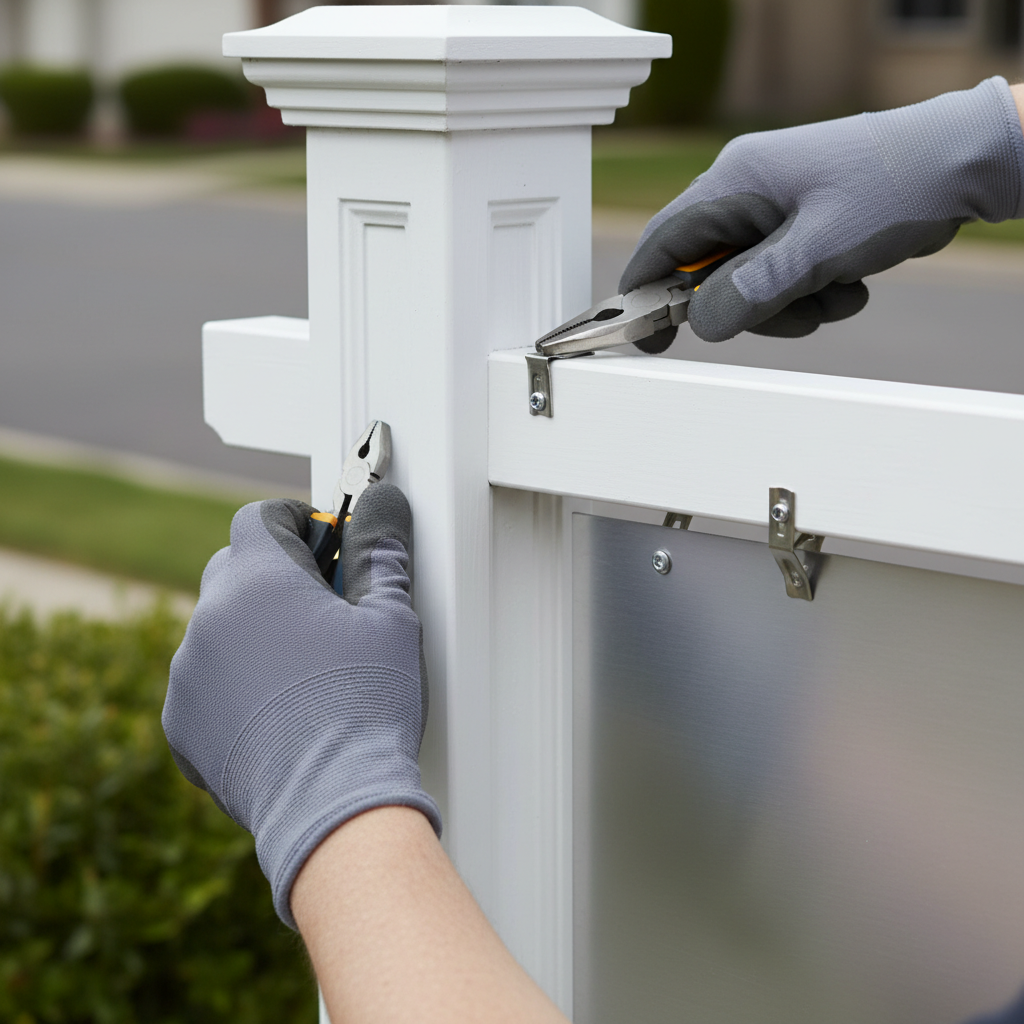
- Rider restraint: One to two riders max; ensure hardware is secure and doesn’t protrude into walk paths.
Placement principles that prevent problems
- Sidewalk safety: Keep A‑frames out of the pedestrian right‑of‑way; leave accessible clearance.
- Setbacks and sightlines: Don’t block intersections, hydrants, or driveways; prioritize visibility without creating hazards.
- Event windows: Deploy right before the open house; pick up immediately after to avoid complaints.
- Private vs. public: Obtain permission for off‑premises directionals; avoid medians and utility fixtures.
Removal discipline
- Post‑event sweeps: Assign responsibility and routes; use a simple map checklist.
- Lifecycle tagging: Tag signs with install date and responsible agent to ensure timely removal.
- Weather checks: After storms, confirm that posts and A‑frames remain secure and hazard‑free.
For more tactical help, bookmark our open house sign checklist and this realtor materials checklist to keep every campaign organized.