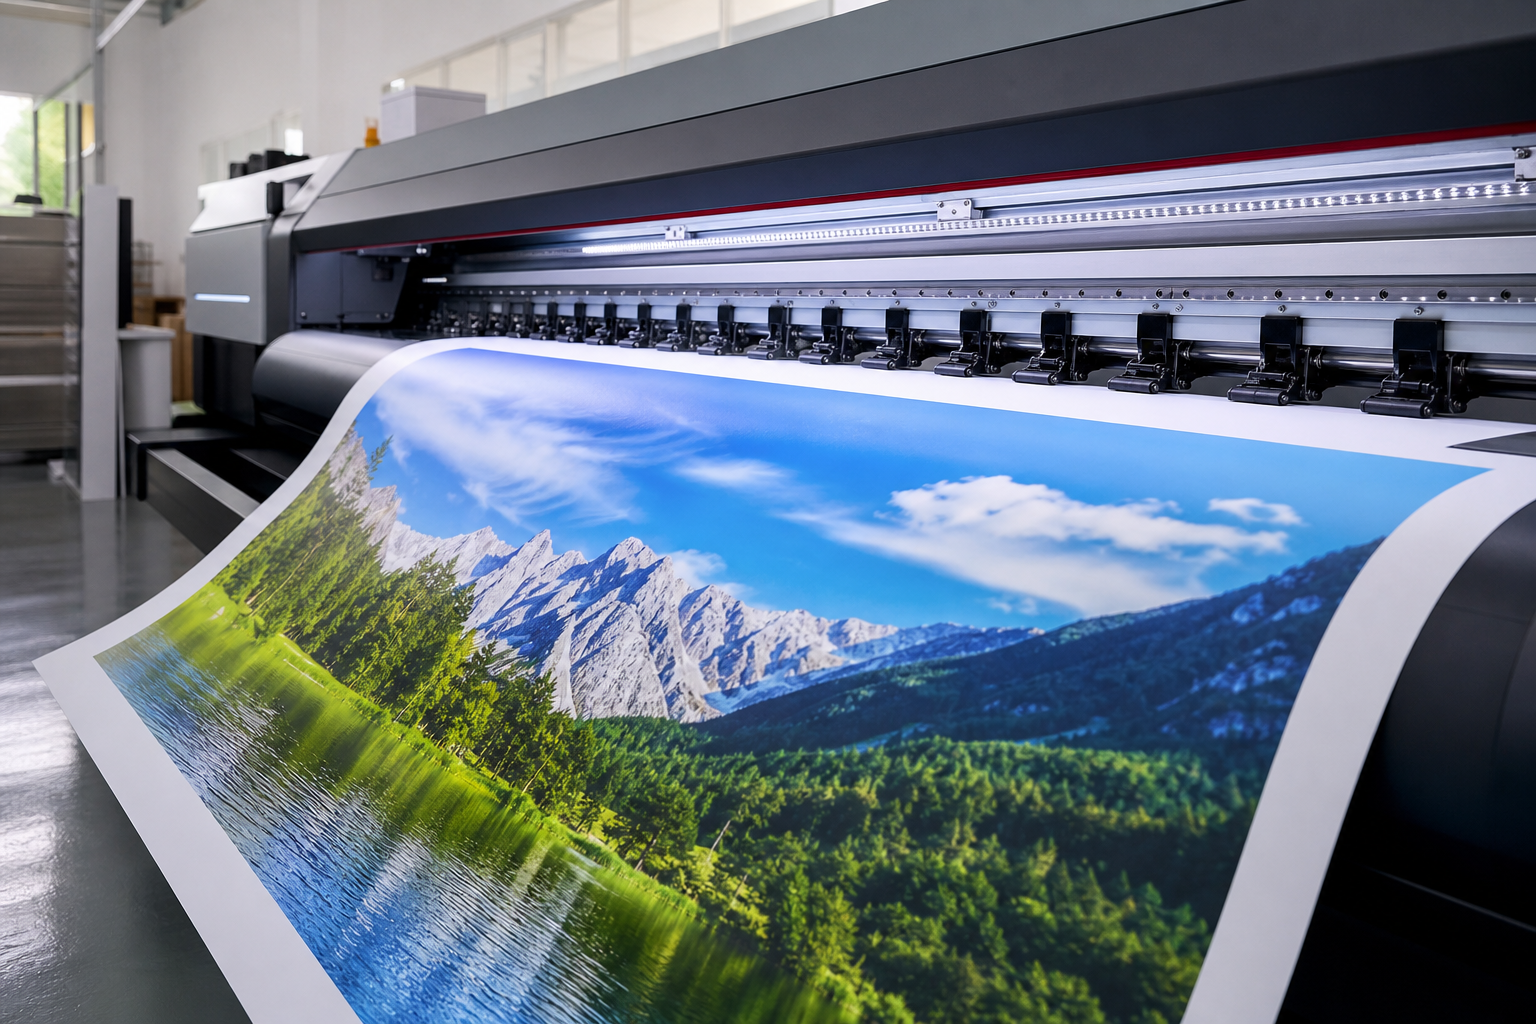
large format poster printing: sizing, materials, and file prep checklist
Large posters do a lot of heavy lifting—grabbing attention from a distance, guiding people to an event, or explaining an offer in seconds. But scale magnifies everything: design choices, file errors, and finishing details. Use this practical, step-by-step guide to plan, set up, and order large format poster printing with confidence.
Choose the right size and aspect ratio
Start by selecting a size that matches your viewing distance, placement, and available mounting space. Common large poster sizes include:
- 18 × 24 in (small-format poster with big impact in tighter spaces)
- 24 × 36 in (classic large poster for storefronts, corridors, and events)
- 27 × 40 in (common movie one-sheet size)
- 36 × 48 in (extra visibility for lobbies, trade shows, and outdoor boards)
- Custom dimensions (to fit frames, panels, or architectural constraints)
Tips for sizing decisions:
- Match content density to size: If you have more information or smaller graphics, scale up, or simplify.
- Respect aspect ratios: If your design is built for 24 × 36 (2:3), avoid stretching to 27 × 40. Re-layout if needed.
- Measure the environment: Check wall clearances, frame interiors, and any trim/mounting allowances before finalizing size.
Resolution, color modes, and file formats
Large format output doesn’t always need the same pixel density as small prints, because viewers stand farther away. Use these practical targets:
- Viewing distance under 3 ft (close-up): 200–300 DPI at final size.
- 3–6 ft: 150–200 DPI at final size.
- Beyond 6 ft: 100–150 DPI can still look crisp.
Color and file tips:
- Color mode: Many large-format workflows accept RGB or CMYK. If your printer specifies CMYK, convert using their recommended ICC profile to reduce surprises.
- Rich black: For deep black backgrounds, use a balanced rich black build (ask your printer for a preferred mix) rather than 100% K only.
- Spot colors: If your brand relies on specific Pantone values, confirm how they’ll be matched or approximated.
- File formats: PDF (press-ready), TIFF, or high-quality PNG are common. Embed fonts or outline text in PDFs, and avoid excessive compression artifacts in raster files.
Bleed, trim, and safe areas
Posters often need edge-to-edge color. Add bleed so minor trimming doesn’t reveal slivers of unprinted paper:
- Bleed: 0.125–0.25 in (3–6 mm) on all sides, unless otherwise specified.
- Trim line: Where the final cut occurs—don’t place critical content here.
- Safe area: Keep logos, headlines, and key details at least 0.25–0.5 in (6–12 mm) inside the trim.
For framed posters, allow extra safe margin so essential content isn’t hidden under frame lips or matting.
Material options: paper, synthetic, vinyl, and fabric
Material selection determines look, durability, and cost. Consider how long the poster should last, whether it faces sun or moisture, and if it will be reused.
- Photo/satin poster paper: Vibrant color and sharp detail; ideal for indoor displays, retail windows (behind glass), and presentations.
- Matte poster paper: Reduced glare under harsh lighting; better for readability, museums, and conference signage.
- Heavy card stock: Adds rigidity for easel or stand displays; still best indoors.
- Synthetic (polypropylene/polyester): Tear-resistant and more moisture-tolerant; good for semi-permanent indoor or light outdoor use.
- Vinyl (scrim or smooth): Highly durable for outdoor visibility; supports grommets, hemming, and long-term displays.
- Fabric/textile: Soft, crease-resistant options for trade shows and backdrops; travels well and reduces glare.
Finishing extras like lamination or mounting evolve a basic print into a durable sign—see below for details.
Finishing choices that boost durability and polish
Choose finishes to match environment, handling, and brand feel:
- Lamination: Gloss for punchy color, matte for anti-glare, and velvet/soft-touch for a premium feel. Lamination adds scuff resistance and extends life.
- Mounting: Apply the poster to foam board, gator board, PVC, or corrugated plastic for rigid displays, wayfinding, and presentations.
- Encapsulation: Sealed lamination (oversized on all edges) for extra moisture protection in high-touch or humid areas.
- Grommets or pole pockets: For hanging, stage backdrops, or outdoor displays where hardware is required.
- Protective coatings: UV-resistant options can help mitigate fading for sun-exposed installations.
Design for readability at a distance
In large format, legibility beats ornamentation. Test your layout from the intended viewing distance before finalizing.
- Visual hierarchy: One clear focal message (headline or key visual) should dominate. Sub-messages and body text follow.
- Type sizes: As a rule of thumb, approximately 1 inch of letter height for every 10–12 feet of viewing distance helps main headlines stand out. Adjust for font weight and lighting.
- Contrast: Dark-on-light or light-on-dark contrasts enhance glanceability; avoid low-contrast overlays on busy photos.
- Whitespace: Big space, big breathing room. Don’t crowd edges or stack dense paragraphs.
- Imagery: Use high-resolution images; avoid over-sharpening that can halo at scale.
- Brand consistency: Lock in correct colors and logo clearspace; use vector logos for crisp edges.
Printing technologies and what they mean for your poster
While specific equipment varies, understanding broad categories helps align expectations:
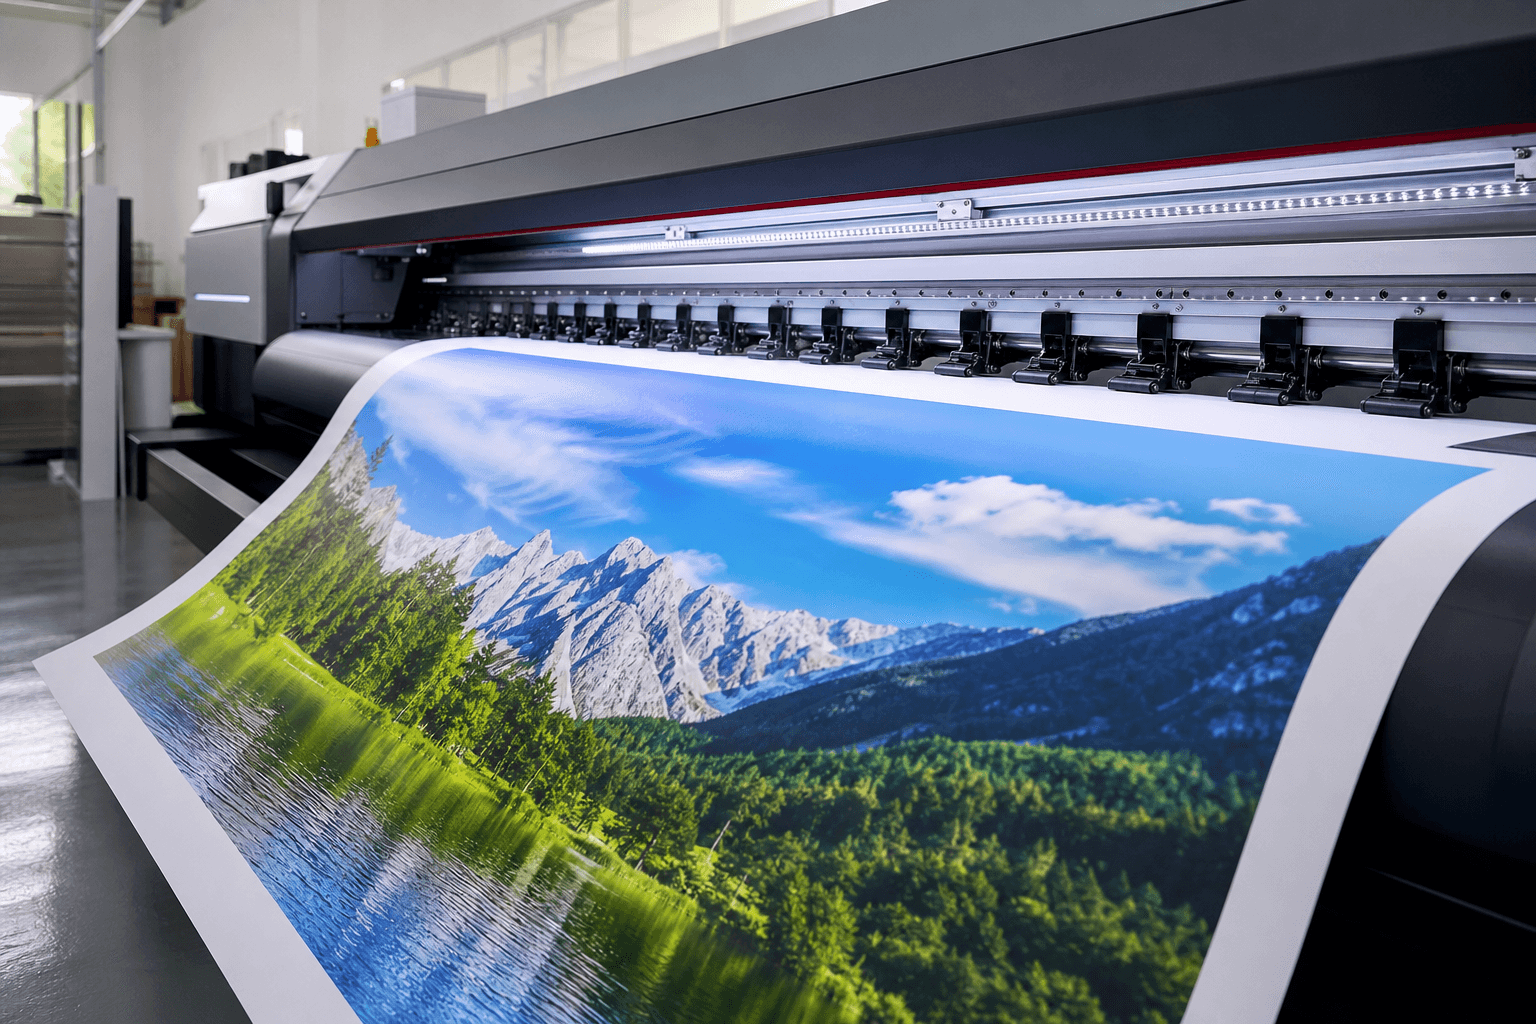
- Aqueous inkjet: Excellent photo quality for indoor posters; pair with appropriate coatings for durability.
- Latex/Resin inkjet: Versatile, fast-curing inks suitable for indoor and outdoor applications with good scratch resistance.
- UV-curable inkjet: Inks cure under UV light on a wide range of materials, including rigid boards; durable with strong color.
- Eco-solvent/solvent inkjet: Often used for vinyl and durable outdoor graphics with robust adhesion.
Ask your print provider which process they’ll use for your chosen material and finish, especially if color fidelity or surface texture is critical.
Installation, transport, and handling tips
A flawless print can still fail in the last mile. Plan for safe transport and clean installs:
- Transport tubes or rigid mailers: Protect edges from dents and creases.
- Clean surfaces: Wipe down walls, glass, or panels to ensure adhesives or mounts grip well.
- Level and spacing: For multi-panel posters, use a level and consistent gaps; mark lightly with painter’s tape first.
- Temporary vs. permanent: Choose removable adhesives for short campaigns; consider mounting boards for longevity.
- Avoid direct sunlight when possible: Prolongs vibrancy; combine with UV protection if sun is unavoidable.
Sustainability considerations
If environmental impact matters to your organization, include it in your brief from day one:
- Paper choices: Ask about recycled content, FSC-certified stocks, or responsibly sourced papers.
- Inks and coatings: Water-based and certain resin/latex inks may support lower-VOC objectives compared to some alternatives.
- Longevity vs. single-use: Durable, reusable posters reduce reprints. Consider modular designs where only dates or small panels change.
- End-of-life: Plan for recycling where possible; avoid mixing materials that hinder disposal.
Budgeting, timelines, and proofing
Prevent surprises by aligning scope, schedule, and sign-off:
- Quantity and size: Larger, thicker, or specialty materials cost more; bundle runs when possible.
- Finishing: Lamination, mounting, and hardware add cost and time; specify early.
- Color-critical work: Request a hard proof or test strip if exact color matching is essential.
- Lead time: Build in time for proofing, revisions, drying/curing, and finishing—not just printing.
- Shipping vs. pickup: Account for transit time and protective packaging.
Preflight checklist: send a print-ready poster the first time
Use this quick rundown before you upload or hand off files:
- Correct final size at 100%, or a clear scale noted (e.g., 50% at 300 DPI).
- Bleed added (0.125–0.25 in) and safe margins respected.
- Images meet target DPI at final size; no upscaling artifacts.
- Fonts embedded or outlined; no missing fonts or overset text.
- Color mode matches printer guidance (RGB or CMYK) with correct profiles.
- Black builds specified for rich backgrounds; overprint settings verified.
- Layers cleaned; remove hidden elements and unused swatches.
- Linked assets packaged or embedded; spot colors labeled.
- File format exported as press-ready PDF, TIFF, or PNG as requested.
- Proofread phone numbers, dates, URLs, and prices; have a second person review.
Common mistakes to avoid
- Designing at low resolution: It might look fine on screen but will blur at scale.
- Tiny body copy: If it’s smaller than comfortable reading size at a distance, it won’t be read.
- Insufficient contrast: Subtle color-on-color combinations wash out in real-world lighting.
- No bleed or tight margins: Risks thin white edges or clipped logos after trimming.
- Relying solely on screen color: Calibrate expectations with soft proofing or a physical proof for brand-critical hues.
- Last-minute finish changes: Switching to lamination or mounting at the end can alter schedule and budget.
FAQ: large format poster printing
What resolution do I need for a sharp large poster?
Match resolution to viewing distance. Aim for 200–300 DPI for close-up viewing under 3 feet, 150–200 DPI for mid-range, and 100–150 DPI for longer distances. Always check that your images meet these values at the final printed size.
Should I export in RGB or CMYK?
Both are used in large-format workflows. If your print provider specifies CMYK, convert using their recommended ICC profile. For brand-critical colors, ask about spot color handling or request a proof.
What’s the best material for an outdoor poster?
Durable choices like vinyl or certain synthetics perform well outdoors. Combine with grommets, hemming, or UV-protective finishes for longevity. For temporary outdoor postings behind glass, a heavy photo or matte paper can suffice, but moisture protection is limited.
How do I prevent glare under bright lights?
Choose a matte paper or matte lamination to reduce reflections. Increase text-background contrast and avoid thin light type on bright or glossy photography.
Can I mount a poster without a frame?
Yes. Mount to foam board, gator board, or PVC for a clean, rigid look. Use command strips, standoffs, or easels depending on placement. For reusability, store mounted pieces flat and avoid extreme heat.
Next step
Ready to move from concept to a finished piece you can display? Visit Top Realtor Sign & Print to explore options and start your order: https://toprealtorshop.ca/