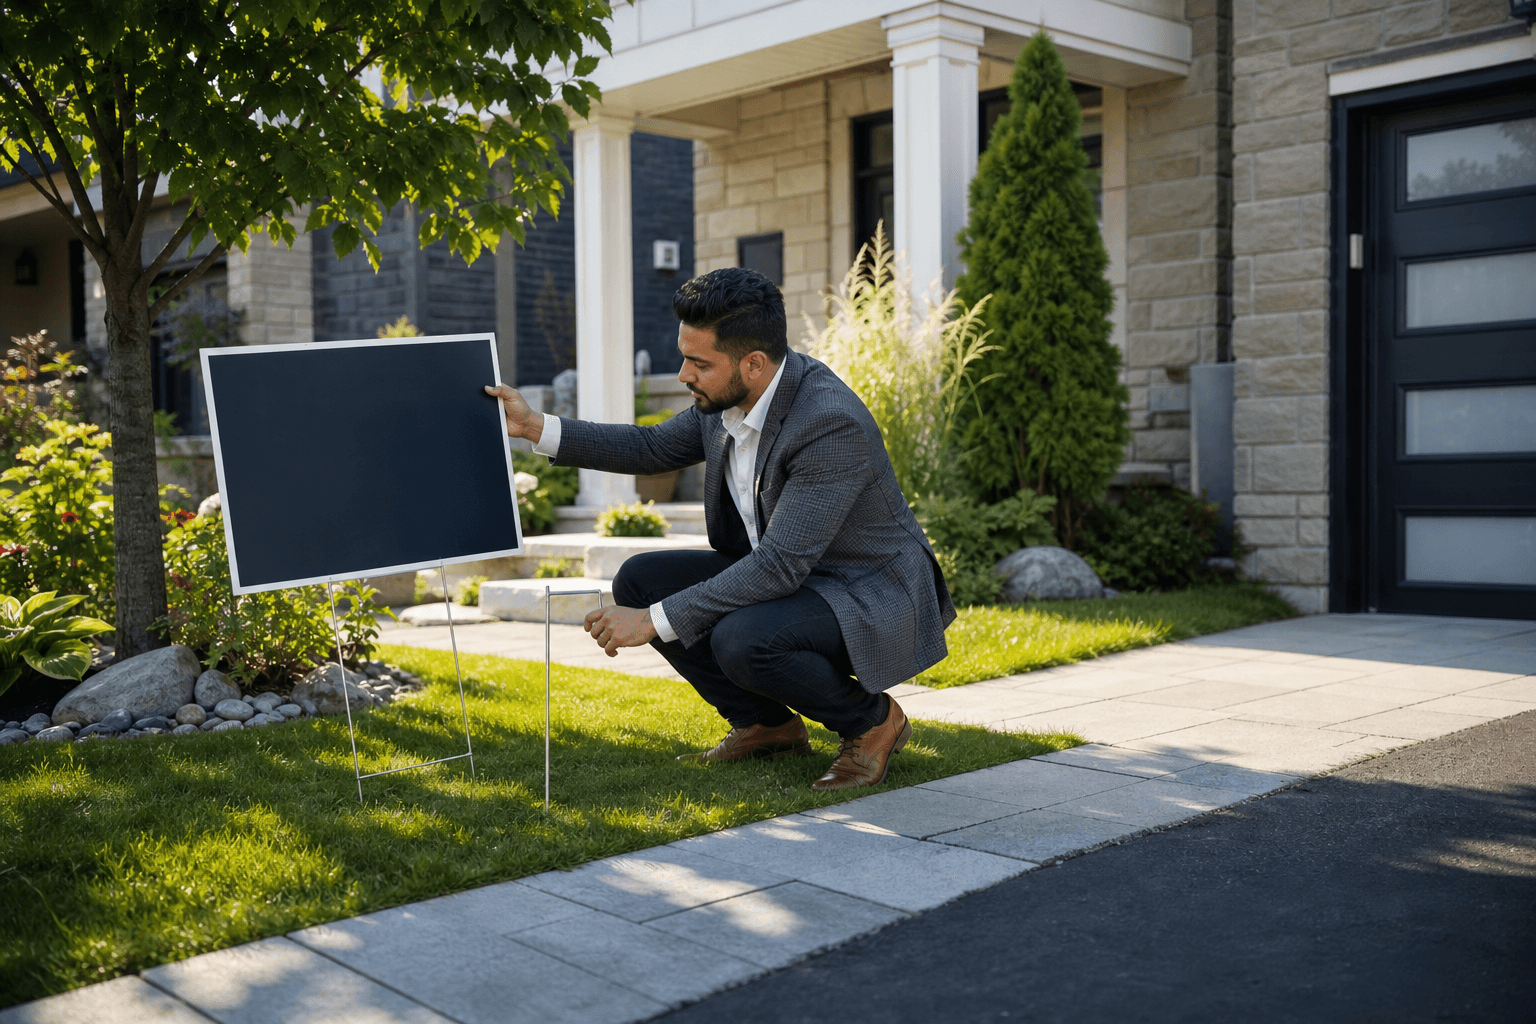
Yard sign installation can be straightforward, but the sign should not go into the ground until you have confirmed permission, checked for hazards, assessed the ground, and considered visibility. A stable-looking sign can still obstruct access, affect sightlines, or be placed somewhere it is not authorized.
This guide covers responsible placement for real estate signs, open house signs, directional signs, and similar yard signs. It explains installation and inspection only. Printing a sign does not automatically include physical delivery, setup, removal, or on-site installation.
Quick summary

- Confirm permission from the property owner or authorized party, then check applicable site or municipal requirements.
- Inspect the proposed location for boundaries, utilities, drainage, traffic, pedestrians, landscaping, and visibility problems.
- Stop if the ground is hard or frozen, a utility or buried obstruction is suspected, or the location is unsafe or restricted.
- Position the sign clearly, insert the stake with controlled pressure, and never force it into unknown ground.
- Check stability and visibility after installation, monitor the sign as conditions change, and remove it responsibly.
Before you start: confirm permission and conditions
Take a few minutes to verify the location before carrying a sign and stake to it. This preparation helps prevent a last-minute change, property complaint, blocked walkway, or unsafe installation.
1. Confirm permission and applicable rules

Start by identifying who controls the proposed location. For a listing, that may involve the property owner, brokerage, property manager, or another authorized party. For an event or local promotion, confirm permission with the relevant owner, organizer, or site manager.
Also verify any rules that may apply to the property, building, event, sidewalk, or roadside area. Requirements can differ by site, so do not assume that a location is permitted because another sign is already there. If you are unsure, ask the property owner, municipality, property manager, event organizer, or another appropriate authority before proceeding.
2. Inspect the proposed location
Walk around the intended area and view it from the direction people will approach. Check that the sign will be visible without creating a new obstruction or interfering with normal use of the property.
- Confirm that the location is within the authorized property or display area.
- Keep entrances, walkways, driveways, ramps, and access routes clear.
- Check whether landscaping, parked vehicles, snow, or other objects will hide the sign.
- Consider whether the sign could interfere with vehicle movement or sightlines.
- Look for soft, eroded, waterlogged, hard, or uneven ground.
- Watch for irrigation, drainage, landscaping infrastructure, and other private systems.
For a directional sign, review the whole route rather than only one location. Each proposed placement needs its own permission and visibility check.
Stop before installing if you find a hazard
Do not continue simply because the sign is needed quickly. Stop and seek appropriate guidance if you suspect an underground utility, irrigation line, drainage system, buried structure, or other obstruction. Do not dig casually or drive a stake into unknown ground.
Pause the installation if the ground is frozen, unusually hard, unstable, waterlogged, or otherwise unsuitable for the stake and sign system. You should also stop if the intended position is beside a road or sidewalk with unclear permission, blocks visibility or access, sits on restricted property, or would require equipment or specialist knowledge you do not have.
3. Prepare the sign, stake, and basic equipment
Before installation, check that the printed sign is the correct one for the property or event and that its mounting points, edges, and support are undamaged. Use a stake or support compatible with the sign rather than improvising a connection that could loosen or damage the sign.
Depending on the product and location, basic preparation may include gloves and a simple hand tool. Follow the product instructions where available. Do not assume that every sign uses the same stake, mounting method, material, or ground-installation approach.
Choose the right sign for the job
For Sale signs identify a property being marketed. Open House signs support an event at a particular time, while directional signs help guide visitors along an approved route. The right choice depends on the purpose, location, message, and any brokerage or property requirements.
Top Realtor Sign & Print supplies For Sale signs, Open House signs, and Directional signs for real estate marketing, along with other sign and print materials. Sign production and design support should be treated separately from physical installation unless an installation arrangement has been confirmed directly.
Installing the yard sign step by step
4. Position the sign for clear, lawful visibility
Place the sign so its message faces the intended audience and can be read without requiring people to enter a hazardous area or obstructing a normal route. Keep the sign away from entrances, driveways, pedestrian paths, and locations where it could interfere with vehicles or obscure important sightlines.
Before inserting the stake, step back and view the proposed position from approaching directions. If the sign is hidden, angled away from viewers, or too close to an access route, move it while the ground is still undisturbed.
5. Insert the stake carefully
Position the stake where you have already checked the ground and use controlled hand pressure appropriate to the sign system and soil. Keep your hands clear of edges and avoid twisting the sign or support in a way that could damage it.
Do not force the stake, strike it without confirmed product instructions, or continue when it meets unexpected resistance. Resistance may indicate hard ground, buried material, roots, or a possible utility or private infrastructure concern. Stop and reassess rather than trying to overcome the obstruction.
6. Check stability without overclaiming
Once the sign is in place, make a gentle stability check. Confirm that the support is seated as intended, the sign is upright, and the connection between the sign and stake is secure. Avoid aggressive pulling or bending that could damage the sign or loosen the ground.
Stability at the moment of installation does not guarantee that the sign will remain secure in changing weather, wet soil, wind, or a high-exposure location. If the sign moves noticeably during a gentle check, reposition it only if the new location has been approved and inspected. Otherwise, remove it and seek guidance.
7. Complete a final visibility and safety inspection
Before leaving, perform one final walk-around. Confirm that:
- The sign is readable from the intended approach.
- Vegetation, parked vehicles, snow, or other objects do not hide the message.
- The sign does not block a walkway, entrance, driveway, ramp, or access route.
- The sign is not leaning into a path or creating an exposed edge or other avoidable hazard.
- The sign remains within the authorized location.
- The stake and sign are not visibly damaged or loose.
If any answer is no, do not treat the installation as finished. Correct the issue only when you can do so without entering an unsafe area or violating the permission and rules for the site.
After installation: monitor and remove the sign responsibly
Installation is not the end of the task. Recheck the sign if conditions change, if someone reports a problem, or if the sign appears to have shifted. A sign that becomes loose, obstructive, damaged, or difficult to read should be addressed promptly.
Remove the sign when the approved display period ends or when the listing, open house, event, or promotion no longer requires it. Pull the support out carefully, avoid damaging the ground or nearby landscaping, and take all sign components with you. If the support cannot be removed safely, stop and obtain appropriate assistance rather than digging around unknown infrastructure.
Common yard sign situations
For Sale and Open House signs
For Sale signs generally support ongoing listing visibility, while Open House signs relate to a specific event and display period. Both should be placed only with the required permission and in a location where the message is visible without blocking access or creating a sightline concern.
Real estate professionals should also confirm brokerage branding, property-owner preferences, and any site-specific instructions before installation. A sign that looks appropriate in one property or neighbourhood may not be suitable for another location.
Directional signs for open houses and events
Directional signs need more than a suitable message. Review the route from the visitor’s likely starting point, decide where guidance is genuinely needed, and check every proposed placement separately.
Never assume that a verge, sidewalk edge, median, or roadside area is available for signage. Confirm permission and applicable requirements for each location, and remove the signs when the event or approved display period ends.
What to do when the ground is hard, frozen, or unsuitable
Stop instead of forcing the stake. Do not casually excavate, hammer through resistance, or move closer to a road, walkway, utility feature, or property boundary just to find softer ground.
Ask the property owner, site manager, municipality, utility provider, or an appropriate installation professional what alternative is approved for that location and sign system. If no suitable option is confirmed, do not install the sign there.
Printing a yard sign is different from installing one
Choosing the right sign starts with the intended use, message, location, and branding requirements. A Realtor may need a For Sale sign for a listing, an Open House sign for an event, or Directional signs for an approved visitor route.
Top Realtor Sign & Print is a Mississauga-based provider of real estate signage and print materials serving professionals across Ontario. Its offerings include For Sale, Open House, and Directional signs, as well as design support and an online design editor. The supplied business information does not confirm on-site installation, delivery, removal, or setup, so confirm those arrangements directly rather than assuming they are included with an order.
Frequently asked questions about yard sign installation
Do I need permission before installing a yard sign?
Yes, confirm permission with the property owner or another authorized party before placing the sign. You should also verify any site-specific or local requirements that may apply to the property, event, sidewalk, or roadside location.
What should I do if the ground is too hard for the stake?
Stop and do not force the stake. Hard ground can conceal roots, buried material, utilities, or private infrastructure. Seek an approved alternative or appropriate guidance for the specific location and sign system before continuing.
Can I place a yard sign beside a road or sidewalk?
Only after confirming that the location is authorized and does not create an access, visibility, property, or traffic concern. Roadside and sidewalk areas may be subject to rules that vary by location, so ask the relevant municipality, property owner, or site manager before placing a sign.
Does ordering a yard sign include installation?
Not necessarily. Sign printing, design, pickup, delivery, and physical installation are separate considerations. Ask the supplier to confirm exactly what is included before ordering, and make a separate plan for approved setup and removal if on-site installation is not offered.
Use a careful process for every yard sign installation
Safe yard sign installation begins before the stake touches the ground. Confirm permission, inspect the location, screen for utilities and access problems, and stop when the ground or surroundings are uncertain. Then position the sign for clear visibility, install it without forcing the support, and complete a final stability and access check.
For listing, open house, and event signage, a careful process protects the property, the people using it, and the purpose of the sign. When you need a For Sale sign, Open House sign, Directional sign, or design support, contact Top Realtor Sign & Print to discuss your print project. Confirm installation arrangements separately before ordering.