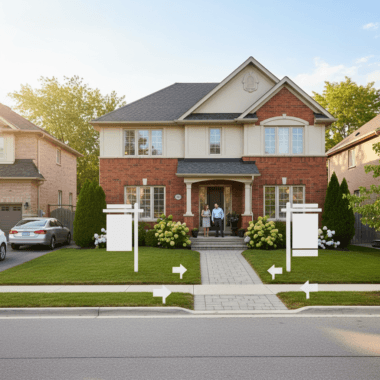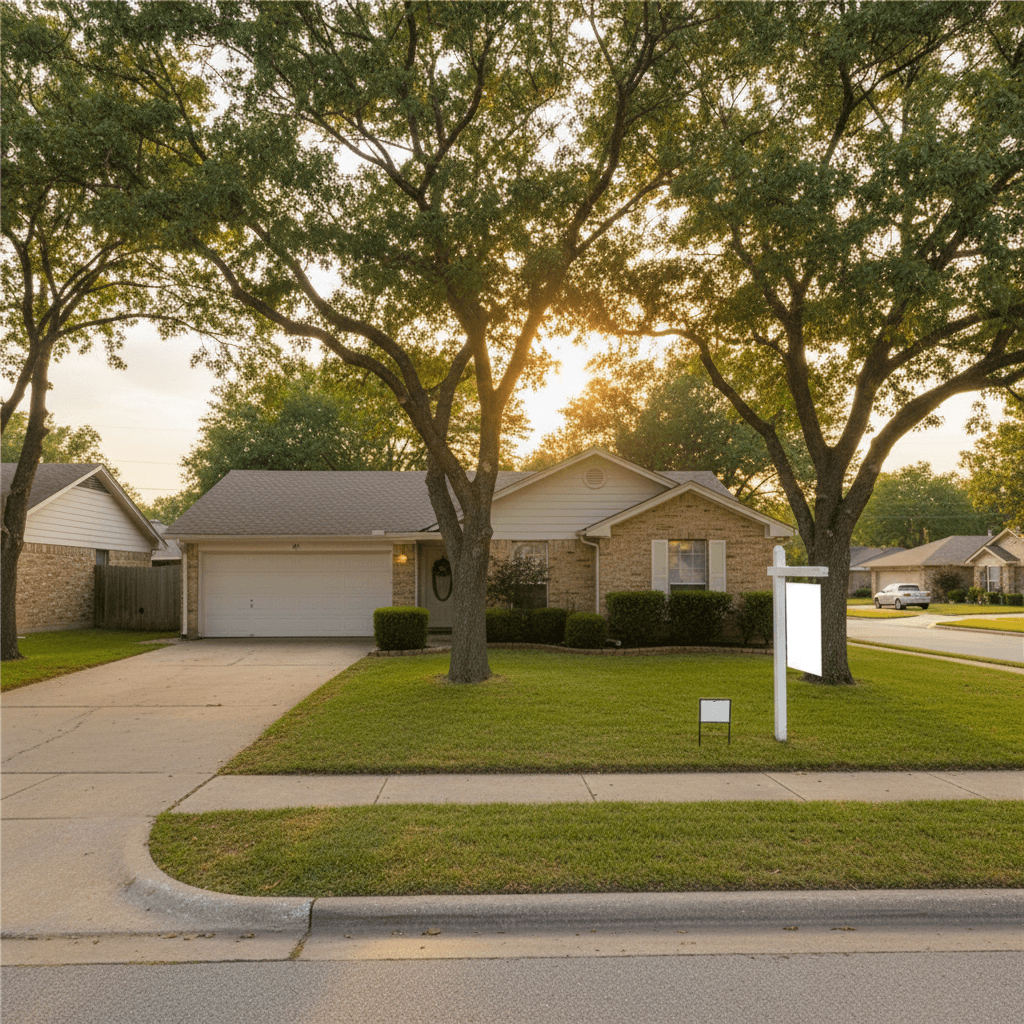
For sale sign vs open house sign refers to choosing the right on-site real estate signage for your goal: ongoing listing visibility or one-day traffic. At 5004 Timberlea Blvd Unit#18, Top Realtor Sign & Print helps agents deploy both—yard posts for presence and A-frames plus directionals for event turnout—so you never miss qualified buyers.
By Top Realtor Sign & Print • Last updated: 2026-06-06
Quick Summary
Use a For Sale sign to brand the property 24/7 and capture drive-by interest for weeks. Use Open House signs as short-term wayfinding to a timed event. The best results combine both: a post-mounted yard sign plus portable A-frames and directional arrows deployed 60–90 minutes before showtime.
Here’s what you’ll learn in this guide:
- The exact differences between a For Sale sign and an Open House sign
- A quick comparison table you can share with your team
- 10 field-tested tips to choose, place, and brand signs
- Local pickup guidance from our Mississauga shop for urgent listings
- How riders, QR codes, and directionals amplify results
Quick Comparison Table
For Sale signs are long-term, property-centered branding on a post or frame. Open House signs are short-term, portable wayfinding for a scheduled event. Pair them: permanent yard presence plus same-day A-frames and directional arrows set along feeder roads to maximize foot traffic.
| Factor | For Sale Sign | Open House Sign |
|---|---|---|
| Primary purpose | Branding + inquiry capture 24/7 | Same-day wayfinding to event |
| Typical placement | Front yard, property line, visible from street | Intersections, sidewalks, entry turns, property frontage |
| Duration | Weeks to months | 2–6 hours per event |
| Format | Post-mounted or frame; rigid panel | A-frame, H-stake, or directional arrow set |
| Best call-to-action | Phone, QR to listing page, brokerage branding | “Today”, arrows, time window, clear approach path |
| Add‑ons | Riders (Sold, Coming Soon, Features) | Directional arrows, balloons, feather flags |
| Recommended panel size | 24×18 in or 36×24 in | 24×18 in A-frame inserts; 24×6 in arrows |
| Material | Aluminum, ACM, or thick coroplast | Coroplast inserts for portability |
If you want a deeper dive on design and legibility, see our internal checklist on what makes a good For Sale sign and our step-by-step guide on how to choose open house signage.
Our Top Pick (Tip #1)
Run a combo: a post-mounted For Sale sign on the lawn for constant visibility, plus 6–10 portable Open House signs on event day. This pairing builds recognition over weeks while creating a clear path for same-day visitors, increasing foot traffic and lead capture.
In our experience supporting GTA agents, the highest-performing setup is simple:
- Permanent presence: Install a sturdy yard post with a 36×24 in panel for legibility at 30–50 ft.
- Event activation: Deploy 6–10 A-frames and directional arrows 60–90 minutes before start time.
- Brand continuity: Match brokerage colors, fonts, and logo across yard and event signs.
- Digital bridge: Add a QR code to the yard sign that links to photos, video, and a contact form.
Why it works: the yard post earns impressions from neighbors and drive-bys for weeks, while Open House signs create a navigable route the day of the event. For branding rules and placement basics, review our realtor signage compliance basics.
Tips #2–#10: Best Formats and Field Practices
Choose formats based on function: posts and rigid panels for sustained visibility; A-frames, H-stakes, and arrows for portable wayfinding. Keep copy minimal, increase contrast, and place signs at driver decision points. Use riders to communicate timely updates without reprinting panels.
Tip #2: Classic Post-Mounted For Sale Panel
- When to use: From live date to firm sale to anchor brand presence and capture inquiries 24/7.
- Specs: 36×24 in panel; post height 6–8 ft; reflective vinyl optional for dusk readability.
- Design cues: Brokerage logo, agent name, phone, QR code; no clutter—5–7 words max beyond contact.
- Local execution: Same-day pickup for panels is available on select formats through our Mississauga shop.
Take this example: an east‑of‑Tomken listing used a bold 36×24 in aluminum panel with a “Coming Soon” rider for one week, then swapped to “Open House Sat 1–4.” The rider flow kept messaging current without reprinting core panels.
Tip #3: Hanging Panel + Custom Riders
- Why riders matter: They broadcast timely info—Coming Soon, Price Reduced, Sold—using a small add‑on plate.
- Operational benefit: Swap riders in seconds; maintain compliance with brokerage brand rules.
- What to print: One big message per rider; high contrast; readable at 25–40 ft.
- Deep dive: See our signage advice on For Sale sign mistakes realtors make to avoid overcrowding.
Riders are also perfect for lead magnets like “Text for brochure” or “Scan for photos.” If you’re new to riders, we walk through use cases in our broader pillar content about what a rider sign is used for, and we implement them across our post systems daily.
Tip #4: Open House A-Frames at the Curb
- Purpose: Immediate curbside confirmation the event is live; sit at the sidewalk or driveway mouth.
- Copy rules: “Open House” + arrow + time window; keep it big, bold, and simple—no fine print.
- Count: Two A-frames at property frontage plus one at each key turn within 3–5 blocks.
- Where to order: Our Open House signs category includes durable, swap‑in inserts for repeat use.
A-frames excel because pedestrians, cyclists, and slow‑moving cars can read them at a glance. With interchangeable coroplast inserts, you can refresh arrows or times without replacing the frame.
Tip #5: Directional Arrow Stakes for Wayfinding
- Function: Create a breadcrumb trail from feeder roads to the listing; space signs every 200–300 ft.
- Build: Coroplast 24×6 in arrows on H-stakes; double‑sided print for two-way visibility.
- Count: 6–8 pieces typically cover a suburban grid; add more for cul‑de‑sacs or winding streets.
- Pro move: Angle arrows 15–30° toward the turn so drivers anticipate the maneuver.
We’ve found that a consistent arrow style reduces missed turns and late arrivals. Pair with a curbside A‑frame to confirm arrival at the property.
Tip #6: Feather Flags for Long-Sight Visibility
- Use case: Tall, motion‑catching flags signal “something is happening” from 300–500 ft.
- Placement: 8–12 ft back from the curb for safety; avoid blocking sidewalks.
- Messaging: Keep it minimal—brand colors and a large icon or arrow are enough.
- Seasonal note: Stake deeper in windy spring weather and remove in high‑wind advisories.
For weekly open houses, a reusable feather flag saves setup time and increases early spotting as drivers approach from afar.
Tip #7: Broker‑Branded Panels That Match Your Collateral
- Continuity: Align yard signs with your business cards, flyers, and brochures to reinforce recognition.
- Design tip: One dominant color, one font pairing, and generous white space beat busy layouts.
- Toolkit: Our online design editor lets you build print‑ready art without specialized software.
- Checklist: See the realtor marketing materials checklist to unify assets.
Brand consistency reduces cognitive load. When your sign matches your card and flyer handed at the door, people remember you.
Tip #8: Portable Sandwich Boards with Interchangeable Inserts
- Why it helps: Swap inserts for each listing or time slot; keep the frame and reuse weekly.
- Specs: 24×18 in double‑sided inserts; UV‑resistant inks improve longevity.
- Placement: One at the driveway and one at the nearest intersection to confirm routing.
- Compliance: Respect municipal rules about sidewalks and sightlines; never obstruct crossings.
Sandwich boards are a workhorse for agents doing back‑to‑back open houses, squeezing more events into fewer hours with minimal setup friction.
Tip #9: Multi‑Pack Lawn Stakes for Complex Grids
- When to scale: Use multi‑packs of 10–12 small arrows to conquer winding subdivisions.
- Spacing: 150–250 ft between arrows in low‑speed zones; closer near confusing turns.
- Clarity: Consistent arrow color, shape, and orientation keeps drivers confident.
- Pro tip: Walk the route once as a buyer would; adjust placements before the event starts.
We’ve seen attendance jump after tightening arrow spacing near tricky three‑way intersections. Small tweaks matter.
Tip #10: Add QR Codes and Tracking Numbers
- Goal: Attribute inquiries to signs versus portals; optimize future deployments.
- Setup: Unique QR for yard panel; a different QR for A‑frames; tracking phone line for yard only.
- Routing: QR to mobile‑friendly listing page; keep load times under 3 seconds.
- Pro tip: Shorten URLs; test scans from 10–15 ft to verify contrast and speed.
Data brings clarity. Over a month, you’ll learn how many calls the yard sign generates versus how many scans the open‑house trail drives, which informs your next deployment.
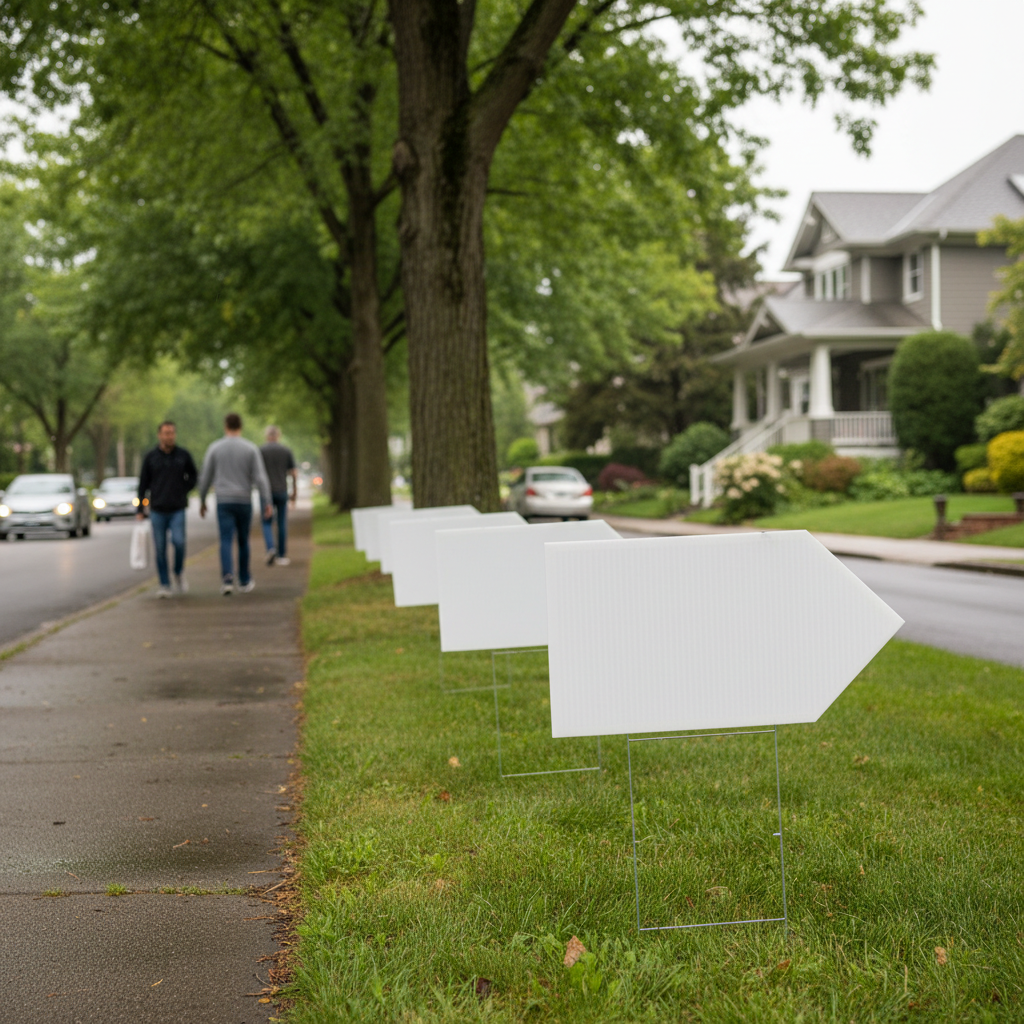
How to Choose Between a For Sale Sign and an Open House Sign
Decide by objective and timeline. For long‑term presence and brand recall, install a yard post with a large, simple panel. For a timed event, deploy portable A‑frames and directional arrows along driver decision points. When in doubt, run both and add riders to update messaging fast.
Use these decision filters:
- Objective: Awareness for weeks (yard post) vs. traffic today (A‑frames/arrows).
- Audience speed: Fast‑moving vehicles need few words and huge type; pedestrians can handle smaller panels.
- Runway: If the listing goes live mid‑week, get the yard post up first, then prep your open‑house kit.
- Weather: In windy or wet conditions, weight A‑frames and stake arrows deeper for stability.
- Compliance: Follow local sign bylaws; keep clear of sightlines, sidewalks, and medians.
Event timing matters. Weekend open houses often run 2–4 hours. Seasonal cycles also influence turnout; some months bring heavier foot traffic. For planning context, a local market perspective such as best time to sell insights can help you choose your weekend window.
Local considerations for 5004 Timberlea Blvd Unit#18
- Plan pickups around traffic near Tomken and Eglinton; if you’re bussing teams, note proximity to Tomken Station East Platform A for easy crew arrivals.
- Ontario springs are windy and wet—secure A‑frames with sandbags and drive H‑stakes deeper to avoid tipping.
- For pet‑heavy neighborhoods near Red Brush Park, place arrows a few feet off paths to keep trails clear and visible.
Buying Guide: Materials, Sizes, and Must‑Have Add‑Ons
Select rigid aluminum or ACM for long‑term yard panels, and coroplast for portable A‑frame inserts and arrow stakes. Use 36×24 in for yard panels and 24×18 in for A‑frames. Add riders, QR codes, and reflective vinyl to improve clarity, flexibility, and night visibility.
Core materials
- Aluminum/ACM (yard): Rigid, weather‑resistant, and professional. Best for multi‑week exposure.
- Coroplast (portable): Light, affordable, and perfect for A‑frames and H‑stakes.
- Reflective laminate: Optional upgrade to boost twilight legibility on busy streets.
Effective sizes
- Yard panels: 36×24 in for arterials; 24×18 in for low‑speed streets.
- A‑frame inserts: 24×18 in double‑sided; keep arrows huge.
- Directional arrows: 24×6 in; double‑sided with consistent color.
Design and content rules
- Contrast first: Dark text on light background or vice versa; avoid patterns behind text.
- Copy count: Yard: 5–7 words beyond contact; Open House: 3–4 elements total (Open House, arrow, time).
- QR codes: Minimum 1.25–1.5 in square; test scans from 10–15 ft.
- Brand system: Match your business cards, flyers, and brochures to build recognition.
Need inspiration? Our internal resources on open house signage and good For Sale signs include visual do’s and don’ts you can adapt instantly.
Need it fast? Swing by our Mississauga shop for same‑day pickup on select sign inserts and event kits. We’ll align your design, prep print‑ready files, and stage a ready‑to‑deploy bundle so you can focus on showings.
Our Top 10 Sign Picks (Complete List)
For consistent results, run this ten‑item kit: yard post + panel, two curbside A‑frames, 6–10 arrow stakes, a feather flag, two rider plates, portable sandwich board inserts, and QR codes with tracking. Together they build weeks of awareness and same‑day turnout.
- Yard post with 36×24 in panel (aluminum/ACM)
- Two 24×18 in A‑frames at the curb
- Six to ten double‑sided directional arrows on H‑stakes
- One feather flag for long‑sight visibility
- “Coming Soon” and “Open House” riders
- Portable sandwich board with interchangeable inserts
- Reflective vinyl upgrade for dusk legibility
- QR codes pointing to listing page
- Tracking number unique to the yard sign
- Brand‑matched flyers for door-to-door invites
Looking for a turnkey path? Our team can assemble this kit using your brokerage template and our online design tool so you’re show‑ready in hours—not days.
Methodology: How We Built These 10 Tips
These tips come from repeat deployments for GTA agents, in‑shop print specs, and field feedback on legibility and flow. We measured distance readability, setup time, and visitor routing, then standardized sizes, counts, and copy rules that consistently improve turnout and inquiries.
We derived our guidance from three inputs:
- Production data: Common sizes, materials, and finishes that survive Ontario weather.
- Field patterns: What actually gets read at 25–50 ft and which arrow trails reduce missed turns.
- Agent reports: Attendance windows (often 2–4 hours), prep times (60–90 minutes), and weekly cadence.
For broader real estate timing context that can affect turnout, you can browse market‑oriented explainers such as how listing cadence influences sales and this FSBO real estate guide for perspective on consumer behavior around signage and events.
Frequently Asked Questions
For Sale signs build continuous awareness; Open House signs drive event‑day traffic. Use both, keep copy minimal, and follow local rules. Below are concise answers agents ask us most before printing.
What’s the main difference between a For Sale sign and an Open House sign?
A For Sale sign is a long‑term, property‑centered marker that brands the listing and captures inquiries for weeks. An Open House sign is short‑term, portable wayfinding used for a timed event, often placed at intersections and the curb to guide visitors in real time.
How many Open House signs should I set out?
Plan 6–10 total: two A‑frames at the property frontage and several directional arrows at key turns within 3–5 blocks. Dense grids and confusing intersections may require additional arrows to prevent missed turns and late arrivals.
What size should my yard sign be for good readability?
For arterials and faster traffic, use a 36×24 in panel on a 6–8 ft post. On low‑speed residential streets, a 24×18 in panel can work. Keep contrast high and copy minimal so drivers can absorb the message in a second or two.
Do riders really help, or should I reprint the whole panel?
Riders are the fastest, cleanest way to update messaging—Coming Soon, Open House, Sold—without reprinting your main panel. They keep designs uncluttered and let you react to changes quickly while maintaining brand continuity.
Where can I get Open House signs on short notice in Mississauga?
Our Mississauga shop at 5004 Timberlea Blvd Unit#18 offers same‑day pickup on select A‑frame inserts and directional arrows. We also prep design files, align brand templates, and stage ready‑to‑deploy kits for weekend events.
Conclusion
Use a For Sale sign for lasting presence and an Open House sign set for same‑day turnout. Pair them, add riders and QR codes, and place signs at driver decision points. With local same‑day pickup, you can execute fast and keep branding tight.
Key takeaways:
- For Sale panels = long‑term visibility; Open House kits = event‑day wayfinding.
- Run 6–10 portable signs and a 36×24 in yard panel for reliable results.
- Keep copy minimal, contrast high, and arrows consistent.
- Riders and QR codes add agility and tracking without redesigning your core panel.
- Local pickup in Mississauga helps you meet tight listing timelines.
Ready to stage your next listing? Visit us in the Regional Municipality of Peel or reach out online—we’ll organize a sign kit you can deploy in under two hours.