What a roll up banner is and how it works
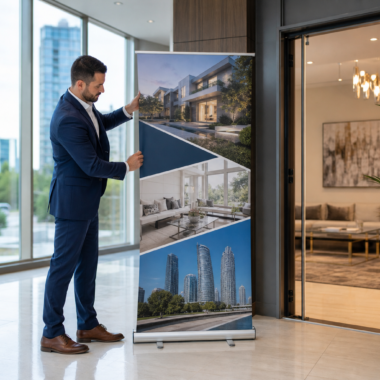
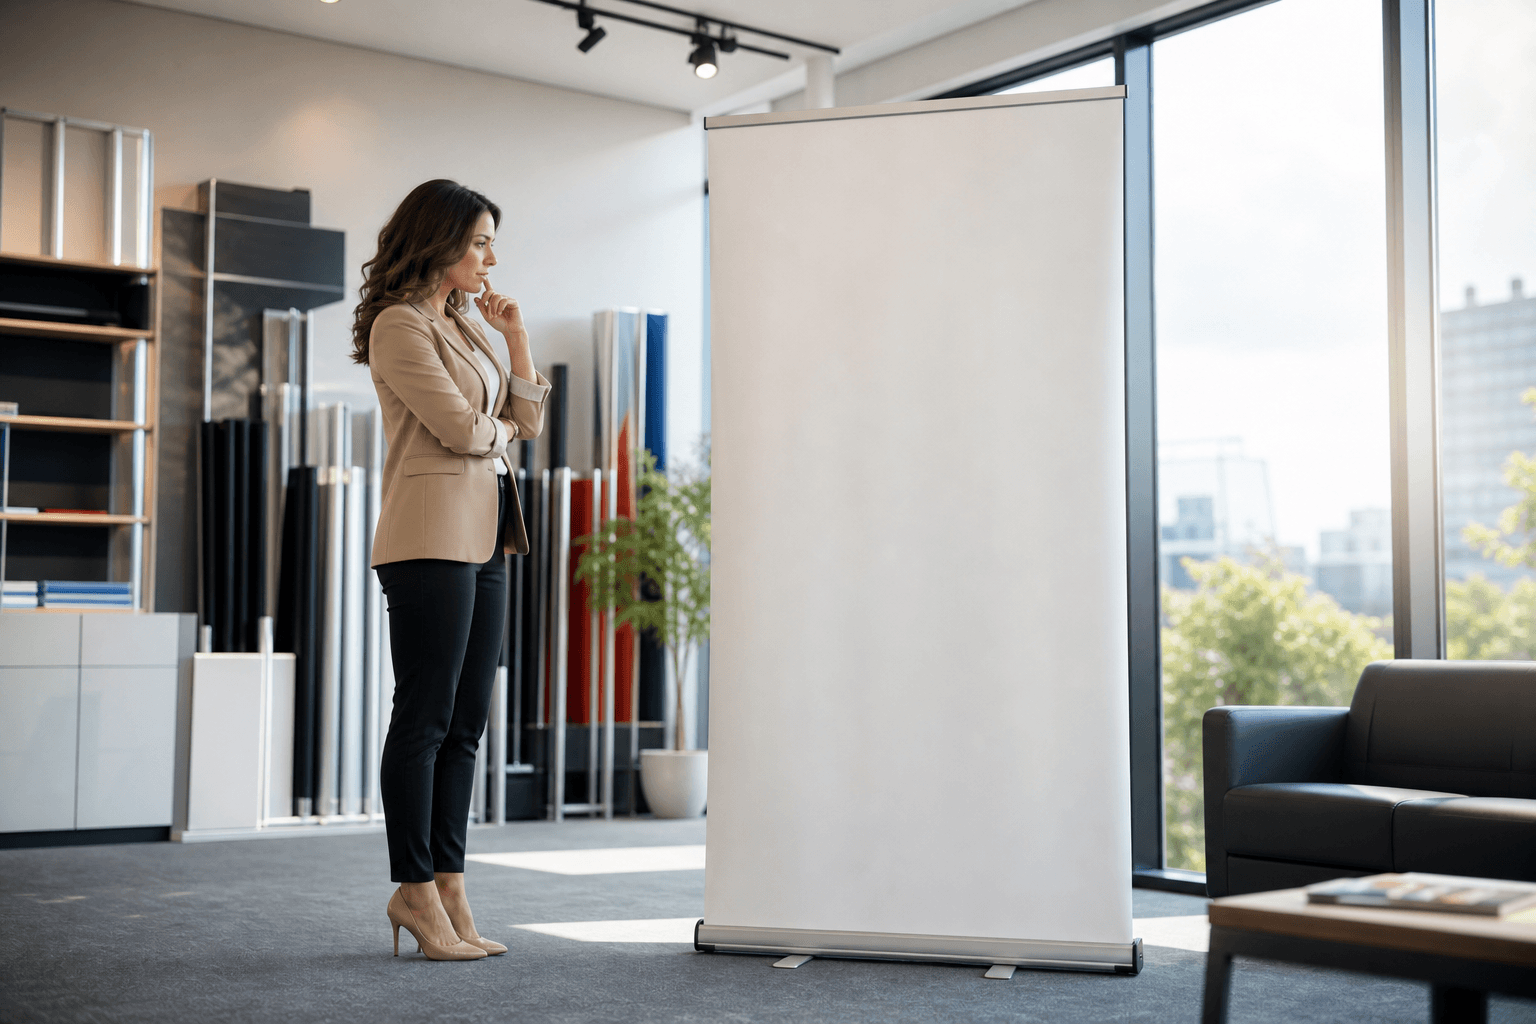
A roll up banner, sometimes called a retractable or rollup banner, is a printed graphic mounted to a reusable base that rolls the artwork into a protective cassette for transport. The hardware contains a spring mechanism so one person can set the banner up in seconds and pack it away the same way. Because the stand is reusable, the graphic can be swapped later without buying new hardware. That often makes retractable banners the most cost effective long-term option for recurring events or changing promotions. For a deeper comparison of banner types see the advice on vinyl and retractable options.
The format is engineered for portability and rapid installation, with most designs intended for indoor or sheltered use at receptions, open houses, trade show booths, or community events. If you plan to use a banner in an exposed outdoor location, read the section below on outdoor suitability and protective options.
When to choose a roll up banner: realtor and small-business use cases
Roll up banners are the right choice when you need:
- Fast, repeatable brand visibility for open houses and office receptions.
- An easy, professional backdrop for listing presentations or client meetings.
- Portable signage for trade shows and community events where quick install and teardown matter.
- A reusable stand you can refresh by replacing the printed graphic rather than the hardware.
For trade shows and exhibitions, organisers and printers commonly recommend finalizing artwork and production between 7 and 14 days before the event so you can reserve the correct stand and order extras if needed. Planning that lead time helps avoid last-minute rush fees and production problems.
When a banner will sit in the middle of a walkway or face two directions, consider a double-sided or island-style retractable so passersby can read the message from either approach.
Decision checklist: size, single vs double sided, and stand type
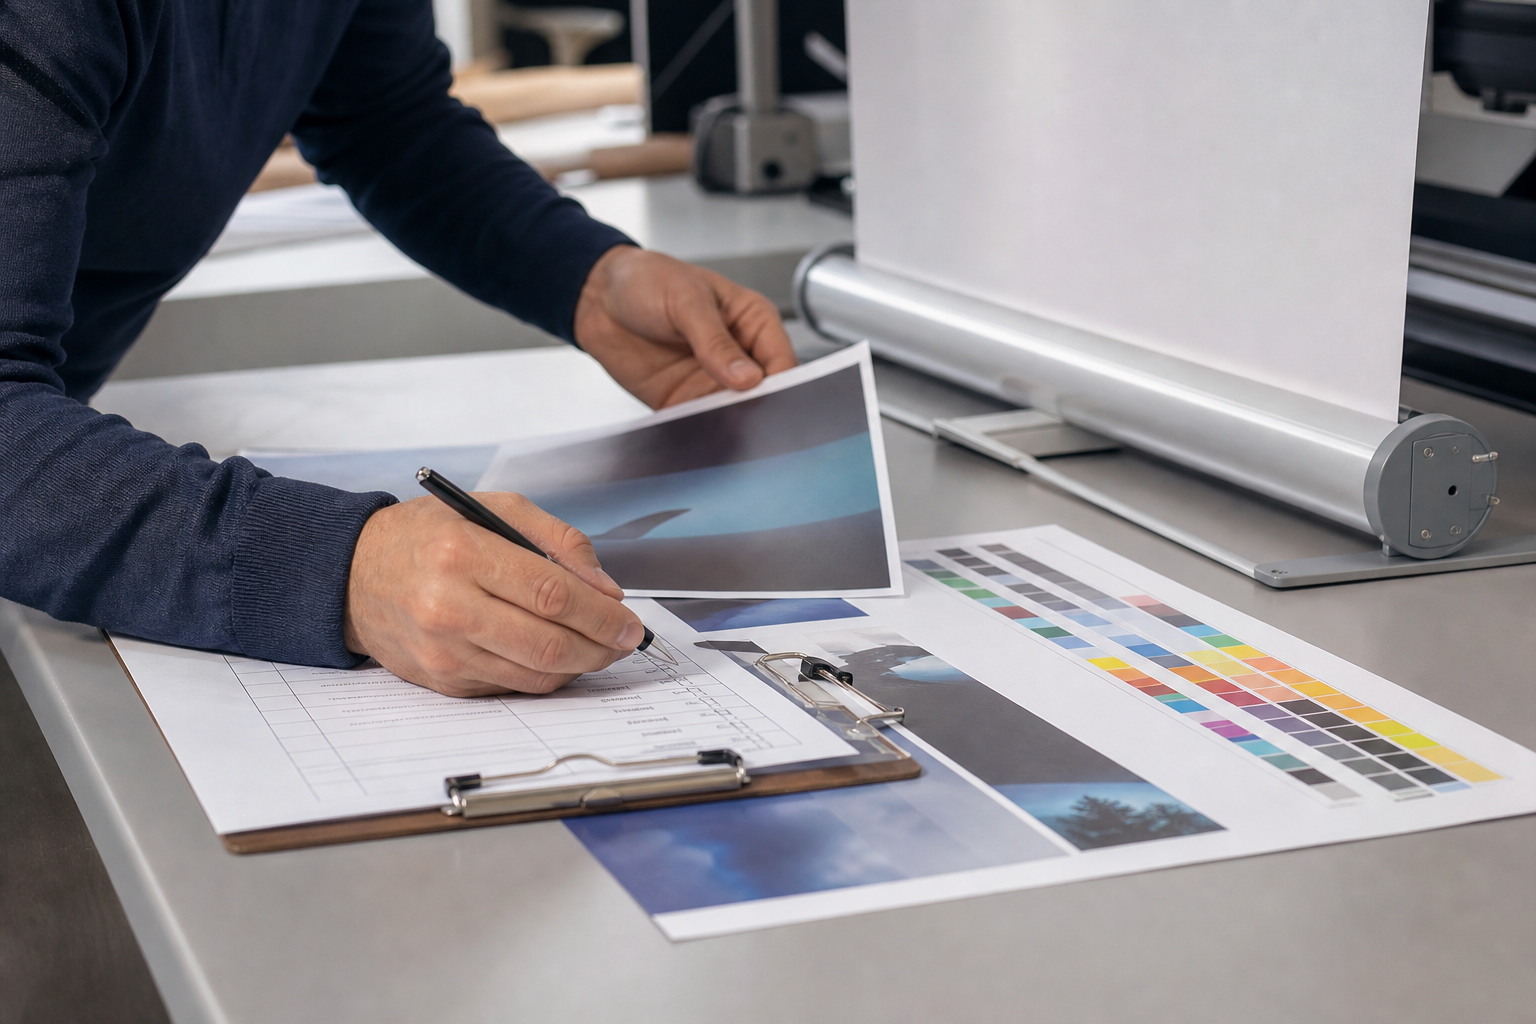
Before you order, work through these decisions in sequence so your final file and hardware match the intended use and placement.
- Pick the intended location and viewing distance.
- Choose size and orientation that match the space and visibility needs.
- Decide single-sided or double-sided depending on traffic flow.
- Select material and finish for indoor or sheltered outdoor use.
- Choose a stand type: standard retractable, heavy-duty trade-show island, or a hardware system that accepts replaceable graphics.
- Prepare print-ready artwork following the preflight checklist to avoid reproofs and delay.
Choose the right size and orientation
Standard roll up banner widths typically range from 24″ to 36″ (60-90 cm) with full-height versions about 78″ to 86″ tall (200-220 cm). Match width and height to expected viewing distance: a full-height 33″ or 36″ wide banner works well for exhibition booths and open houses where people will read from several metres away, while narrower or tabletop retractables are better for reception desks. If you expect traffic on both sides of the display, order a double-sided banner or plan island placement with two single-sided banners back to back.
Single-sided or double-sided
Single-sided prints are fine when the banner is positioned against a wall, inside an office, or at the back of a display. Double-sided graphics are worth the extra cost when the banner sits in the middle of a walkway or at an island booth and needs to be legible from two directions. The size guide and practical examples explain why double-sided is a visibility decision as much as a cost choice.
Stand types and reuse
Standard retractable bases are lightweight and portable, good for regular indoor use. Heavier trade-show island stands or two-way hardware are available for busier exhibitions and provide better stability. Because retractable stands accept swapped graphics, they are the economical choice if you want to update messaging seasonally or for different campaigns. Manufacturer and printer guides note the long-term savings of reusing hardware with fresh printed panels.
Design rules that make roll up banners readable
Treat a roll up banner as a poster, not a brochure. Your message should be readable in a few seconds. Common readability failures are small type, unclear hierarchy, and important elements placed in the wrong vertical zone. Follow a simple vertical zoning approach: brand at the top, a short headline near eye level, supporting bullet or benefit lines below, and contact details, CTA, or QR code at the bottom where people can scan or note them quickly.
Limit the banner headline to a few clear words, use a single strong typeface family, and avoid clutter. Many design checklists and print specialists emphasise these three rules as the most common causes of ineffective roll ups.
Quick typography and layout tips
- Headline: one short line that reads from 3-6 metres in event spaces; keep it bold and high contrast.
- Body text: avoid more than three short lines of supporting copy for the main message.
- Images: use large, high-resolution artwork that won’t pixelate when printed at banner scale.
- Logo placement: place the logo at the top or a corner but keep it smaller than the headline hierarchy.
- QR codes and CTAs: place these near the bottom with enough white space so phones can scan easily without glare or obstruction.
These readability rules and the vertical zone approach are documented by print designers and banner specialists as the fastest way to make a banner scan-friendly in a busy environment.
Material and finish choices: indoor vs outdoor considerations
Most roll up banners use vinyl or fabric panels. Vinyl offers strong colour and durability under indoor lighting, while polyester fabric reduces glare and folds more compactly for transport. Retractable stands are designed primarily for indoor or sheltered use. If you need outdoor exposure, choose heavier bases, protective laminate, or look to purpose-built outdoor banner systems instead. Retractable systems can be used outdoors only in calm, sheltered conditions or when secured to weighted bases and under a canopy.
Print-ready files and a preflight checklist for faster turnaround

To reduce reproofs and enable fast printing or same-day pickup, prepare files with the printer’s specifications. A typical preflight checklist should include:
- File format: high-resolution PDF or TIFF with fonts embedded or outlined.
- Colour mode: CMYK for print; avoid RGB conversion at the last minute.
- Resolution: export artwork at 150-300 DPI at final print size depending on the material and viewing distance.
- Bleed and trim: include manufacturer-recommended bleed (commonly 5-10 mm) and mark safe zones so critical text stays in the printed area.
- Safe margin: keep logos, headlines, and QR codes inside a defined safe area to avoid being trimmed or blocked by stand hardware.
- Proof approval: supply a single point of contact for final approval and confirm any colour-critical items in advance with a physical proof when necessary.
Following a preflight checklist dramatically reduces production delays and is essential if you hope to use same-day or short-turnaround pickup. For examples of common file mistakes and how to avoid them, consult professional printer checklists and design resources.
Common objections and how to decide anyway
Cost versus vinyl banner: vinyl banners stretched across frames are cheaper for very large outdoor displays, but retractable banners win for portability and reusable hardware. Outdoor durability: retractables are not the best choice in high wind or exposed locations; pick a weather-rated banner system for those uses. Will anyone notice it? A clear, bold headline with good contrast is the single most reliable way to ensure visibility in walk-by situations.
How to order locally from Top Realtor Sign & Print and what to expect
Top Realtor Sign & Print lists roll up banners among its core large-format offerings and supports in-house design and local pickup. The shop emphasises same-day pickup for select items and fast turnaround to help realtors meet listing and open-house timelines. If you need help adapting brokerage-compliant branding or want a quick proof, ask about in-house design support when you place your order.
Frequently asked questions
Do I need a double-sided roll up banner for an open house?
Only if the banner will sit in the middle of a pathway or be approached from both directions. If the banner will be against a wall, single-sided is sufficient. Double-sided is worth the extra cost when you anticipate two-way foot traffic or when you want a consistent message from either side.
Can a retractable roll up banner be used outdoors?
Retractable banners are intended for indoor or sheltered outdoor use. For outdoor exposure they must be protected from wind and rain, secured to weighted bases, or placed under a canopy. For fully exposed outdoor sites, choose a purpose-built outdoor banner system or a heavy-duty vinyl banner instead.
How quickly can I get a roll up banner printed and ready for pickup in Mississauga?
Turnaround depends on the banner size, availability of chosen hardware, and whether artwork requires revisions. Top Realtor Sign & Print advertises same-day pickup for select print items and offers in-house design to accelerate proofing. Confirm availability and schedule when you submit your files so the shop can tell you whether same-day pickup is possible for your configuration.
Can I swap graphics on the same retractable stand later?
Yes. One advantage of retractable hardware is that the stand is reusable and can accept new printed graphics. That makes it economical when you want to refresh messaging for new listings or seasonal campaigns.
What file specs should I send to avoid delays or reproofs?
Send a flattened, high-resolution PDF or TIFF in CMYK with outlined fonts, 150-300 DPI at output size, and the printer’s required bleed and safe area markings. Confirm the stand’s visible area with your printer ahead of time so important elements do not fall into the cassette area or outside the safe zone.
Ready to order with Top Realtor Sign & Print?