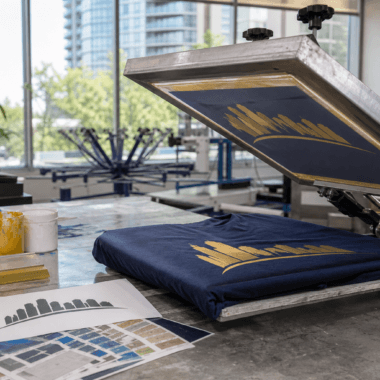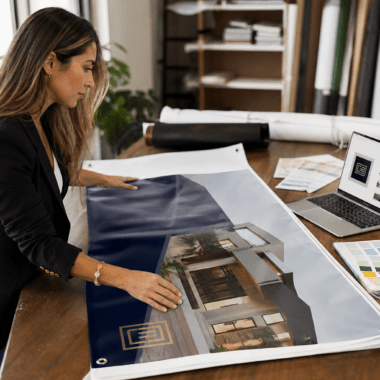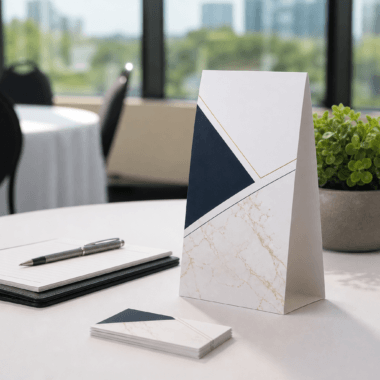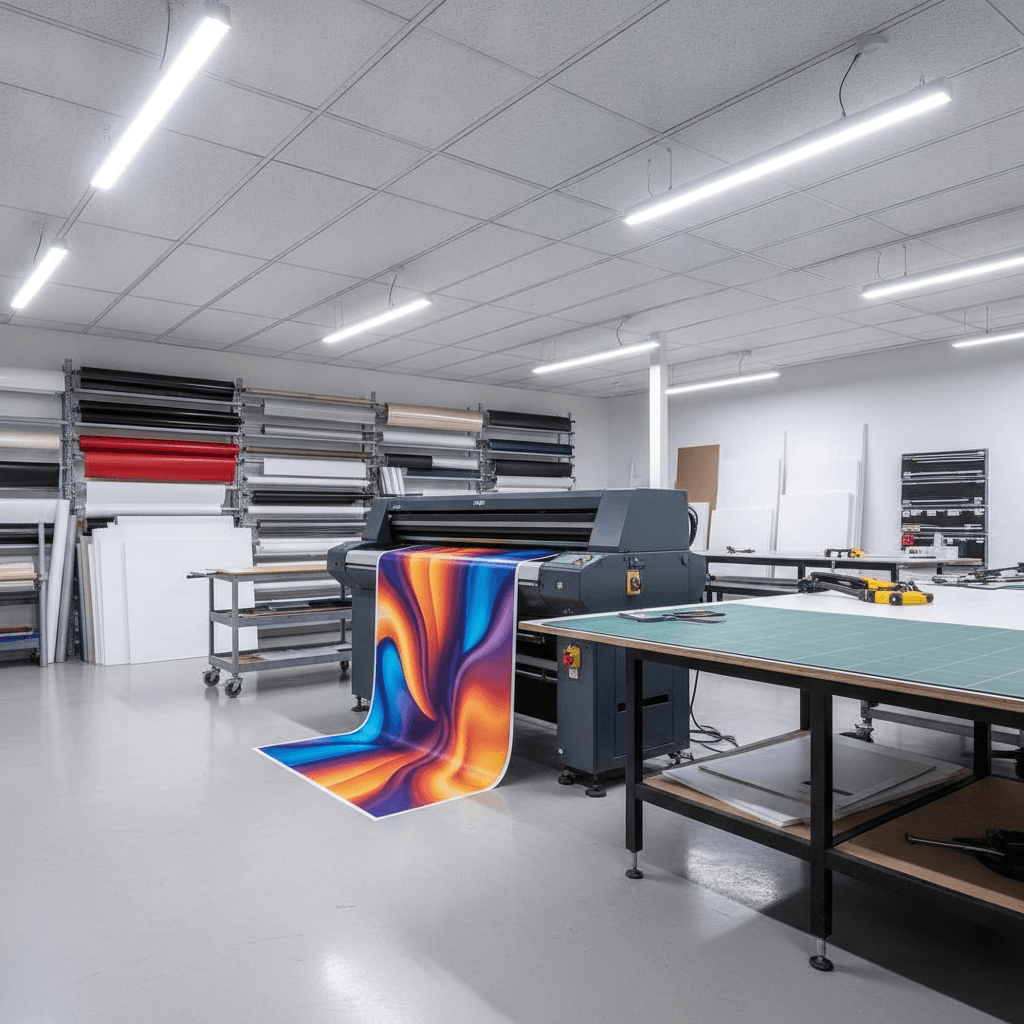
Welcome back signs to print are ready-made or custom templates optimized for desktop or professional printing. They include clear layouts, brand colors, and correct bleed so you can output crisp signs fast. For the Timberlea Blvd area in Mississauga, local pickup and same-day options keep celebrations and reopenings on schedule.
By Ashwani — Top Realtor Sign & Print
Last updated: 2026-07-06
Start Here: Printable Welcome Back Signs for Any Return
Use printable welcome back signs to greet employees, clients, or students with clear, on-brand messages. Pick a size, choose a template, customize the colors, export to PDF with bleed, and print in-house or with a local shop for sturdier materials and same-day pickup.
Here’s the thing: you want a cheerful, legible sign—without a design degree or delays. This quick-start section gives you the essentials and a table of contents you can scan in seconds.
- What you’ll learn: sizing, materials, color, fonts, mounting, and file setup.
- Why it matters: the right sign is seen from the right distance and looks brand-true.
- How we help: on-brand templates, large-format output, and local pickup in Mississauga.
At a glance (table of contents)
- What are welcome back signs to print?
- Why these signs matter
- How the process works
- Types, materials, and sizes
- Design best practices
- DIY vs professional printing
- Tools, templates, and checklists
- Case studies and examples
- Local pickup and logistics
- Frequently asked questions
- Key takeaways and next steps
What Are Welcome Back Signs to Print?
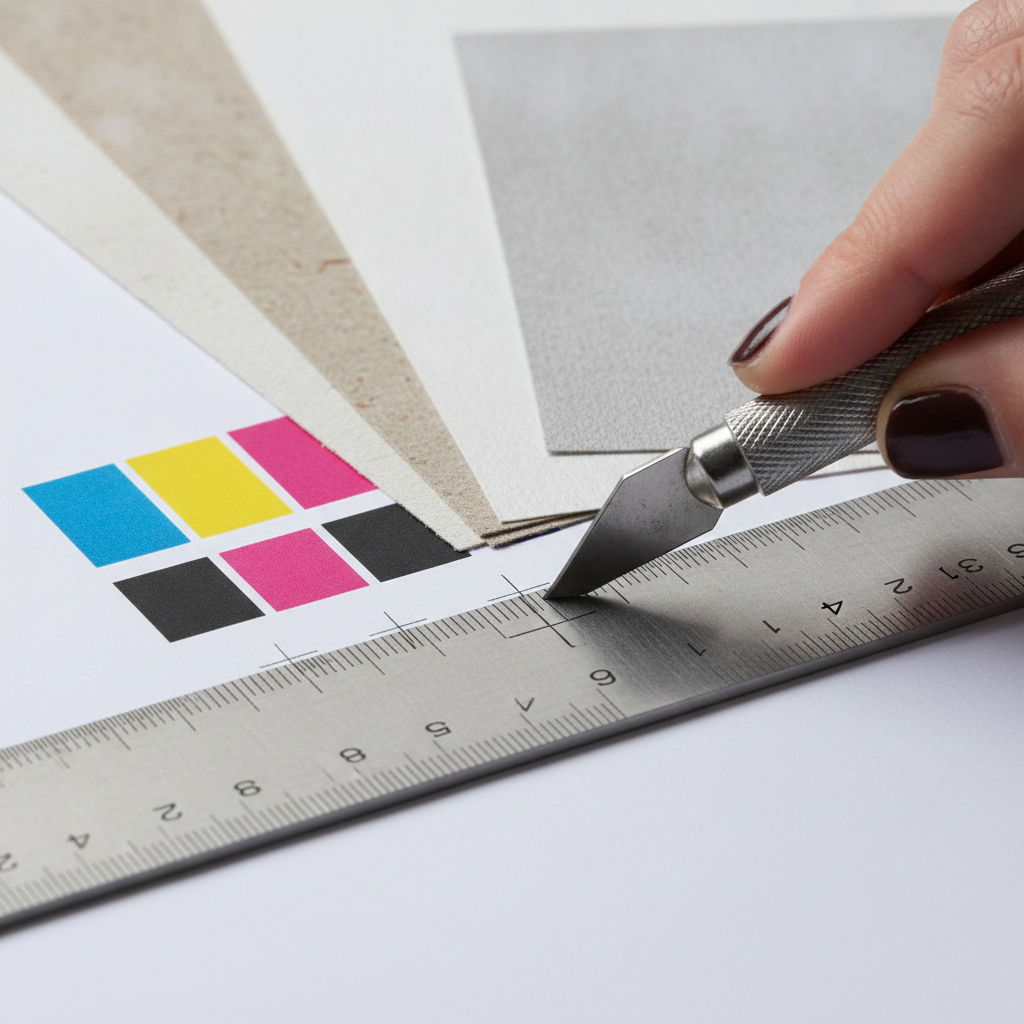
“Welcome back signs to print” are downloadable or custom-designed sign files formatted for desktop or pro printers. They use proper CMYK color, 300 DPI images, and bleed-safe areas so you can output sharp, on-brand greetings for offices, schools, retail, events, and real estate reopenings.
Think of them as plug-and-play graphics you can update in minutes. You choose size, message, colors, and export a print-ready PDF.
- Common uses: employee return days, client appreciation, school semester starts, office reopenings, brokerage meetings, or open houses.
- Typical sizes: 8.5×11, 11×17, 18×24, 24×36 inches; banners at 24–60 inches wide; retractables at 33×81.
- File specs that work: CMYK, 300 DPI for small posters (150–200 DPI acceptable for large banners), and 0.125-inch bleed.
For Realtors and local businesses, these same fundamentals power open house signs, lobby placards, and entry banners in the Mississauga market.
Why Welcome Back Signs Matter
Welcome back signs create a positive first impression in under three seconds. Clear messaging, strong contrast, and the right size help people feel acknowledged and find their way quickly, which boosts turnout, dwell time, and brand perception across offices, schools, retail, and properties.
First impressions are fast. People scan a sign in seconds, judge intent, and decide whether to follow it. The right typography, color, and placement can double real-world readability compared with cluttered designs.
- Morale and culture: A friendly, branded greeting reduces return-to-office friction and sets a welcoming tone.
- Wayfinding: Arrows and landmarks shorten time-to-destination; aim for 1-inch letter height per ~10 feet of viewing distance.
- Consistency: Using your brand’s fonts and colors increases recognition across touchpoints.
- Durability: Laminated or rigid signs withstand handling far better than plain copier paper.
In our experience supporting GTA reopenings, legible layouts plus floor arrows and foyer banners improve flow and engagement at the door.
How Printable Welcome Back Signs Work
Plan your message and size, pick a template, customize branding, and export a print-ready PDF with bleed. Then print on desktop for small runs or use a local shop for rigid boards, retractable banners, and same-day pickup. Mount with frames, easels, or A-frames.
Here’s a fast, reliable workflow you can recycle for every return-to-office or event.
- Plan the message: Who are you greeting? Add arrows if wayfinding matters.
- Choose size and material: Letter, tabloid, 18×24 foam board, or a 33×81 retractable banner.
- Customize a template: Drop in your logo, brand colors, and high-resolution imagery.
- Prep the file: CMYK, 0.125-inch bleed, live text inside safe margins, outlined fonts if requested.
- Output: Export PDF/X-1a or high-quality PDF. Keep raster images at 300 DPI for small prints.
- Print path: Desktop for quick sheets; pro shop for rigid, weatherproof, or large-format pieces.
- Mount: Snap frames, easels, foam board, coroplast A-frames, or banner stands.
When you need sturdy, reusable signage, our team handles print, lamination, and hardware—plus same-day pickup for select formats in Mississauga.
Types, Materials, and Sizes
Pick materials based on location and reuse. Indoors, choose posters or foam board; for entries and sidewalks, use coroplast A-frames or retractable banners; for lobbies, mount PVC or a 33×81 stand. Standard sizes like 18×24 and 24×36 balance legibility with placement flexibility.
Match the environment first, then the message. Durable materials prevent reprints and keep colors vivid.
Popular sign formats
- Desktop posters (8.5×11, 11×17): Quick greetings on walls, doors, or elevators.
- Foam board (18×24, 24×36): Lightweight, rigid, great for easels and lobbies.
- PVC board (3mm/6mm): Clean edges, reusable, premium indoor look.
- Coroplast A-frames (24×36 typical): Weather-tough for sidewalks and entries; pair with directional arrows.
- Vinyl banners (24–60 inches wide): Grommets or poles for atriums and fences; optional hem/lamination.
- Retractable banners (33×81): Portable, polished, ideal for reception areas and events.
For a deeper look at materials, see this signage material overview from The UPS Store. It outlines common substrates and where they shine.
Real-world pairings we print often
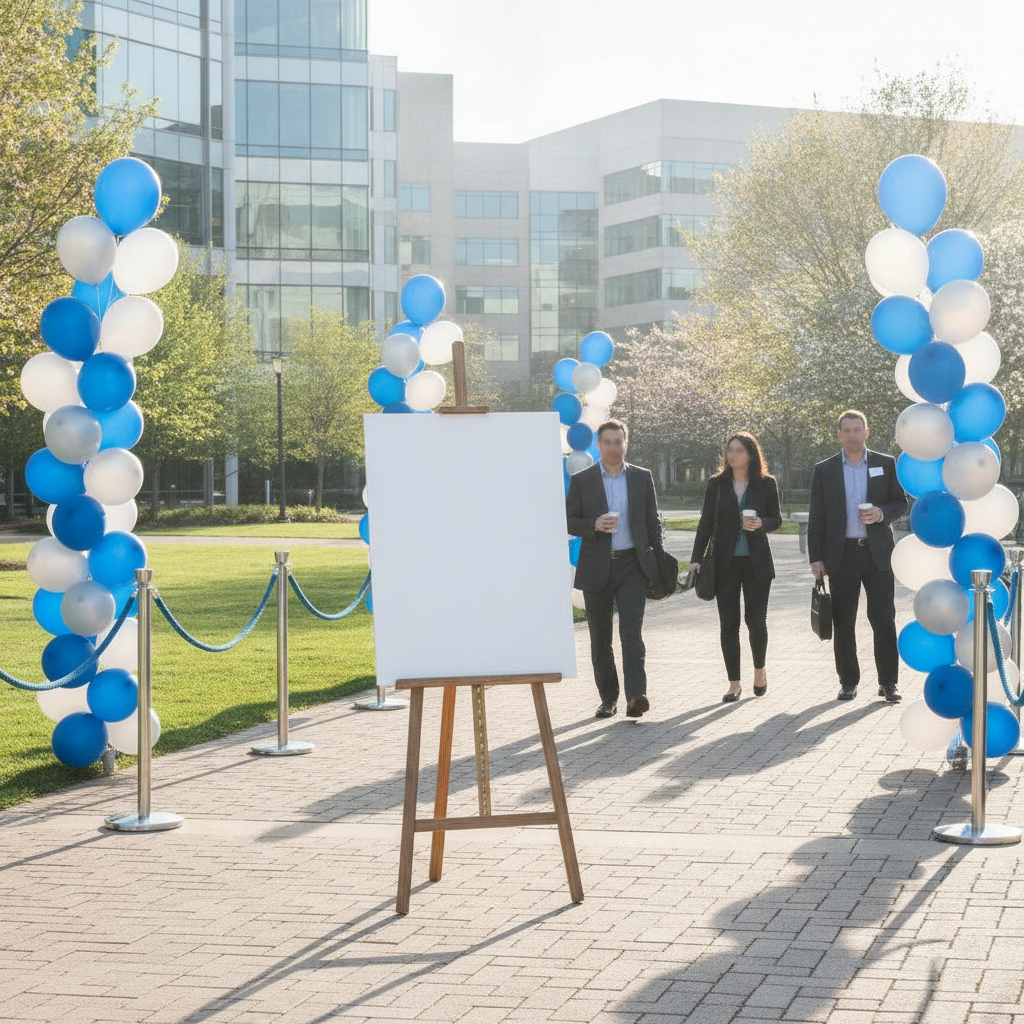
- Lobby set: 24×36 foam board on an easel + 33×81 retractable “Welcome Back” banner.
- Entry path: Coroplast A-frame with arrow + window poster at eye level.
- Brokerage return: 18×24 welcome board + open house–style arrows guiding to meeting rooms.
Browse more options in our signs catalog and welcome sign tag for inspiration.
Design Best Practices for Readability and Impact
Use clear hierarchy, high contrast, and brand-consistent colors. Keep headlines large, limit fonts to two families, and leave generous margins. Prepare CMYK art with 0.125-inch bleed, 300 DPI images, and simple backgrounds so the message pops from 6–20 feet away.
Great design is mostly restraint. Simple layouts are read faster and remembered longer.
- Hierarchy that scans: One big headline, short subhead, then arrow or CTA.
- Contrast that works: Dark text on light backgrounds (or vice versa) improves legibility in a glance.
- Fonts that behave: Sans-serif headlines for distance; avoid ultra-thin weights.
- Color discipline: Stay inside your brand palette; avoid low-contrast combos.
- Bleed and safe areas: Add 0.125-inch bleed; keep text 0.25–0.5 inches from trim.
- Image quality: 300 DPI for small posters; 150–200 DPI is fine for large banners viewed from afar.
- QR codes: Test at viewing distance; avoid placing over busy textures.
If you’re refining store or lobby signage, this guide on improving in-store signage offers practical layout reminders that also apply to welcome messages.
DIY vs Professional Printing: Comparison
Print small posters on a desktop for speed, but choose a local shop for rigid boards, A-frames, retractables, and color-critical work. Professional output adds durability, lamination, and hardware—ideal for entries, sidewalks, and repeated use.
Use this quick comparison when deciding how to produce your welcome back signs.
| Factor | DIY Desktop Printer | Local Pro Shop (Top Realtor Sign & Print) | Large-Format Banners |
|---|---|---|---|
| Max practical size | Up to 11×17 | Up to 24×36 on boards; 33×81 retractables | 24–60 inch widths |
| Durability | Low (paper) | High (foam/PVC/lamination) | High (vinyl/mesh + hems) |
| Color control | Variable | Calibrated CMYK | Calibrated CMYK |
| Hardware | Frames/easels you own | Easels, A-frames, stands available | Grommets, poles, stands |
| Turnaround | Immediate | Same-day options on select items | Fast production; local pickup |
| When to choose | Quick, indoor posters | Entry/lobby sets; reuse | Big indoor/outdoor impact |
For retractables and banners, review these posters and banners tips for display options and use-cases.
Tools and Resources: Templates and Checklists
Start with editable templates, then use a simple checklist before export. If you need brand alignment or hardware, a local shop can provide design tweaks, large-format output, and mounting options for lobbies and sidewalks.
You don’t need complex software—just a reliable workflow.
- Editable templates: Request brand-ready layouts sized for 8.5×11, 11×17, 18×24, and 24×36.
- Design checklist: Contrast high; fonts consistent; margins safe; arrows clear; QR code tested.
- File checklist: CMYK, 300 DPI images, 0.125-inch bleed, text inside safe area, PDF exported.
- Mounting checklist: Decide on frame, easel, A-frame, banner stand, or window mounting.
- Category shortcuts: Browse open house–style signs and general signs to adapt designs quickly.
Our in-house graphic design team can brand your file, or you can start from an online editor and we’ll handle print-readiness.
Need it today? Ask about same-day options for small posters and selected large-format pieces. We’ll confirm materials in stock and pickup windows in the Timberlea Blvd area of Mississauga.
Case Studies and Real-World Examples
Welcome back campaigns work best when signs guide people from entry to destination. Pair a large greeting with arrows and a secondary message. Reusable materials reduce last-minute stress for recurring events and seasonal returns.
Here are field-tested scenarios that map to your reality.
- Brokerage re-onboarding week: A 24×36 foam board greeting at reception, a 33×81 retractable in the lounge, and arrow signs to training rooms. Outcome: smoother traffic and better attendance.
- Office reopen after renovations: 11×17 door posters on each floor, lobby easel, and a vinyl banner across the main atrium. Outcome: fast wayfinding and upbeat first impressions.
- School welcome week: Hallway posters + coroplast A-frames outside. Outcome: clear drop-off flow and safer foot traffic.
- Retail client appreciation: Window poster with high-contrast headline and a QR code to a thank-you video. Outcome: more scans and longer dwell time.
We routinely adapt these setups for real estate events too—combining welcome boards with yard sign best practices to keep style consistent.
Local Pickup and Logistics in Mississauga
Order online, upload your file, and confirm stock. We’ll schedule pickup, advise on mounting, and include hardware if needed. Same-day options are available on select items for the Timberlea Blvd area, helping you launch on time.
Here’s a simple path to a stress-free pickup.
- Send files: Share print-ready PDFs or ask for a preflight check.
- Confirm materials: Foam board, PVC, coroplast, or vinyl based on where you’ll place the sign.
- Approve proof: Digital proof confirms trim and color intent.
- Pickup and install: We’ll provide easels, stands, or A-frames when requested.
Local considerations for the Timberlea Blvd area
- If you’re hosting a campus return near Stanford International College, add arrows and room numbers; foot traffic patterns change during class transitions.
- Outdoor placements by Red Brush Park benefit from weather-tough coroplast or laminated vinyl; keep letter heights large for path visibility.
- Morning pickups align well with same-day events; bring a photo of your lobby or sidewalk and we’ll suggest mounting that fits the space.
Frequently Asked Questions
Most teams start with an 18×24 foam board or a 33×81 retractable for visibility, paired with smaller door posters. CMYK PDFs with 0.125-inch bleed and clear margins print reliably at local shops and support same-day pickups when timelines are tight.
What size should I choose for a lobby welcome sign?
For lobbies, 24×36 on foam or PVC reads well from 10–20 feet. If you want a polished, portable option, a 33×81 retractable banner is ideal. Keep the headline large and the message short so people can read it while walking.
Should I print in RGB or CMYK?
Use CMYK for professional printing to match press profiles more predictably. Convert images to CMYK before export, add 0.125-inch bleed, and keep vector text live where possible. For desktop printers, RGB can work, but colors may shift between devices.
How do I make the sign readable from a distance?
Use high contrast, large headlines, and simple backgrounds. A helpful rule is about 1 inch of letter height per 10 feet of viewing distance. Limit fonts to two families and avoid ultra-thin weights, which disappear in glare.
What mounting option should I pick?
Easels work for lobbies, snap frames for hallways, A-frames for sidewalks, and banner stands for entries. Choose foam or PVC indoors, coroplast outside, and add lamination if you expect handling or longer display times.
Key Takeaways and Next Steps
Keep it simple, bold, and brand-true. Choose materials for the environment, export CMYK PDFs with bleed, and lean on a local shop for rigid boards and stands. A two-piece set—entry greeting plus arrows—covers most return scenarios.
- Clarity wins: Big headline, short subhead, strong contrast.
- Right format: Foam/PVC for lobbies; coroplast or banners for entries.
- Reliable files: CMYK, 0.125-inch bleed, safe margins, high-res images.
- Friction-free pickup: Confirm stock and mounting, then schedule same-day when possible.
If you’re ready to welcome people back, we’ll help you print and mount with speed. Explore real-world sign tips and our curated signs catalog to get started today.