Sticker printing price factors are the specifications that determine what you pay and what you get: material, size, finish, adhesive, print method, quantity, and turnaround. For Mississauga pickups at 5004 Timberlea Blvd Unit#18, aligning these choices to your use case prevents overspend while protecting quality for real estate and local business needs.
By Ashwani · Top Realtor Sign & Print
Last updated: 2026-06-20
Overview and what you’ll learn
The smartest way to manage sticker spend is to match specs to the job: choose the right material, finish, adhesive, size, print method, quantity, and turnaround. This guide explains each factor, when to upgrade, and how to avoid paying for options you won’t use.
We work with Realtors and local brands every day, so we’ve seen how small spec choices change results. This overview sets expectations and maps out the path to order confidently—without guesswork or wasted extras.
- What “sticker printing price factors” actually include
- How print methods and materials affect durability and look
- When lamination is worth it (and when it isn’t)
- Artwork setup that prevents reprints and delays
- Local pickup workflow at our Mississauga shop
What is sticker printing?
Sticker printing is the process of producing pressure‑sensitive labels on paper or film with a printed face, adhesive, and release liner. Output quality depends on artwork resolution, printer technology, and finishing. Matching specs to environment—indoor, outdoor, curved surfaces—is the key to performance.
In simple terms, you’re choosing a face stock (paper, vinyl, BOPP), an adhesive (removable, permanent), and a finish (matte, gloss, soft touch), then deciding quantities and turnaround. Each decision changes appearance, lifespan, and budget.
For fast brand updates or listing support, stickers often beat other formats because they’re compact, shippable, and easy to apply. They’re also ideal companions to yard signs and riders for QR codes or last‑minute messaging.
Why sticker printing price factors matter
Choosing the right sticker specs prevents early failure and unnecessary upgrades. Overbuilt stickers waste money; underbuilt stickers peel, fade, or smudge. Aligning use case to material, finish, and adhesive protects brand quality and keeps timelines on track.
When you’re prepping an open house weekend or launching a neighborhood promo, time and consistency matter. The wrong adhesive can lift in hours on textured plastic; the wrong laminate can glare under lobby lighting. Purpose‑built specs avoid do‑overs and keep you focused on selling.
For Realtors, stickers support riders, folders, and door hangers; for small shops, they brand packaging and windows. Both groups benefit from matching durability to exposure and traffic, not assumptions.
How sticker printing works (from file to pickup)
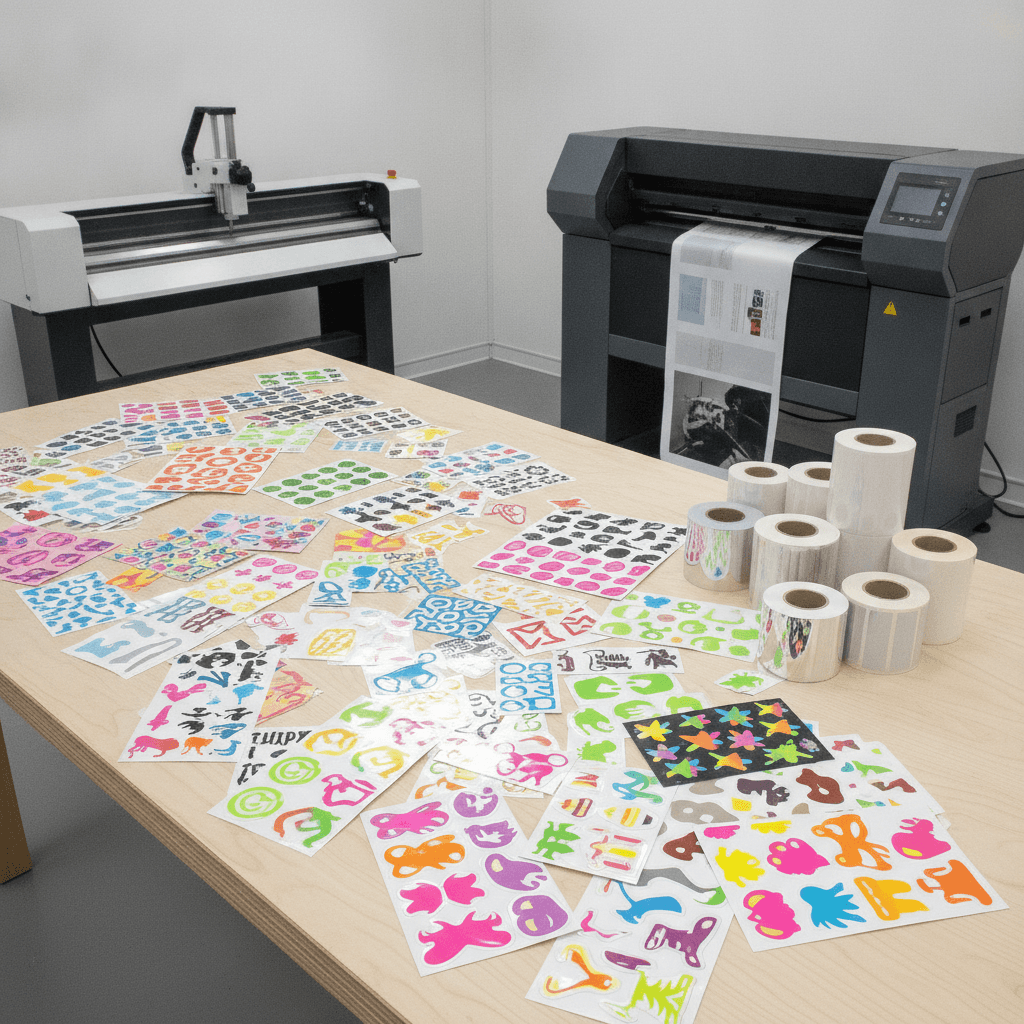
The workflow is: prepare print‑ready art, choose material and finish, print digitally or offset, cut to shape, weed/trim, and package for pickup. Lead time depends on quantity, finishing, and curing. Local orders can be coordinated for same‑day or next‑day pickup when specs allow.
At our Mississauga shop, orders follow a predictable path: file check, proofing, production, finishing, quality review, then pickup at 5004 Timberlea Blvd Unit#18 in the Regional Municipality of Peel. Digital production enables short runs and quick changes; offset or screen shines for very large counts or specialty inks.
Set artwork at 300 DPI (raster) or vector, include 0.125 inch bleed, and keep text 0.125 inch from die‑cut edges. These standards reduce edge chipping and mis‑registration. If you’re unsure, our online design tool helps you export clean files.
The core sticker printing price factors (and how to decide)
Seven variables drive sticker pricing and performance: material, finish/lamination, adhesive, size/shape, print method, quantity, and turnaround. Decide based on environment, lifespan, surface energy, and brand look. Upgrade only where failure risk is real.
Here’s how each factor works in practice and how to right‑size your order.
1) Material (face stock)
Material choice sets baseline durability, print fidelity, and feel.
- Paper: economical, writable, best for indoor packaging, folders, or mailers.
- White vinyl (3–4 mil): versatile, water‑resistant, good outdoor life with laminate.
- Clear vinyl / BOPP: “no‑label” look on glass, good for windows and bottles.
- Specialty films: metallics or holographic for premium branding.
Action: If moisture or UV exposure is likely, lean vinyl + laminate. For indoor collateral (brochures, folders), paper works and saves.
2) Finish and lamination
Finish controls glare, scratch resistance, and tactile impression.
- Matte: low glare, modern; hides minor scuffs.
- Gloss: high pop; enhances color depth for retail shelves.
- Soft touch: velvety feel; pairs well with premium cards and folders.
Lamination adds thickness and abrasion protection. For outdoor or high‑touch surfaces, laminate is often the difference between months and years of life.
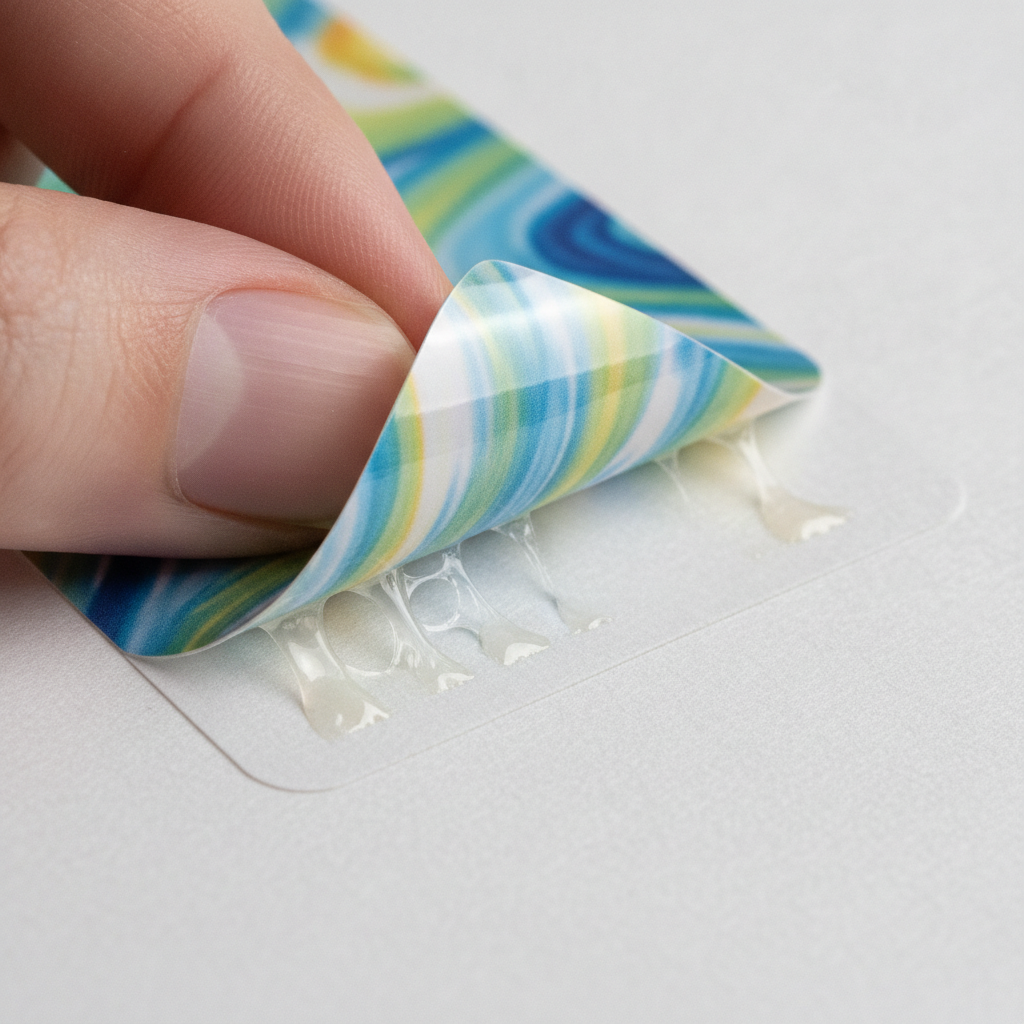
3) Adhesive type
Adhesive must match surface energy and removal needs.
- Removable: short‑term campaigns, windows, and temporary promos.
- Permanent: packaging, envelopes, corrugate; strongest bond over time.
- Strong‑tack: low‑energy plastics or textured substrates.
Action: For painted signs, glass, or metal, removable or standard permanent works. For powder‑coated frames and tough polymers, consider a higher‑tack option.
4) Size and shape
Die‑cutting creates custom shapes; kiss‑cutting keeps a shared liner with easy peel. Larger areas increase exposure to abrasion and lift, so plan finish accordingly. Keep small text thick enough to survive a 0.010–0.020 inch cutter path.
5) Print method
Digital CMYK covers most work and enables short runs, variable data, and quick reorders. Offset delivers ultra‑consistent large runs. Screen or eco‑solvent handles specialty inks and heavy coverage on films. Choose for run length, color demands, and deadlines—not habit.
6) Quantity (run size)
Runs are efficient in batches. Group campaigns when possible—QR codes for multiple listings or seasonal labels—so you print once and pull from stock.
7) Turnaround and curing
Fast turn is possible when files are clean and finishing is simple. Some inks and laminates need dwell time before application; plan a 24‑hour rest for best adhesive flow on films.
Quick comparison: materials, finishes, use cases
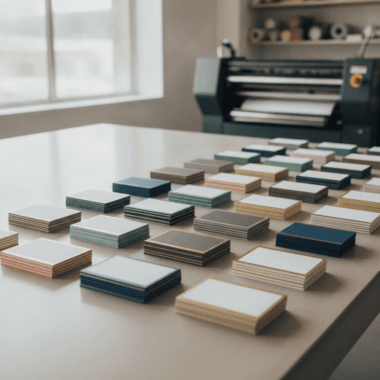
Use paper for indoor collateral and short‑term promos. Use vinyl or BOPP with laminate for moisture, sunlight, or heavy handling. Pick matte to reduce glare, gloss for shelf pop, and soft touch for premium feel. Removable adhesives suit campaigns; permanent suits packaging.
| Spec | Best for | Durability | Notes |
|---|---|---|---|
| Paper + matte | Folders, brochures, mailers | Indoor | Writable; economical; pair with brochure sets |
| White vinyl + gloss | Outdoor promos, packaging | Outdoor (with laminate) | High color pop; add laminate for abrasion |
| Clear BOPP + matte | Glass, bottles, windows | Moisture‑resistant | “No‑label” look on glass surfaces |
| Specialty film + soft touch | Premium gifting, luxury kits | High | Pairs with door hanger drops |
Local speed: Mississauga pickup and scheduling
Pickup at 5004 Timberlea Blvd Unit#18 in Mississauga streamlines campaigns for teams across the Regional Municipality of Peel. When files are ready and finishes are straightforward, we coordinate same‑day or next‑day pickup to keep open houses and launches on schedule.
File‑ready art and standard specs keep timelines tight. When you need extras—die‑cuts, laminates, or outdoor‑rated films—we’ll advise on the cleanest path to hit your date without compromising durability. For time‑sensitive materials, see our same‑day printing overview.
Local considerations for 5004 Timberlea Blvd Unit#18
- Weekday rush: Aim for morning approvals to align with print windows and avoid end‑of‑day bottlenecks near Stanford International College traffic.
- Seasonal swings: Outdoor installs last longer in dry, mild weather; avoid cold‑surface applications when possible.
- Curbside reality: Plan a 24‑hour adhesive set time before power‑washing or handling in nearby parks like Red Brush Park.
Artwork setup that prevents reprints
Print‑ready art saves time: 300 DPI at size, vector logos and text, 0.125 inch bleed, outlined fonts, and embedded/linked images. Provide a separate die‑line on its own spot color layer. These standards reduce reprints and keep deliveries on time.
Color lives in CMYK. Convert RGB to CMYK before sending, and expect minor shifts on neon or very saturated blues. For heavy solids, add rich black (e.g., 60/40/40/100) rather than 100% K to avoid dull areas. Keep barcodes at least 80% magnification for reliable scans.
If you don’t use design software, our online design tool outputs correct bleeds and safe zones so you can skip technical setup and focus on the message.
Use cases for real estate and local brands
Stickers excel at quick branding, directional cues, and QR‑enabled calls to action. Realtors use them on riders, folders, and sign frames; retailers use them on packaging and windows. Choose materials by exposure and dwell time to avoid overpaying on short campaigns.
For agents, stickers extend your kit: add QR labels to “For Sale” frames, create temporary price‑reduced bursts, or brand Insert signs and brochure folders for open houses. They also pair well with same‑day flyers for neighborhood canvassing.
For small businesses, stickers turn plain boxes into branded packages and convert glass into storefront space. Combine with standard sticker sets and shape variations to keep brand consistency across sizes and surfaces.

Best practices to maximize value
Match specs to exposure, simplify finishes, and bundle runs. Use vinyl + laminate outdoors, paper indoors, removable on glass, and permanent on corrugate. Approve proofs early, and group SKUs to reduce setup steps. This keeps quality high without paying for unused upgrades.
- Right‑size durability: Outdoor + touch traffic? Vinyl + laminate. Indoor collateral? Paper saves.
- Keep shapes simple when fast is critical: Circles and squares cut faster and more predictably than ornate die‑cuts.
- Standardize brand colors: Provide Pantone references for spot‑critical logos; expect CMYK approximations.
- Batch orders: One art base + variable QR codes helps you print once, use many.
- Test surfaces: Apply a small sample for 24 hours to confirm adhesion and removability.
These habits compound. Over a season of listings and promos, you’ll see fewer reprints, tighter timelines, and cleaner installs.
Tools and resources for planning
Plan faster with checklists, online editors, and proven material guides. Use a design tool that exports bleeds and safe zones, and review a materials matrix before you order. This reduces back‑and‑forth and keeps campaigns moving.
Our browser‑based online design tool helps you format artwork without professional software. For context on sticker types and fulfillment, see Shopify’s sticker overview and their bumper sticker guide for outdoor considerations.
Mini case studies and real scenarios
Small spec tweaks have outsized impact. Switching paper to vinyl for a damp entryway or choosing removable adhesive on glass prevents early failures. Bundling seasonal SKUs into one run reduces setup time and speeds pickup for launch days.
Realtor rider refresh: A Mississauga agent needed QR labels for weekend opens. We used white vinyl + matte laminate with removable adhesive so labels stayed clean outdoors and peeled without residue on Monday. Files came via our editor, and pickup happened the same day.
Local bakery packaging: Boxes scuffed during deliveries. Swapping to a gloss laminate increased scratch resistance, keeping the brand mark crisp after handling. Grouping vanilla and chocolate label SKUs into one batch made reorders simpler.
Property management wayfinding: Temporary glass decals for lobby detours used clear BOPP with removable adhesive. The “no‑label” look kept aesthetics intact while contractors worked; decals removed cleanly after one month.
“Pricing” without numbers: how to scope the right spec
Scope by environment, lifespan, and surface—not by guesswork. Use paper indoors and vinyl outdoors, match adhesive to substrate, and choose finishes for touch level. Order the smallest batch that validates your use case before committing to long runs.
Think in tiers of exposure: moisture, UV, abrasion, and temperature swings. Each tier suggests a minimum spec. For example, window promos benefit from removable adhesive and either matte (for readability) or gloss (for pop). High‑touch handouts appreciate a protective laminate.
When you’re ready, our stickers catalog lays out common options. If you’re building a full kit, coordinate stickers with brochures and time‑sensitive items in our same‑day pickup guide.
Frequently Asked Questions
These brief answers address the artwork, materials, adhesives, and timelines that most buyers ask about. Each response is practical and rooted in our day‑to‑day production experience in Mississauga.
What file format is best for sticker printing?
Vector PDFs with outlined fonts are ideal. High‑resolution PNGs or TIFFs at 300 DPI also work. Include a 0.125 inch bleed and keep text 0.125 inch inside the cut line. Provide a separate die‑line layer if you need a custom shape.
When should I choose vinyl over paper?
Choose vinyl for moisture, sunlight, outdoor exposure, or frequent handling. Paper is fine for indoor folders, brochures, and mailers. If you expect abrasion or cleaning, add lamination to protect the print surface.
What adhesive should I use on glass or painted metal?
Use removable adhesive for temporary promos on glass and painted metal. For long‑term installs, standard permanent works. Test a small sample for 24 hours to confirm bond strength and clean removal on your specific surface.
Do I need lamination on indoor stickers?
Not always. Lamination adds scratch resistance and a specific look (matte, gloss, or soft touch). For high‑touch areas or premium feel, it’s worth it. For short‑term, low‑touch pieces like brochure inserts, you can often skip it.
Conclusion and next steps
To avoid overpaying, align specs with environment, surface, and timeline. Keep artwork clean, pick materials by exposure, and bundle SKUs where possible. If you’re unsure, start with a small run to validate and scale up once the use case proves out.
Need help choosing? We print for Realtors and local businesses every day, so we’ll point you to the lightest spec that still meets the job. Use our online design tool to prep files, then schedule local pickup at our Mississauga shop.
Key takeaways
- Specs drive outcome: material, finish, adhesive, size, method, quantity, and timing.
- Right‑sizing durability prevents both early failure and overspend.
- Clean artwork (300 DPI, bleed, safe area) accelerates production.
- Batch SKUs and approve proofs early to hit event dates.
- Pickup at 5004 Timberlea Blvd Unit#18 simplifies launches across Peel.
Want a quick spec check? Share your surface, exposure, and timeline. We’ll recommend the leanest build that lasts—and coordinate Mississauga pickup to meet your date.