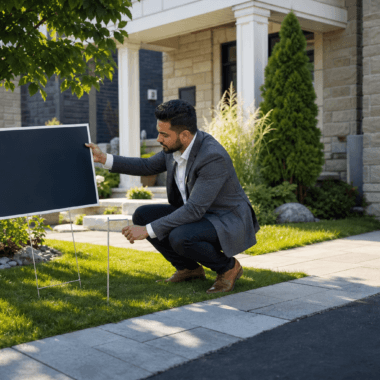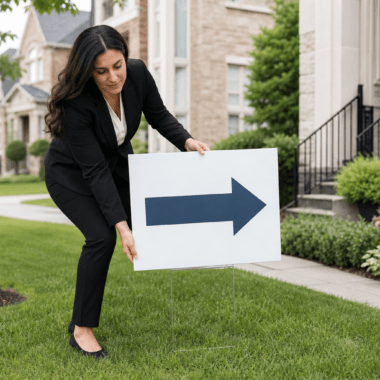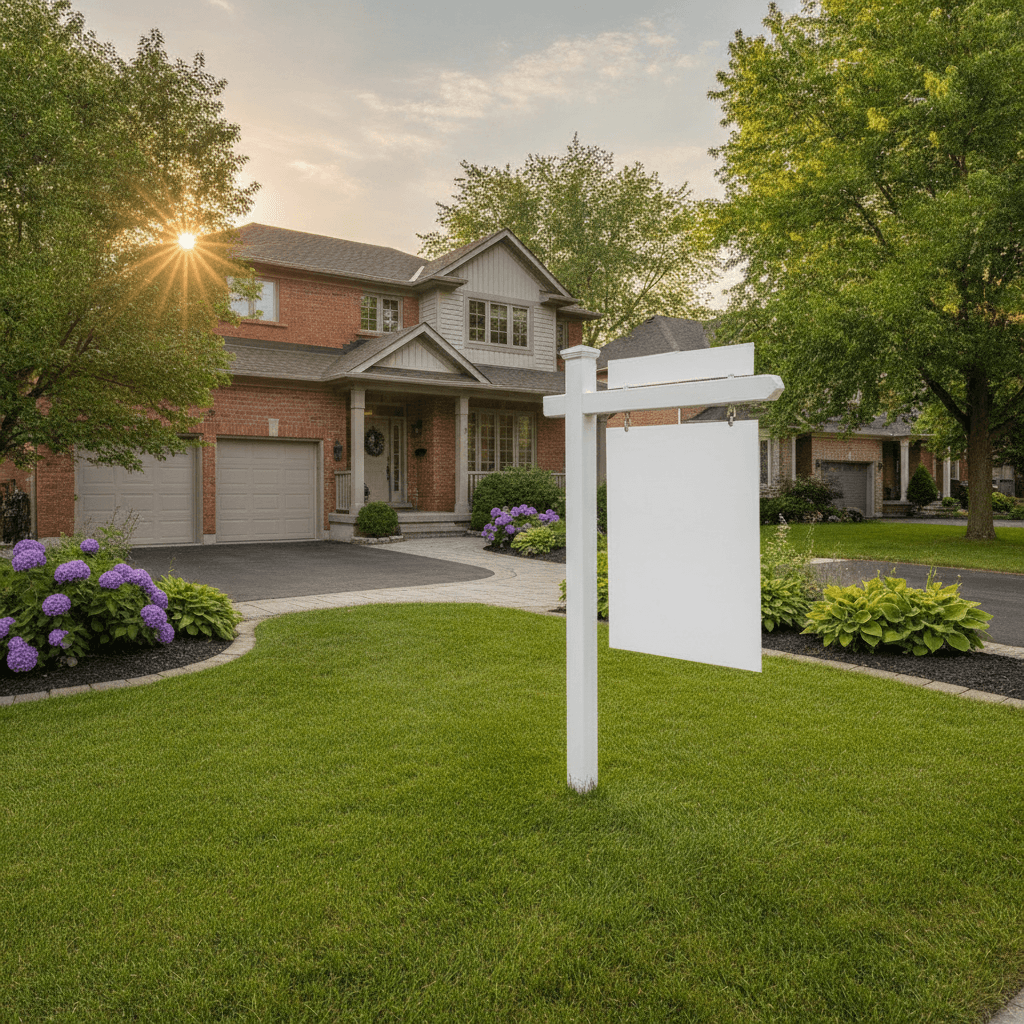
Residential real estate signs are on-property displays that advertise a home for sale, open house, or coming soon. They guide buyers, generate call volume, and reinforce your brand. In the 5004 Timberlea Blvd Unit#18 area of Mississauga, well-designed yard signs, riders, and A‑frames can lift inquiries, improve wayfinding, and speed up showings.
By Ashwani — Top Realtor Sign & Print
Last updated: 2026-07-04
Overview: Residential Real Estate Signs at a Glance
Residential real estate signs attract local buyers, direct traffic to showings, and build brand equity. The best setups combine a yard post panel, directional arrows, riders, and an open house A-frame. Use clear hierarchy, brokerage-compliant branding, and durable materials like coroplast or aluminum for reliable performance in all seasons.
Here’s what you’ll take away from this complete guide for agents and brokerages:
- Clear definitions of residential sign types and when to use each
- Design rules that boost calls and QR scans without clutter
- A step-by-step ordering-to-installation workflow you can copy this week
- Material and hardware comparisons with real-world pros and cons
- Tools and resources to design, print, and pick up same day in Mississauga
We’ll reference the products and services we provide at Top Realtor Sign & Print in Mississauga—yard post panels, riders, A-frames, directional signs, plus fast-turn business cards, flyers, and brochures—to ground every recommendation in field-tested practice.
What Are Residential Real Estate Signs?
Residential real estate signs are purpose-built outdoor and portable displays for homes on the market. They include yard post panels, open house A-frames, directional arrows, and riders. Each format serves a distinct job: visibility, wayfinding, lead capture, and brand consistency at the property and around the neighborhood.
At their core, residential real estate signs do three things: announce the listing, direct traffic to showings, and identify the agent. The primary formats—yard post with panel, riders, and portable A-frames—work in tandem to capture attention at 25–200 feet and convert it into calls or scans.
- Yard post + panel: The anchor sign. Typical panels are 24 × 32 or 24 × 36 inches. Posts sit roughly 48–60 inches high for line-of-sight over hedges.
- Riders: 24 × 6 or 24 × 8 inches mounted on top or below the main panel. Great for “Coming Soon,” “New Price,” or “Open Sat 2–4.”
- Open house A-frames: Often 24 × 36 inches per face with high-contrast arrows. Deployed at corners to guide drivers and walkers.
- Directional arrows: 18 × 24 inch coroplast on H-stakes placed at key turns. Clear arrows minimize missed turns and no-shows.
In our experience working with Mississauga and GTA agents, an integrated kit of 1 post-panel, 3–5 directionals, 1 A‑frame, and 1–2 riders covers most detached and townhouse scenarios. Letter height of 2–3 inches supports readability at 60–90 feet, a useful range for residential streets.
Why Residential Signs Still Drive Calls in 2026
Residential real estate signs work because they reach active, nearby buyers at the exact moment and location of interest. They cut through digital noise, create instant trust with branding, and prompt immediate action with phone, QR, or URL—often within a 50–200‑foot viewing window.
Here’s the thing: most qualified buyers cruise neighborhoods. A visible yard post plus corner directionals deliver on-the-ground reach you can’t buy from a feed. We’ve seen agents in Mississauga report higher weekend traffic when three elements are dialed in: placement, contrast, and a frictionless call-to-action.
- Placement: Set the post perpendicular to street traffic; deploy directionals 50–150 feet before each turn.
- Contrast: Dark text on white (or vice versa) with 40–70% color contrast ratio improves legibility at a glance.
- CTA: One action only—call, text, or scan. A single QR sized to at least 1.2 inches works reliably from sidewalk distance.
Also important: brand repetition. A consistent color palette and brokerage-compliant logo on the post panel, A-frames, and riders keeps your name top-of-mind across multiple touchpoints during the showing window.
How Residential Signage Works: From Order to Install
The fastest path from concept to curbside is a tight four-step flow: design, proof, print, and install. Standard panels and A‑frames print quickly; riders and directionals ride the same layout. Local pickup in Mississauga keeps timelines predictable for last‑minute listings.
When speed matters, a predictable workflow saves listings. Our Mississauga team follows a proven 4‑stage sequence that keeps agents on schedule for Thursday live dates and weekend opens.
- Design (30–60 minutes): Use our online design tool or send brand assets. Lock panel size (e.g., 24 × 36), rider messaging, and arrow templates upfront.
- Proof (15–30 minutes): Approve a PDF proof with clear hierarchy: property status, agent/brokerage, CTA. Confirm letter heights (2–3 inches headline).
- Print (same day to 24 hours): Common materials—4 mm coroplast or .040 aluminum—print fast. A-frames and riders batch in parallel.
- Pickup/Install (same day): Grab hardware, posts, and stakes in one stop. Typical site install for a yard post takes 15–30 minutes.
| Step | Main Decision | Tip for Speed |
|---|---|---|
| Design | Panel size, colors, CTA | Start from a brokerage-compliant template |
| Proof | Text hierarchy, letter height | Use 1 action only (call, text, or scan) |
| Material & thickness | Choose 4 mm coroplast for speed and weather | |
| Install | Placement and hardware | Align perpendicular to traffic flow |
Batching is your friend. Riders, inserts, and directionals usually reuse fonts, colors, and the same QR. This slashes design time and prevents brand drift across secondary pieces.
Types of Residential Real Estate Signs (and When to Use Them)
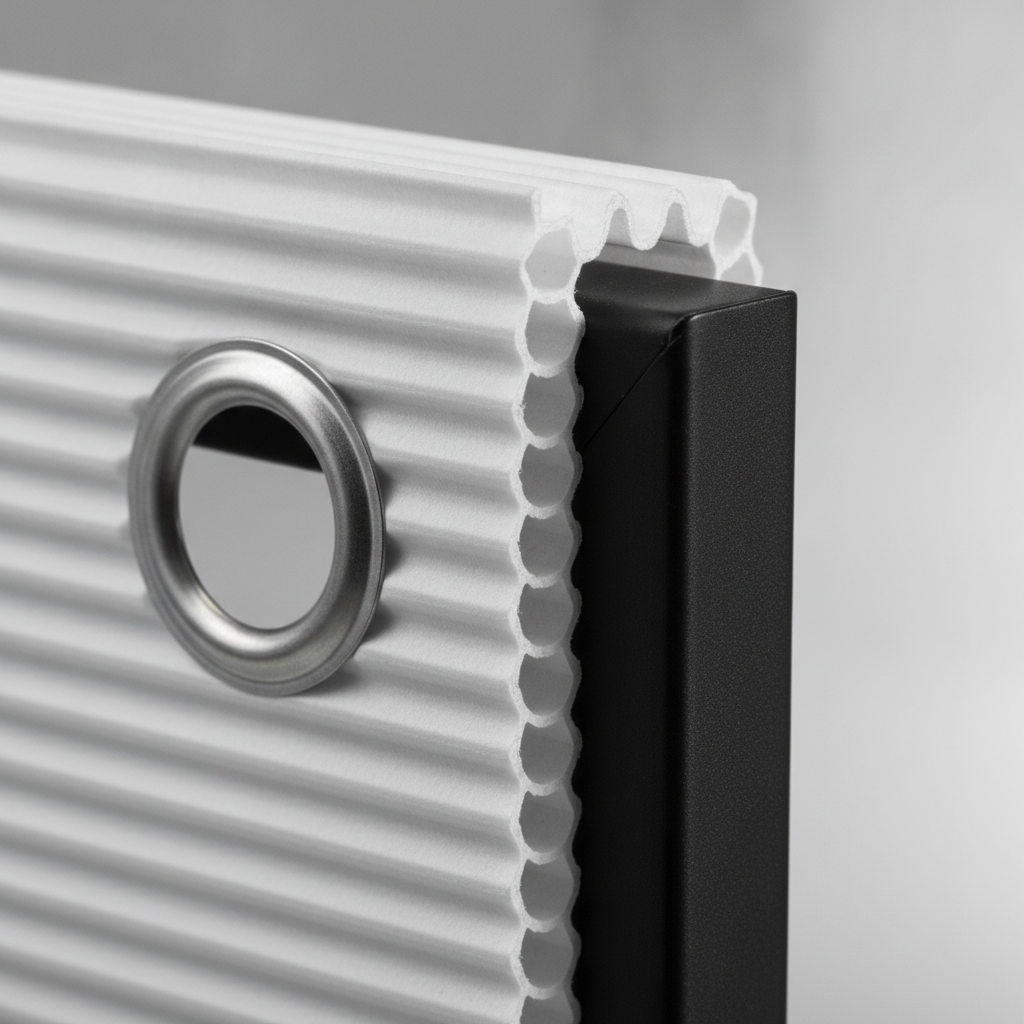
Use a yard post panel for curb visibility, A-frames for open houses, directionals for turns, and riders for timely updates. Match material to timeline: coroplast for speed and weather resistance, aluminum for long-term reuse, and PVC for premium panels with a rigid look.
Yard post with hanging panel
- Best for: Primary listing visibility at 25–200 feet
- Typical size: 24 × 36 inches (single- or double-sided)
- Materials: 4 mm coroplast (lightweight), .040 or .063 aluminum (durable)
- Hardware: Powder-coated post, hanging clips, and rider slots at 24-inch centers
Example: A detached in central Mississauga uses a 24 × 36 panel with a 2.5‑inch headline and 1.5‑inch subhead. A single black post keeps focus on the white panel and brokerage red accent.
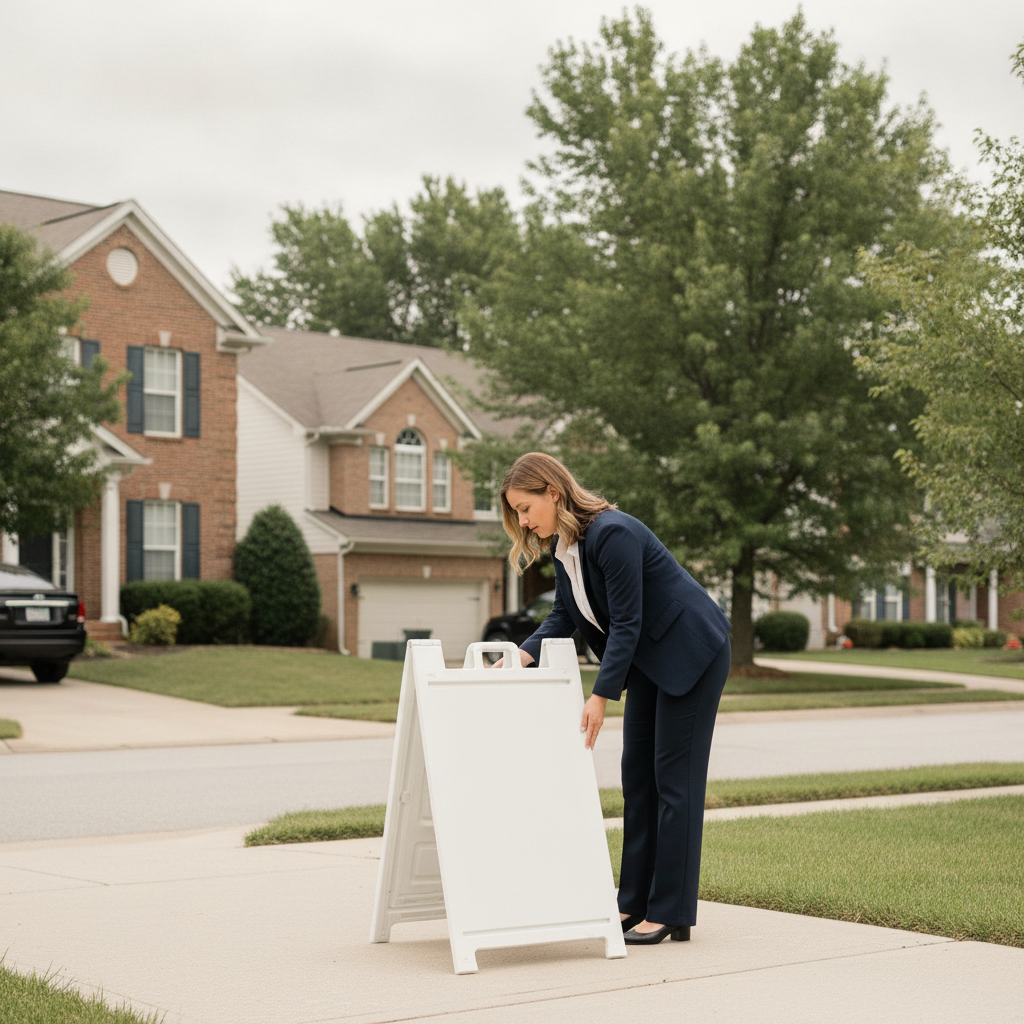
Open house A-frame
- Best for: Temporary weekend visibility at intersections and sidewalks
- Typical size: 24 × 36 inches per face; 18 × 24 for tight sidewalks
- Materials: Steel frame with coroplast inserts, or all‑plastic signicade
- Tip: Use a 1.2–1.5‑inch arrow and short copy: “Open Sat 2–4” + logo
Example: A townhouse open 2–4 p.m. benefits from three A‑frames—one at the complex entrance and one before each internal turn.
Directional arrow signs
- Best for: Guiding drivers around blind turns and multiple streets
- Typical size: 18 × 24 inches on H-stakes
- Materials: Coroplast for speed and stake compatibility
- Placement: 50–150 feet before the turn, repeated if speed limits exceed 35 mph
Riders and inserts
- Best for: “Coming Soon,” “New Price,” “Open House,” or URL/QR
- Typical size: 24 × 6 or 24 × 8 inches
- Messaging: Keep to 2–3 words; avoid multiple messages per rider
Window and door graphics
- Best for: Vacant properties needing security or branding
- Materials: Removable vinyl or low‑tack window clings
- Tip: Pair with an A‑frame so pedestrians can see info without approaching glass
We keep all of these sign formats aligned with brokerage brand standards and local HOA norms. If you need an all-in-one bundle, explore our Realtor packages that cover the essentials for a fast launch.
Materials and Hardware: Choosing What Lasts
Pick materials based on timeline, weather, and reuse. Coroplast (4 mm) is fast and weather‑resistant, aluminum (.040–.063) is durable for repeated listings, and PVC offers a premium rigid look. Powder‑coated posts, steel A‑frames, and H‑stakes complete reliable, repeatable setups.
| Material | Best Use | Pros | Watchouts |
|---|---|---|---|
| 4 mm Coroplast | Fast listings, directionals, riders | Lightweight, prints fast, weather‑resistant | Edges can flex; not for long-term install |
| .040 Aluminum | Primary panels reused across listings | Rigid, long‑lasting, professional look | Heavier; higher upfront investment |
| PVC (3–6 mm) | Premium, rigid indoor/outdoor panels | Clean edges, upscale appearance | Heavier; can bow in high heat |
| Magnetic/Cling | Garage door or window promos | Removable, non‑permanent | Surface must be clean and flat |
For most Mississauga listings, 4 mm coroplast covers riders and arrows, while the main panel in .040 aluminum withstands wind and repeated handling. Lettering in premium vinyl or UV-stable inks keeps colors true through sun and rain cycles.
For material fundamentals, The UPS Store’s signage materials guide explains common substrates and durability factors. When we match those fundamentals with local weather considerations and your timeline, installs stay on track despite rain or wind gusts.
Design Best Practices That Boost Calls and Scans
Prioritize one message, high contrast, and generous white space. Size headlines to 2–3 inches, keep body lines to 6–8 words, and use one QR code or phone number. Consistent branding across post, riders, and A‑frames improves recognition and recall during the showing window.
Visual hierarchy that reads at 60–90 feet
- Headline: 2–3 inches tall (property status or agent brand)
- Secondary: 1.25–1.5 inches (agent name or phone)
- Tertiary: 0.8–1.0 inch (URL or QR descriptor)
Rule of thumb: About 1 inch of letter height per 10 feet of viewing distance is a useful starting point for residential streets.
Color, contrast, and white space
- Use a single background color with 40–70% contrast against text.
- Reserve brand accent colors for arrows or borders to avoid noise.
- Maintain 12–20% white space margins so copy can breathe.
For quick refreshers on legibility and layout basics, the team at The UPS Store shares signage clarity tips that also apply outdoors: minimal copy, consistent fonts, and strong contrast improve first-glance comprehension.
QR codes and calls-to-action
- Use one action per sign: call, text, or scan—never all three.
- QR size of at least 1.2 inches helps scans at sidewalk distance.
- Short, memorable URLs back up the QR for older smartphones.
Less is more. The fastest path to engagement is the path you emphasize most. We’ll happily spot-check a proof and reduce anything that slows the eye’s journey from headline to action.
Tools and Resources for Mississauga Agents
Use ready-to-go templates, an online design tool, and local same-day pickup to meet tight listing timelines. Pair signage with matching business cards, flyers, and brochures so your curb presence and handouts tell a consistent, professional story.
From our shop near 5004 Timberlea Blvd Unit#18, we support agents who need fast, on-brand pieces:
- Start designing in minutes with our browser-based online design tool (no special software needed).
- Keep handouts aligned with your sign palette using custom business cards, brochures, and flyers in proven sizes.
- Bundle essentials through our Realtor packages so you don’t juggle multiple vendors during a busy listing week.
Need a quick gut-check on your layout? Our team can review a proof within minutes during business hours. For extra context on temporary sign clarity, The UPS Store’s temporary signage guidance reinforces the value of short copy, strong arrows, and clear spacing—all principles we bring to open house A‑frames.
Soft CTA: Want a 10‑minute design check? Send your proof and we’ll mark improvements to hierarchy, contrast, and QR sizing before you print.
Local considerations for 5004 Timberlea Blvd Unit#18
- Weekend opens near Stanford International College see mixed foot and bus traffic; place one A‑frame before campus-adjacent turns to catch walkers and transit riders.
- Wind picks up around open greens like Red Brush Park; favor .040 aluminum for main panels and add sandbags to A‑frames to prevent tipping.
- Same-day pickup helps Friday listings go live; align proofs by noon to keep print and install within the same afternoon.
Field Execution: Placement, Permits, and Etiquette
Place the post perpendicular to travel lanes, keep A‑frames off sidewalks’ centerline, and confirm municipal or HOA rules before deployment. Use 3–5 directional arrows spaced ahead of turns, and retrieve all temporary signs within hours of the open house closing.
- Yard post: 5–7 feet from curb to avoid utilities; mind sprinkler lines. Height: 48–60 inches for sightlines.
- A-frames: Set just inside property line; leave a 36‑inch pedestrian path.
- Directionals: Use 3–5 arrows for complex routes; repeat after long medians.
- Riders: One message per rider; remove time‑sensitive riders immediately after events.
Always check municipal and HOA guidelines. Secure permission for common areas, and avoid obstructing traffic signs, hydrants, or bus stops. Responsible deployment keeps your brand welcome in every neighborhood.
Cohesive Branding Across Signs and Handouts
Use one color palette, one headline font, and one action across yard posts, riders, and open house pieces. Match those choices on business cards, flyers, and brochures so every touchpoint tells the same story from curbside to kitchen table.
Brand consistency is speed. When your A-frames echo the post panel, buyers connect the path to the property. Carry the look into your leave-behinds and mailers:
- Pair signage with business cards featuring the same color values and logo lockup.
- Use brochures to expand details you can’t fit on a panel—floor plans, features, and neighborhood stats.
- Deploy a flyer size proven for yard boxes as explained in our flyer size guide.
- For seasonal farming, align calendars, postcards, and door hangers with your sign palette for instant recognition.
If you’re refreshing a brand, this article on real estate branding on a budget breaks down what to change first and how to roll it out quickly without losing recognition in your farm area.
Case Studies and Practical Examples
Simple, repeatable setups win: one aluminum post panel, three directionals, one A‑frame, and a single CTA. In our Mississauga installs, that kit improves weekend traffic predictability and reduces missed turns—especially in townhouse complexes and cul‑de‑sac neighborhoods.
Detached home near a busy collector road
Setup: 24 × 36 aluminum panel, black post at 54 inches, one “Open Sat 2–4” rider, and four 18 × 24 arrows. Action: a single phone number at 1.5 inches tall.
Result: Drops in missed turns after adding a second pre‑turn arrow 120 feet ahead of the corner. The rider clarified timing without cluttering the main panel.
Townhouse complex with internal turns
Setup: Two A-frames at the complex entrance and inner intersection, three arrows through the loop, and a 24 × 32 coroplast panel on a compact post.
Result: More uniform arrival times within the first 20 minutes of the open window after spacing arrows every 80–100 feet in the internal lanes.
Vacant property requiring visible branding
Setup: Full-height post panel with a bold headline, window cling for reassurance, and an A‑frame stationed near the sidewalk.
Result: Pedestrians engaged more readily with the A‑frame than the window; we reduced approach anxiety by making details readable from the curb.
Troubleshooting: Common Issues and Fast Fixes
If calls or scans lag, simplify the message, increase contrast, or reposition the sign perpendicular to traffic. Add a pre‑turn arrow 100–150 feet before corners, and upsize headline letters to 2.5–3 inches for busy streets.
- Low call volume: Remove secondary numbers; use one CTA only.
- Missed turns: Add an earlier directional; increase arrow thickness.
- Unreadable at dusk: Brighten background or add a white keyline around letters.
- Wind topple risk: Switch to aluminum panel and weight A‑frames with sandbags.
Quick wins come from clarity, not more content. Think “bigger type, fewer lines” before any other change.
Agent’s Checklist: From Listing Live to Open House
Pack one post panel, three to five directionals, one A‑frame, and the tools to install fast: mallet, level, sandbags, zip ties, and spare riders. Confirm municipal/HOA rules, then retrieve all temporary signs immediately after the open concludes.
- 1 post + 24 × 36 panel (.040 aluminum)
- 3–5 directional arrows (18 × 24 coroplast + H-stakes)
- 1 open house A‑frame (24 × 36 with bold arrow)
- Riders: “Open Sat 2–4” and “New Price”
- Tools: mallet, level, sandbags, zip ties, gloves
- Proofs on phone for field reference
Tip: Photograph each placement from driver and walker viewpoints to confirm angle and readability before you leave the curb.
Residential Real Estate Signs: Frequently Asked Questions
Most agents succeed with one yard post panel, one A‑frame, and three to five directional arrows. Keep one action on every sign, size letters to be read at 60–90 feet, and retrieve all temporary signs after your open house window.
What size should my main yard panel be?
Most detached homes use 24 × 36 inches so headlines can reach 2–3 inches tall and remain readable at 60–90 feet. Townhouse or tight frontages can work with 24 × 32 inches. Keep one message per line and leave generous margins.
How many directional arrow signs do I need?
Plan for three to five arrows for most neighborhoods. Place them 50–150 feet ahead of each turn and repeat after long medians. If speed limits are higher than 35 mph, add an earlier pre‑turn sign so drivers have time to react safely.
Should I use QR codes on residential signs?
Yes—when used alone as the primary action. Size the QR to at least 1.2 inches and back it up with a short URL. Avoid stacking phone, URL, and QR on one panel; a single, clear action converts best from curb distance.
What materials hold up best to weather?
For speed and durability, 4 mm coroplast handles rain and wind well for riders and directionals. For primary panels you expect to reuse, .040 or .063 aluminum resists bending and keeps a clean, professional look through multiple installs.
Key Takeaways
Clarity wins. One post panel, one A‑frame, and three to five arrows—each with a single action—deliver dependable buyer traffic. Consistent branding across signs and handouts builds recognition, while local same‑day pickup in Mississauga keeps timelines on track.
- Combine post panel, riders, A‑frame, and arrows for full coverage
- Use one CTA per sign and size letters for 60–90‑foot reads
- Choose coroplast for speed; aluminum for repeated reuse
- Photograph placements from driver and walker viewpoints
- Align signage with matching cards, flyers, and brochures
Conclusion: Next Steps for Mississauga Agents
Lock your kit now: a 24 × 36 post panel, three to five arrows, and an open house A‑frame with one clear action. Keep branding consistent, use high contrast, and pick up locally in Mississauga to launch listings on time and with confidence.
If you’re preparing a listing this week, send your assets and we’ll proof a cohesive set—yard post panel, riders, and open house pieces—aligned to your brokerage standards. Pair your curb presence with matching leave‑behinds so buyers connect the dots from street to showing.
Ready to move? Contact our Mississauga team to book a quick discovery session near 5004 Timberlea Blvd Unit#18 and get your residential real estate signs into the field fast.