When to use a printed brochure for a listing or open house
Printed brochures still matter for real estate: they act as a guided takeaway at open houses, a leave-behind for neighbourhood canvassing, and a compact listing sheet when a tactile presence helps. This article gives seven numbered, production-first brochure design tips you can apply now, each focused on what matters to local printing and fast turnaround for Mississauga and the GTA. If you need sizing guidance while you read, consult the Listing Brochure Sizes: Avoid Bad Mistakes in resource for common folded formats.
1. Start with a clear goal, gather assets, and follow brokerage rules
Define one primary objective for the brochure before you design it: sell this listing, capture leads at an open house, or introduce a neighbourhood report. When you know the goal you can prioritise content and avoid clutter. Gather the following assets first so layout work is fast and accurate:
- High-resolution hero photo and supporting images
- Listing facts: price, address, key measurements, room count, and notable upgrades
- Brand files: brokerage logo, agent headshot, and approved colour swatches
- Contact details and a single call-to-action
Design experts recommend collecting all content and brand materials before visual design, because knowing the audience and objective drives everything else (messaging, length, and tone) Creative Bloq, G2.
Brokerage branding and logo checklist
- Confirm whether your brokerage requires pre-approval for agent materials and how long approvals typically take.
- Request vector logo files (AI, EPS, or SVG) or high-resolution PNG with transparent background from your brokerage or brand portal.
- If brand fonts are not available, choose visually similar fonts and document the substitution for future approvals.
- Keep an approval stamp or signed email on file before ordering prints to avoid reprints.
Quick headline templates for listing brochures:
- Hero headline: “123 Maple Street — Bright, updated family home”
- Feature line: “3 bed, 2 bath, 1,450 sq ft — Move-in ready with new kitchen”
- Call-to-action: “Book a private showing: 647-xxx-xxxx or email@domain.ca”
2. Design the layout for reading flow and printing panels
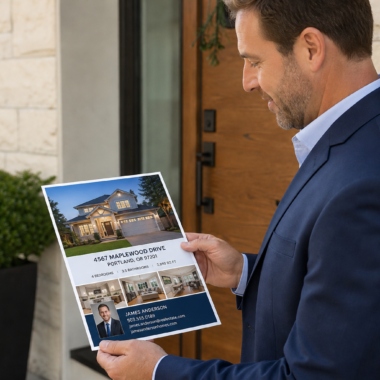
For print, a simple grid and clear reading order beat decorative complexity every time. Establish a visual hierarchy: primary headline, supporting bullets, photos, and a single, visible CTA. Put the primary message on the front panel so a passerby understands the offer at a glance.
Tri-fold panel order explained
Tri-fold brochures reorder panels when folded. Mock the final folded piece on screen or in paper to confirm the reading sequence and which panel will act as the cover. Design with panel gutters and fold allowance in mind so important copy does not fall into a crease.
3 quick layout fixes
- Increase margins to create breathing room, especially near fold lines.
- Use contrast for hierarchy: dark headline on light background or reversed type when necessary.
- Limit the number of CTAs to one prominent action to avoid confusing readers.
When to choose a fold: tri-fold works best for short, bullet-friendly open-house handouts; bi-fold suits a premium feature sheet with larger photos; single two-sided sheets are ideal for quick leave-behinds. Planning the layout to match content length saves redesigns and printing errors Heighton, Creative Bloq.
3. Choose typography for legibility in print
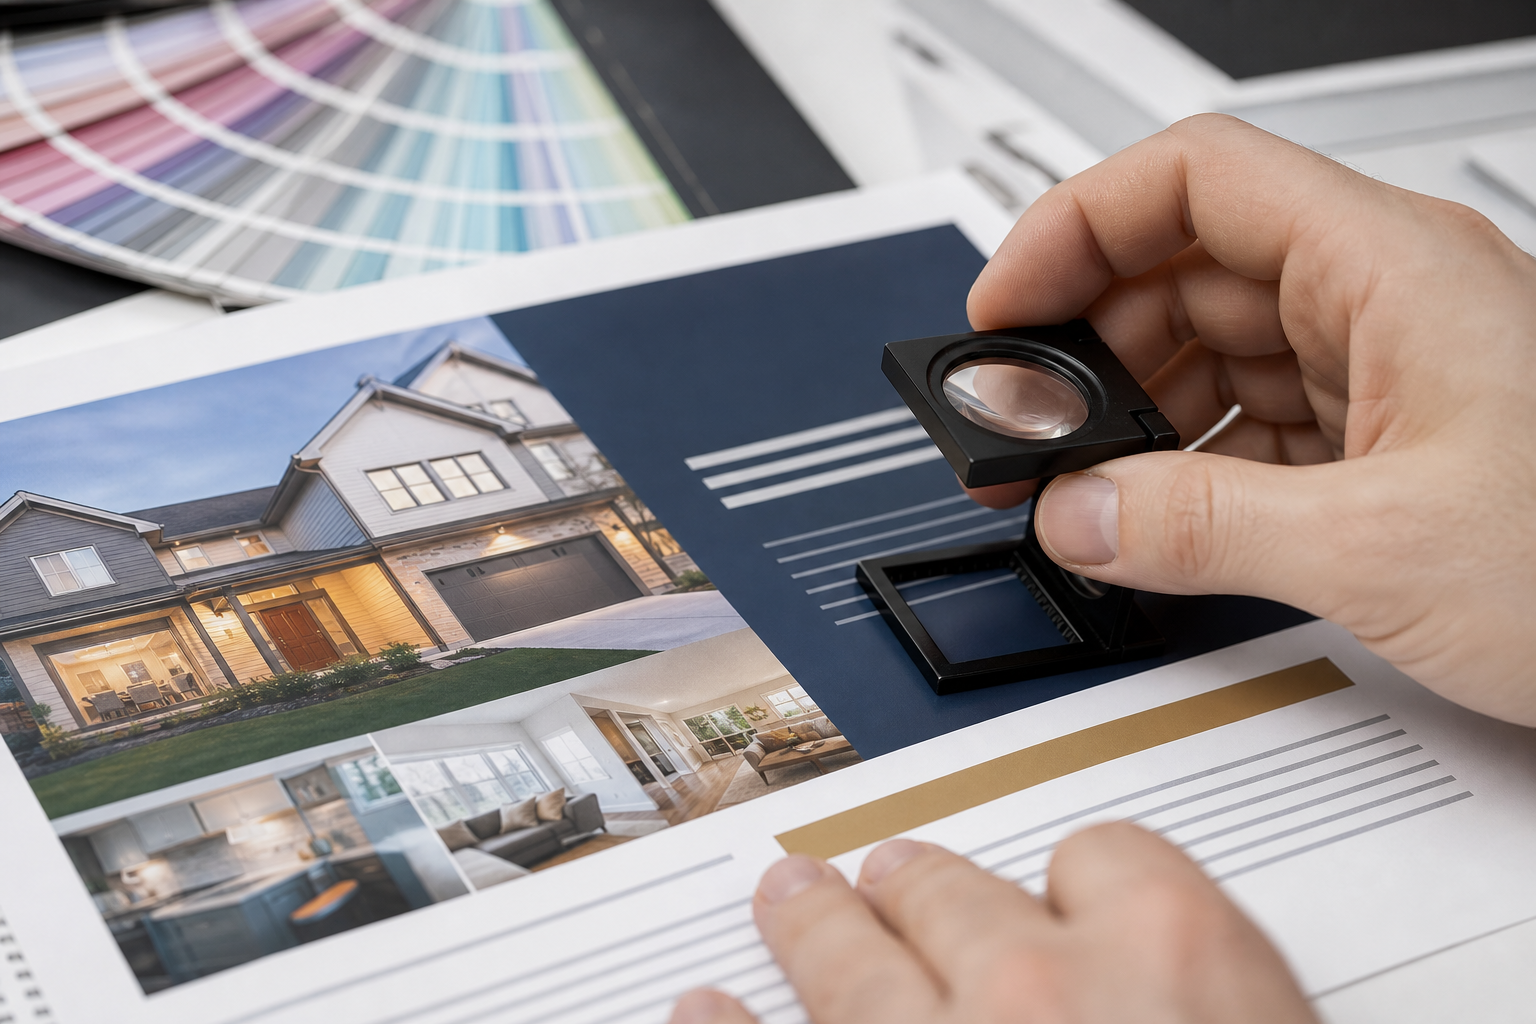
Printed type reads differently than on screen. Use clear, legible sizes and maintain comfortable line lengths. Recommended baseline sizes for most brochures are:
- Body copy: 9 to 11 pt depending on the font
- Subheads: 12 to 16 pt
- Primary headline: 18 pt and up, larger for dramatic hero panels
Keep body line length to 45 to 75 characters to improve readability, and avoid very light or very condensed weights for long paragraphs. If brand fonts are unavailable, choose a clean sans for headings and a readable serif or humanist sans for body copy. Test printed proofs at arm’s length to confirm legibility before final print runs G2, Adobe.
4. Use property photography that prints well
Images are the single most important element in a listing brochure. For sharp prints, supply photos at 300 dpi at the final printed dimensions rather than relying on pixel-based scaling. Avoid heavy cropping that reduces resolution and prepare a mix of wide hero shots and detail crops for small panels.
Quick photo checklist
- Export images at 300 dpi at the size they will appear in print.
- Light retouching is fine: correct exposure, straighten horizons, remove minor blemishes.
- For small panels use tight detail crops of kitchen counters, finishes, or a styled room vignette.
If you only have smartphone photos, shoot the space in landscape, avoid digital zoom, and capture wider angles for cropping. When possible hire a photographer for high-end listings; otherwise validate phone images at final size to ensure they remain crisp Heighton, Creative Bloq.
5. Pick the fold and size that match your content and print rules
Match format to purpose. Common choices for realtors include:
- Tri-fold (six panels) for open-house handouts and neighbourhood guides
- Bi-fold (four panels) for premium feature brochures and spec sheets
- Single double-sided sheet for quick flyers and leave-behinds
Common layout mistakes that lead to print errors include wrong panel order for folds, placing critical copy within the gutter, and forgetting fold marks. For detailed size options and panel templates consult the Listing Brochure Sizes: Avoid Bad Mistakes in resource to avoid common measurement and fold errors Listing Brochure Sizes: Avoid Bad Mistakes in.
6. Choose paper and finishes based on budget and brand positioning

Paper and finish affect perception and cost. For everyday open-house brochures, 100 to 150 gsm coated stock with a silk or gloss finish balances quality and price. For premium listing brochures choose heavier stock or a cover with soft-touch laminate, or add spot UV on the hero area for contrast. Remember that heavier stock improves feel but increases postage and cost for mailed campaigns. Adobe notes that budget affects length, paper, and finishing decisions, so confirm budget early in the planning stage Adobe, and use that to pick finishes that match your positioning.
Top Realtor Shop lists luxury finishing options and the ability to handle both fast-turn items and premium upgrades, which can help you match quality to campaign needs Top Realtor Shop.
7. Prepare print-ready files and order with a fast local printer
File-prep matters more than design details when it comes to getting the first print right. Follow this exact checklist before you upload or send files to print:
- Colour mode: convert artwork to CMYK, not RGB
- Image resolution: 300 dpi at final print size for all photos and graphics
- Bleed: include a 3 mm bleed on all sides that trim will cut off
- Safety margin: keep important text and logos at least 4 to 5 mm inside the trim edge
- Fonts: embed fonts or outline type to avoid substitutions
- File format: export a print-ready PDF, preferably PDF/X standards if available
- Proofs: request a soft proof and, for high-stakes prints, a hard proof before full runs
How to export a simple print-ready PDF
In most design apps choose File > Export or File > Print, select PDF with presets like “PDF/X-1a” or “High Quality Print,” include bleed settings, and ensure fonts are embedded. If you use a browser-based editor, download the highest quality PDF option and confirm bleed and crop marks are present.
Brokerage approval and proof checklist
- Attach a proof showing final trimmed art to the brokerage for quick stamp or email approval
- Keep communication concise: show final price, headline, and agent details that the brokerage typically checks
- Request approval by a specific time to allow for print scheduling
When you are ready to print locally, request a soft proof and ask the printer about turnaround and same-day pickup options. Top Realtor Shop offers in-house design help, a browser-based online design tool for quick edits, and same-day pickup on select items from its Mississauga location at 5004 Timberlea Blvd Unit 18; check store hours and ordering options on the website Top Realtor Shop.
Frequently asked questions
What file format should I upload for printing a brochure?
Export a print-ready PDF with fonts embedded or outlined, include crop marks and a 3 mm bleed, and use CMYK colour mode. If the printer requests a specific PDF standard, supply PDF/X when possible.
How much bleed and safety margin do I need for a tri-fold brochure?
Include 3 mm bleed on all sides and keep important text at least 4 to 5 mm inside the trim edge to avoid text near fold lines or the trimmed border.
Which paper weight and finish work best for an open-house handout?
100 to 150 gsm coated stock with a silk or gloss finish offers a durable, cost-effective feel for handouts. Upgrade to heavier stock or soft-touch on covers for premium listings.
How do I get my brokerage to approve a listing brochure quickly?
Prepare a concise proof that highlights headline, price, agent details, and brokerage logo placement, then send a single email asking for approval by a specific time. Keep brand files and substitution notes ready to speed the process.
Can Top Realtor Shop do the design for me and offer same-day pickup?
Yes. Top Realtor Shop provides in-house graphic design services, a browser-based design tool for quick self-serve edits, and same-day pickup on select items; contact the shop or visit the website to confirm current availability and hours Top Realtor Shop.
Final CTA: For fast, local brochure printing and design support, contact Top Realtor Sign & Print via the website Top Realtor Shop to request a proof or schedule same-day pickup from the Mississauga location at 5004 Timberlea Blvd Unit 18.