Quick takeaway: choose a For sale sign size by the distance and speed of passing viewers, use coroplast for temporary listings and aluminum for long term panels, add a narrow rider for extra information, and chain directional signs to lead drivers. The step-by-step rules below will take you from curbside decision to order, including local options for fast proofs and same-day pickup from Top Realtor Sign & Print.
Quick answers and recommended sizes
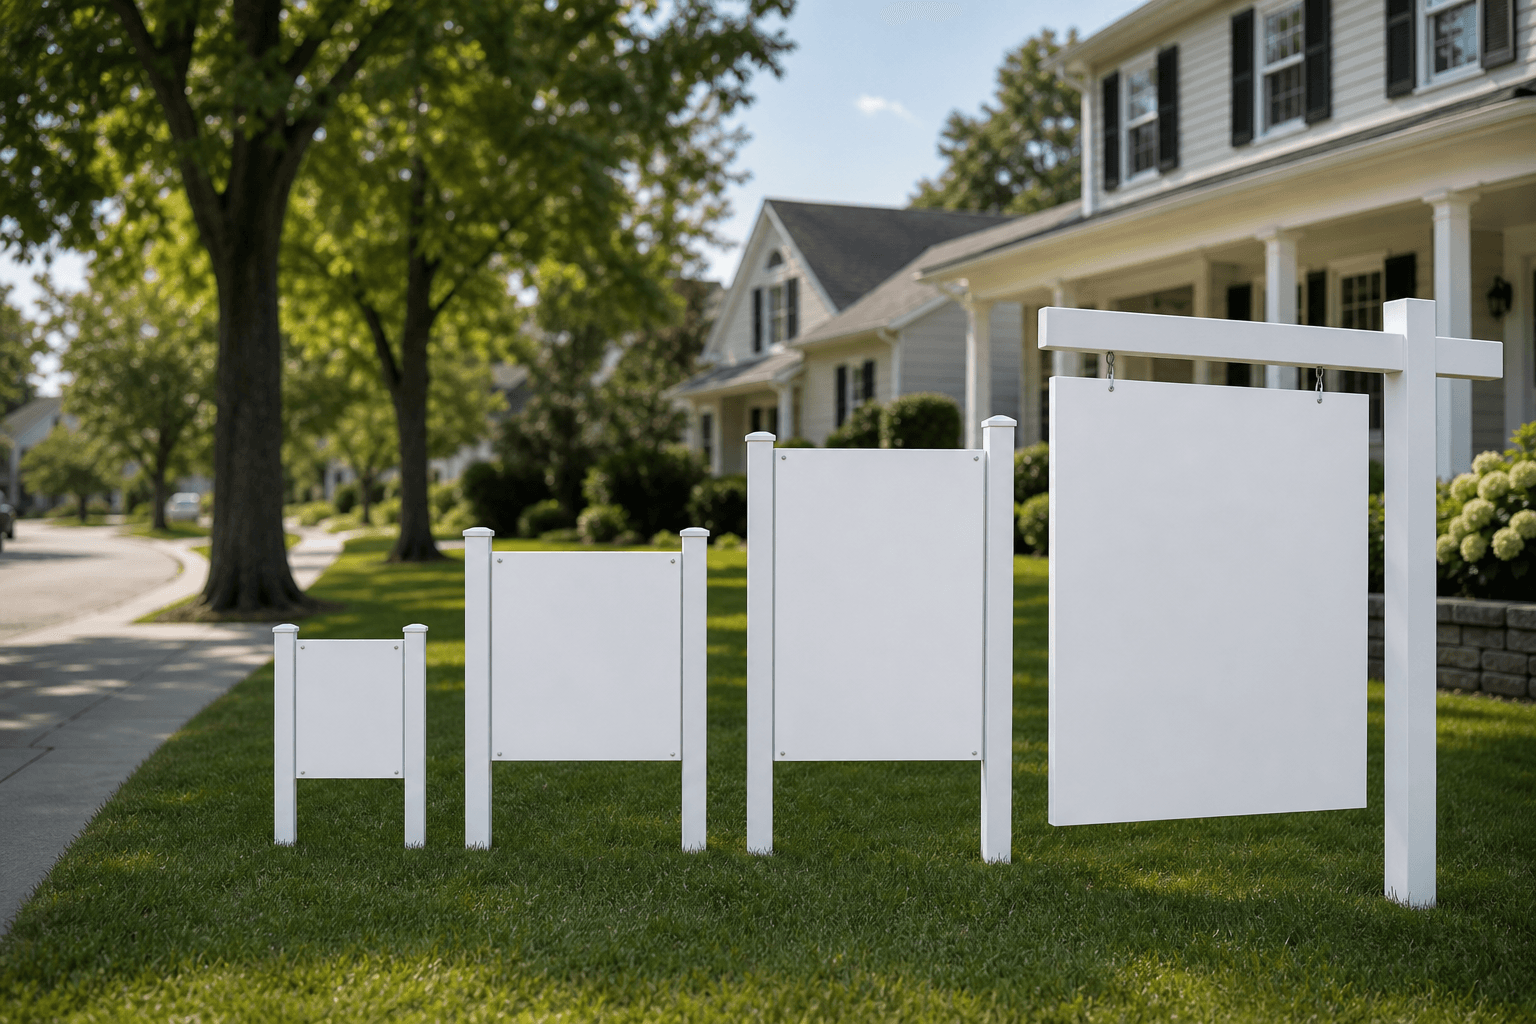
When you need a fast decision use these typical pairings popular with agents in Ontario. The dimensions here are common industry standards and recommended for readability and frame compatibility. For a standard residential yard use 18 by 24 inches, which fits most frames and H-wire stakes and reads clearly from a suburban street according to YardSignPlus. For busier streets or small commercial roads step up to 24 by 36 inches or 32 by 36 inches. For higher speed roads and corner lots choose a larger panel such as 36 by 48 inches. These choices align with sizing advice from YardSignPlus, 4OVER4, and AgentPrint.
Reference guides:
- YardSignPlus: real estate sign sizes
- 4OVER4: sizing guide and best locations
- AgentPrint: common Canadian sign sizes
Step 1: match sign size to viewing distance and road speed
The core rule is simple: size the panel to the viewing distance and speed of the road, not the yard. If most viewers are walking or parked at the curb you can use smaller panels. If drivers will pass at speed or the property sits on a wide road use a larger, higher impact panel. Industry references emphasise sizing by viewing distance and recommend larger panels for busy routes.
How far will drivers read the sign
On quiet residential streets with 30 to 40 kilometre per hour traffic a standard 18 by 24 inch sign is usually readable from the road. On busier two-lane neighbourhood roads or collector streets where drivers travel faster, a 24 by 36 inch panel improves legibility. For arterial roads and corner lots where cars approach quickly, choose 36 by 48 inches to give drivers more time to register the message. These distance-based choices match common practice in the industry.
Examples and on-site rules
- Suburban front yard close to the street: 18 x 24 inches, coroplast panel and H-wire stake.
- Collector street with moderate traffic: 24 x 36 inches or 32 x 36 inches mounted on a frame or post for stability.
- Arterial road, corner lot, or multi-lane approach: 36 x 48 inches with stronger mounting and optional reflective finish.
- Directional chain signs: 24 x 18 or 24 x 36 inches spaced so drivers can follow the route.
Step 2: choose material and mounting for the listing length

Material choice depends on how long the sign will remain in place. Use coroplast or corrugated plastic for short-term and temporary listings. It is lightweight, economical, and works with H-wire stakes or temporary frames. For long-term placement, repeated weather exposure, or a higher-end look choose aluminum or an aluminum composite panel which resists bending and lasts longer in wet or windy conditions. The 4OVER4 guide explains these tradeoffs in more detail.
Mounting options
- H-wire stakes: low cost and fast install for coroplast panels on lawns.
- Post and frame: better for mid-term listings and larger panels to prevent sagging.
- Surface mount or bolted brackets: use for aluminum panels on permanent posts or commercial sites.
If you need a fast turnaround, Top Realtor Sign & Print offers in-house design help, a browser-based online design tool, and same-day pickup on key items to shorten the path from proof to installed sign. Top Realtor Sign & Print can prepare proofs and advise on mounting options.
Step 3: size and place riders, inserts, and directional signs
Riders are narrow horizontal signs that attach to the top or bottom of a panel for agent contact, open house times, or property status. A common rider size is 6 by 24 inches. Place riders where they do not obscure the main headline and keep them high enough to clear snowbanks or shrubbery. Insert signs that sit inside a frame should match the frame face, and directional panels that guide drivers are frequently 24 by 18 or 24 by 36 inches. When guiding drivers use a trail of directional signs placed at junctions and turns so the route is obvious.
Step 4: design checklist for legibility at speed
Keep the message short and readable. Follow these practical rules when you or a designer set up the panel.
- Headline: one strong line that says For sale or Sold. Make it the largest element on the face.
- Contact line: include a phone number and optional small logo. Avoid crowding both sides with logos and text.
- Contrast: use high contrast between text and background. White text on a dark field or dark text on white reads best.
- Type choice: use a bold, geometric sans serif for the headline and a clear sans serif for the contact line.
- White space: leave breathing room around headline and contact details so letters do not appear crowded at distance.
- Limit text: do not use long sentences. Use flags, QR codes, or riders for supplemental details.
For more on design, colour, and logo placement see our article Good For Sale Signs: Stand Out and Sell Faster.
Step 5: compliance and safety checks before you order

Before you print confirm these items at the curb and with the property owner.
- HOA and municipal rules: verify any size, setback, or permit limits that apply to the property or street. Many HOAs restrict overall panel dimensions and placement near sidewalks or sightlines.
- Sightline and setback safety: do not place signs where they block pedestrian sightlines at intersections or where they could create hazards for drivers backing into the road.
- Brokerage branding: confirm logo size and broker attribution rules so your sign meets brokerage compliance.
- Utility and tree clearance: avoid placing stakes over buried utilities or under low branches that could hide the sign.
- Local bylaws for directional signs: some municipalities limit the number of roadside directional signs and the time they may remain posted.
Following these checks prevents removal and complaints and ensures your signs remain in place for the listing period. See the design and compliance notes in our Good For Sale Signs article for additional examples.
Step 6: order fast in Mississauga and what to expect
If you are near Mississauga you can speed from decision to installed sign by using local printing with in-house design support. Top Realtor Sign & Print provides an online design editor and in-house graphic design so you can supply a concept or request a recreation of existing artwork. Popular quick items such as business cards and flyers have same-day pickup options, and sign panels move quickly when you request a proof early in the day.
How to place a quick order
- Choose panel size and finish based on the steps above.
- Use the online design tool or request in-house design to prepare a proof.
- Confirm any compliance requirements and request mounting options if needed.
- Ask for a digital proof and estimated pickup time. Request same-day pickup for urgent flyers or business cards.
Decision criteria, common objections, and a quick checklist
Use this curbside decision matrix when you are at a new listing.
- If viewers are mostly on foot and close to the door choose 18 x 24 inches, coroplast, H-wire stake.
- If viewers are driving at moderate speed choose 24 x 36 inches, consider a post and frame for stability.
- If the lot faces a major road or the sign must be read from further away choose 36 x 48 inches and aluminum backing.
Typical objections
- Cost: larger panels and aluminum raise price, so balance impact with listing budget and consider a larger panel only on roads that justify it.
- HOA limits: many HOAs permit only specific sizes and placements. Always confirm before ordering.
- Weather: if a sign must survive winter, choose aluminum or order a replacement schedule for seasonal damage.
Pre-order checklist
- Confirm panel dimensions and material.
- Confirm rider size and placement.
- Obtain digital proof and confirm colours and logo scale.
- Verify pickup time and mounting hardware needs.
Frequently asked questions
Do I need a municipal permit or HOA approval for a For sale sign in Ontario
Local rules vary widely. Many municipalities and HOAs have explicit size, setback, and duration limits. Always check the HOA covenants and municipal bylaws for the property before ordering to avoid removal or fines.
Which material is best for a winter listing in Mississauga
For winter durability choose aluminum or aluminum composite panels which resist bending and water penetration better than coroplast. If you use coroplast replace panels that show damage and consider protective mounting to keep panels off the ground.
What size rider should I use for open house times and agent contact
Common rider sizes are 6 by 24 inches for a single horizontal rider. Mount riders where they do not obscure the headline and keep type large and clear for passing drivers.
How far apart should directional signs be placed when guiding drivers
Place directional signs at key decision points such as intersections and turns. The goal is a clear, continuous route so place a sign before a turn and then another after the turn. Use 24 x 18 or 24 x 36 inch directional panels for easy visibility.
Does Top Realtor Sign & Print offer same-day pickup for For sale signs and riders
Top Realtor Sign & Print advertises same-day pickup for popular items such as business cards and flyers and provides in-house design and fast proofs that speed sign production. Contact the shop through the website to confirm current same-day availability for panels and riders: Top Realtor Sign & Print.
Next step: get a digital proof or place an order with Top Realtor Sign & Print for fast proofs and same-day pickup at the official website.