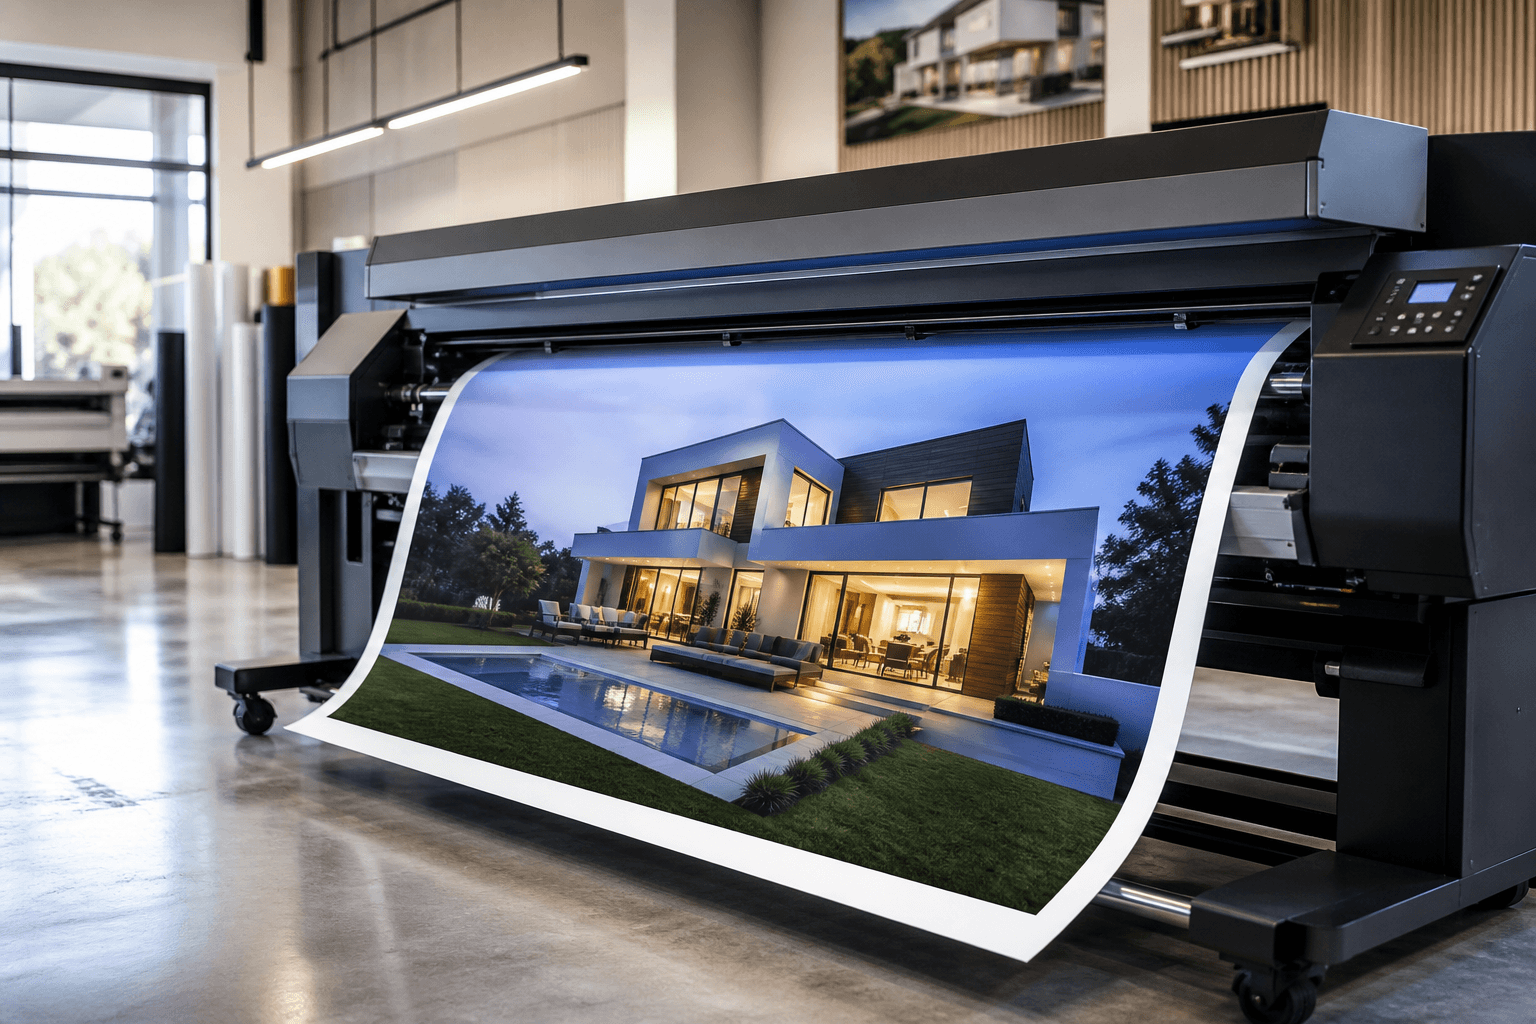
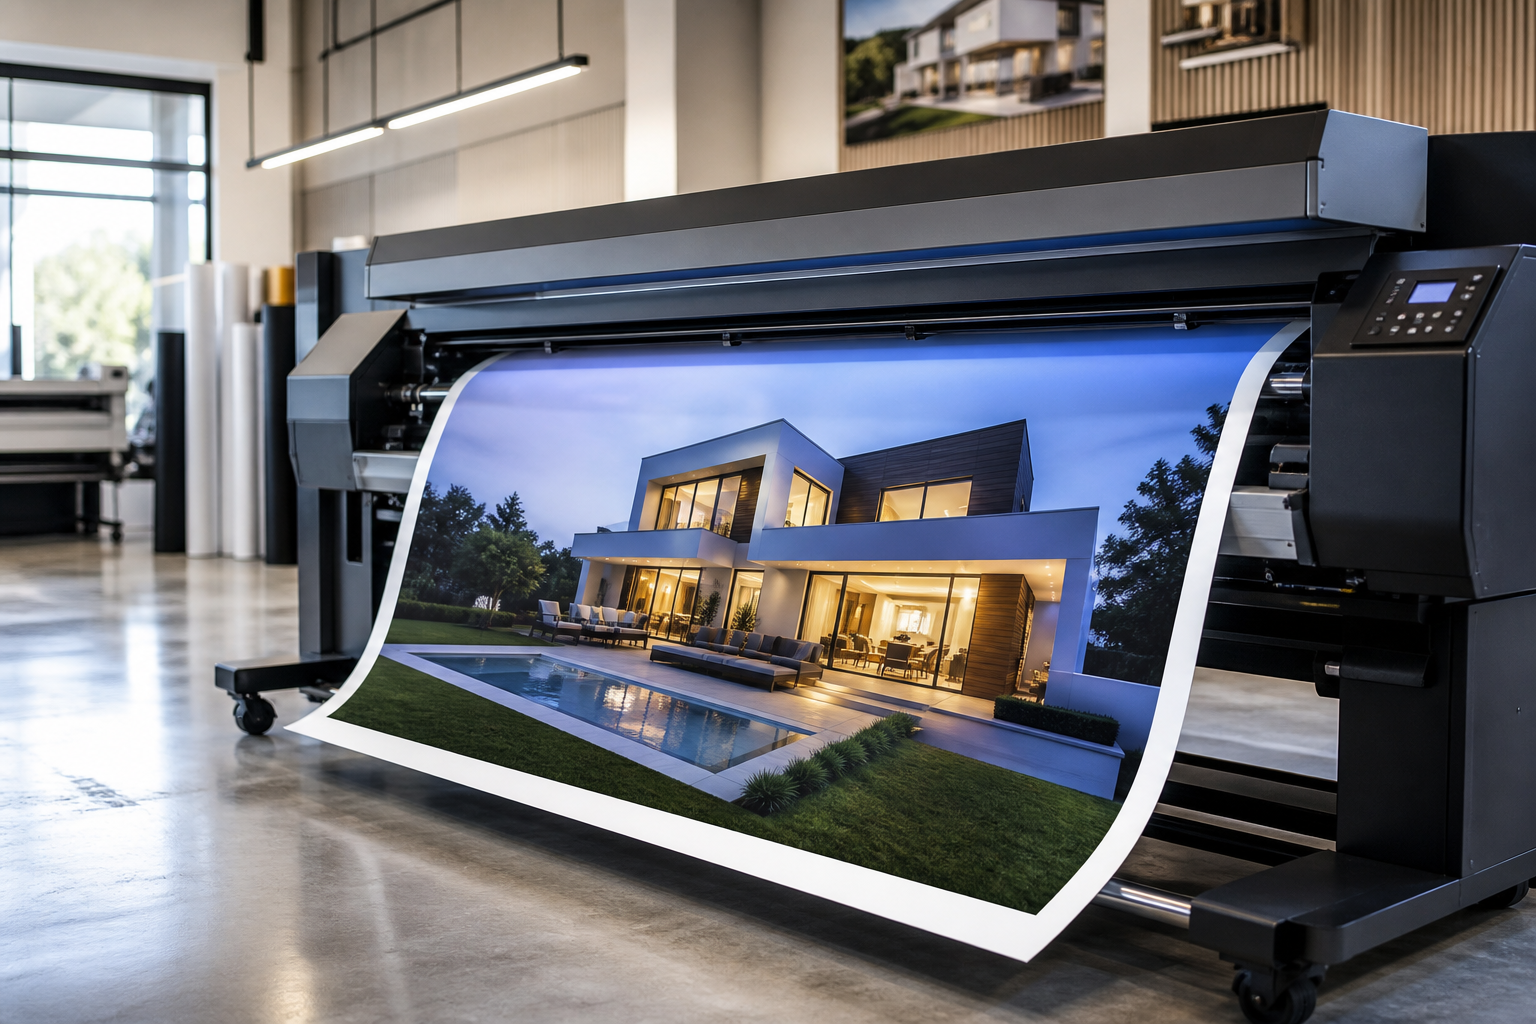
A Practical Guide to Grand Format Printer
Grand format printers create oversized graphics designed to be seen from a distance—think building wraps, billboards, wall murals, fleet and vehicle graphics, trade show backdrops, stage sets, flags, and extra‑wide banners. If you need visuals measured in feet rather than inches, this guide will help you decide when to use a grand format printer, how to set up files correctly, which materials and inks fit your job, what finishing to request, and how to avoid common pitfalls.
What is a grand format printer?
A grand format printer is a wide-format inkjet device engineered to print at exceptionally large widths, commonly 64 inches (1.6 m) and beyond, with many devices reaching 10 feet (3.2 m) or more. Unlike standard office or commercial presses, grand format systems are optimized for rolls and rigid boards used in signage, décor, events, retail, transit, and outdoor advertising.
Key characteristics typically include roll-to-roll or hybrid (roll and rigid) capability, outdoor‑durable inks, integrated heaters or curing lamps, and finishing interfaces such as cutters, slitters, and take‑up reels. Output can range from short‑term promotional pieces to long‑term exterior installations, depending on ink and media selection.
When to choose grand format
Choose grand format printing when the design must be visible from a distance or must cover large architectural or event surfaces. Typical applications include:
- Extra‑wide banners and fence mesh for construction sites or venues
- Billboards, building wraps, and supergraphics
- Wall murals, window graphics, floor graphics, and column wraps
- Trade show backdrops, step‑and‑repeat walls, and pop‑up displays
- Vehicle and fleet graphics, buses, trucks, and trailers
- Exterior wayfinding, stadium branding, and retail façades
- Soft signage such as flags, silicone‑edge graphics (SEG), and fabric backdrops
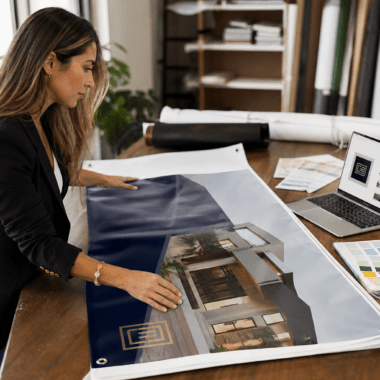
If a project exceeds the width of a standard wide-format device or needs specialized outdoor durability, a grand format printer (or tiling across multiple panels) is the practical route.
Core print technologies and inks
Grand format printers are predominantly inkjet and may use different ink chemistries, each with trade‑offs. Understanding these helps you match the method to your use case.
- Solvent / Eco‑solvent: Bonds to coated and some uncoated PVC and vinyls. Known for outdoor durability and rich color. Usually requires outgassing time before lamination.
- Latex: Water‑based polymer inks cured with heat. Versatile on many roll substrates with relatively quick finishing readiness.
- UV‑curable: Ink cures instantly under UV light and can print on both flexible rolls and rigid boards (e.g., foam board, PVC, ACM). Offers excellent adhesion and chemical resistance; can feel slightly raised on some media.
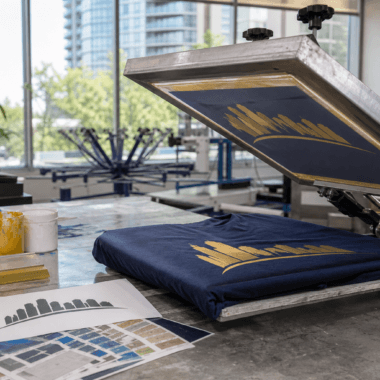
- Dye‑sublimation (transfer or direct‑to‑fabric): For polyester fabrics and soft signage. Produces vibrant, washable prints with good drape; requires heat press fixation for transfer papers.
Ink choice impacts color gamut, flexibility, odor, environmental profile, scratch resistance, and whether lamination is needed. If your graphic will be handled frequently, exposed to abrasion, cleaned regularly, or installed outdoors long‑term, discuss protective laminates or clear coats with your print provider.
Materials and substrates
Grand format output spans a wide range of flexible and rigid materials. Selecting the right one affects appearance, longevity, installation method, and cost.
- Vinyl (calendared or cast): Common for banners and vehicle graphics. Cast vinyl conforms better to curves and rivets; calendared suits flat or gentle curves.
- Mesh banner: Perforated for wind flow on fences and building wraps. Reduces wind load and allows some see‑through.
- Polyester fabrics: For dye‑sub soft signage, SEG frames, flags, and backlit displays; lightweight and foldable.
- Self‑adhesive films: For walls, windows, floors, and displays. Options include removable, repositionable, and permanent adhesives; specialty textures and low‑tack variants exist for easier removal.
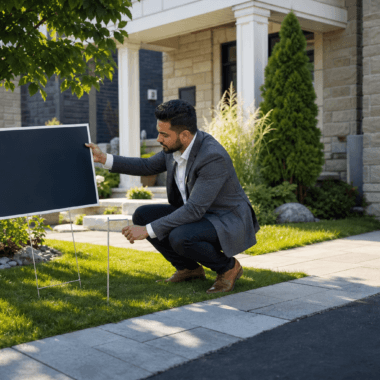
- Rigid boards: Foam board, PVC, corrugated plastic, polystyrene, acrylic, plywood, and aluminum composite material (ACM). Used for displays, real estate panels, and site signage.
- Backlit films and fabrics: Engineered for light boxes and illuminated signage to ensure even diffusion and color density.
Consider fire ratings, slip resistance for floor graphics, and interior vs. exterior suitability when choosing materials, especially for public venues.
Resolution and viewing distance
Large graphics are typically viewed from several feet away or more. That means you can often use lower pixel density than you would for hand‑held prints while still achieving crisp perceived detail.
- Close viewing (2–5 ft / 0.6–1.5 m): Aim for effective 150–200 ppi at final size.
- Medium viewing (6–15 ft / 2–5 m): 100–150 ppi is often sufficient.
- Long viewing (15+ ft / 5+ m): 50–100 ppi can look sharp at distance.
Keep logos, small type, and fine linework as vector art to maintain edge sharpness at any scale. If a raster image is under‑resolution, consider vector illustration, upscaling with high‑quality resampling, or redesigning with bolder shapes.
File setup and prepress essentials
Proper file preparation averts delays and prevents quality issues when your artwork reaches a grand format printer.
- Document scale: Work at 100% when feasible. For extreme sizes, use a proportional scale (e.g., 1:10) and communicate the scale explicitly in your order.
- Color: Design in CMYK or a wide‑gamut RGB workflow with a plan for conversion. Provide Pantone references only as visual targets; exact spot matching depends on media/ink.
- Bleed: Add at least 0.125–0.5 in (3–13 mm) bleed on all edges; more for items that will be hemmed, wrapped, or mounted into frames or SEG tracks.
- Safe margins: Keep critical text and logos well inside trim—typically 0.5–2 in (13–50 mm) depending on size and finishing.
- Fonts and links: Outline vector text and embed all images. Package files if submitting native formats.
- Layers and effects: Flatten transparency where possible. Avoid overprints unless intentional. Expand strokes for cutters or routers when needed.
- Cut/crease data: Use spot-color strokes named clearly (e.g., CUT, FOLD) on separate layers for contour cutting or routing.
- File formats: High‑res PDF/X (preferred), TIFF, or EPS. Avoid low‑compression JPEGs for text‑heavy art.
Color management basics
Color appearance varies by ink, substrate, lighting, and viewing conditions. Use a practical approach that balances consistency with real‑world constraints.
- Profiles: When available, design and soft‑proof with printer/media ICC profiles. If you lack a specific profile, use a standard working space and request a contract proof or test swatch.
- Brand colors: Supply Pantone and CMYK builds. Ask for drawdowns or swatch strips on the actual material to validate brand‑critical tones.
- Lighting: Evaluate color under lighting similar to the final environment—daylight, warm retail lighting, or backlit conditions for light boxes.
- Black builds: Use rich black for deep backgrounds (e.g., C60 M40 Y40 K100) and 100% K for fine type to minimize misregistration blur.
Finishing options and hardware
Finishing determines how your print is mounted, displayed, and protected. Specify these details up front so the printer can produce at the correct size with proper bleed and edge treatments.
- Lamination: Gloss, matte, or textured films add abrasion and UV resistance. Essential for floor graphics and frequently handled pieces.
- Hems and grommets: Banner edges can be hemmed or welded; grommets placed at regular intervals for hanging.
- Pole pockets: Top/bottom sleeves for banner stands or street pole hardware; specify finished pocket size and orientation.
- Keder/SEG: Silicone edging sewn around fabric graphics to fit into aluminum frames for a taut, frameless look.
- Mounting: Prints applied to foam board, PVC, acrylic, or ACM; standoff hardware and French cleats are common for wall installs.
- Routing/contour cutting: Custom shapes on rigid substrates; provide vector cut paths.
- Overprints and varnishes: Clear coats or spot varnish for highlight effects and added protection in some workflows.
Installation and handling
Large graphics are easier to install when the site, surface, and environment are properly prepared.
- Surface prep: Ensure walls or windows are clean, dry, and smooth. For painted walls, allow adequate cure time before application.
- Measurements: Verify site dimensions, obstructions, and hardware clearances. For tiled murals, confirm overlap allowances.
- Environment: Avoid installation in extreme temperatures or high humidity when adhesive films are used.
- Safety: Plan for ladders, lifts, traffic control, and appropriate personal protective equipment where necessary.
- Vehicle graphics: Degrease panels thoroughly; use correct heat and squeegee techniques; post‑heat cast films on deep channels as recommended by the film manufacturer.
Durability and maintenance
Expected lifespan depends on ink, media, exposure (UV, moisture, abrasion), and whether protection is added. As general guidance:
- Indoors: Many unlaminated displays last years with minimal handling; lamination extends life where contact or cleaning is frequent.
- Outdoors: UV exposure is the primary fading factor. Lamination and UV‑resistant inks help, and choosing appropriate media prevents cracking or shrinkage.
- Cleaning: Use mild, non‑abrasive cleaners suitable for the substrate; test in an inconspicuous area first.
Planning and spec sheet
Before you request quotes or place an order, assemble a short spec sheet to keep details aligned from design through installation.
- Project name and final size (W × H) at full scale
- Viewing distance and environment (indoor/outdoor, lighting)
- Substrate and ink preferences (or required certifications, e.g., flame rating)
- Finishing (laminate type, hems, grommets spacing, pole pockets, SEG, routing)
- Mounting/installation method and hardware
- Paneling/tiling plan if the piece exceeds device or material width
- Color targets and proofing needs (drawdowns, contract proofs)
- File format, scale, bleed, and cut path specs
- Packing, delivery, and site access notes
Grand format preflight checklist
Use this quick run‑through before you send final art to a grand format printer:
- Dimensions and scale verified; art at 100% or clearly labeled with scale
- Bleed added on all sides; safe margins respected
- Raster images at suitable effective ppi for viewing distance
- Logos and small type as vector; strokes expanded where required
- Colors converted as agreed; black builds set appropriately
- Cut paths on separate layer with named spot color
- Transparency flattened; overprints intentional
- Fonts outlined; links embedded; unused layers removed
- PDF/X, TIFF, or EPS exported; no compression artifacts
- Spec sheet attached with finishing, hardware, and installation notes
Common pitfalls to avoid
- Insufficient bleed or wrong finished size: Leads to white edges or cropped content—especially problematic for hemmed or framed pieces.
- Under‑resolution images: Pixelation becomes obvious on gradients and faces. Address early with higher‑res assets or vector alternatives.
- Color surprises on specialty media: Metallic, textured, or fabric substrates can shift hues; request test swatches.
- Unclear finishing directions: Missing grommet spacing, pocket size, or SEG details can delay production.
- Ignoring panel joints: Design across seams thoughtfully; avoid critical text on tile joins.
FAQ
What’s the difference between wide format and grand format printers?
Both produce large graphics, but “grand format” generally refers to printers that handle extra‑wide media—often 10 feet (3.2 m) or more. Wide format typically tops out around 64 inches (1.6 m). Grand format is used when graphics exceed those widths or when ultra‑large output is standard, such as billboards and building wraps.
How big should my file be for a billboard or wall mural?
Size your document at full scale when practical. If the art is extremely large, work at a consistent reduction (for example, 1:10) and ensure effective resolution meets viewing distance targets. For long‑range viewing, 50–100 ppi at final size is commonly adequate; for close‑range murals, aim higher (100–200 ppi).
Do I need lamination for outdoor prints?
Lamination adds abrasion and UV protection and is advisable for items exposed to weather, frequent handling, or cleaning. Some inks and materials are highly durable without laminate, but adding a matched laminate often extends usable life and preserves appearance.
Can grand format printers print on rigid boards?
Yes—hybrid and flatbed UV printers can print directly onto rigid substrates such as foam board, PVC, acrylic, and ACM. If you’re designing for routing or contour cutting, include vector cut paths and sufficient bleed beyond the cut line.
What finishing should I choose for a large banner?
Common choices include welded hems with grommets for hanging, pole pockets for crossbars, or reinforced corners for high‑tension installs. For windy sites, mesh banner reduces wind load; for sleek interiors, consider fabric with SEG frames.