Large-format print explainer
How Large Format Digital Printing Works for Buyers
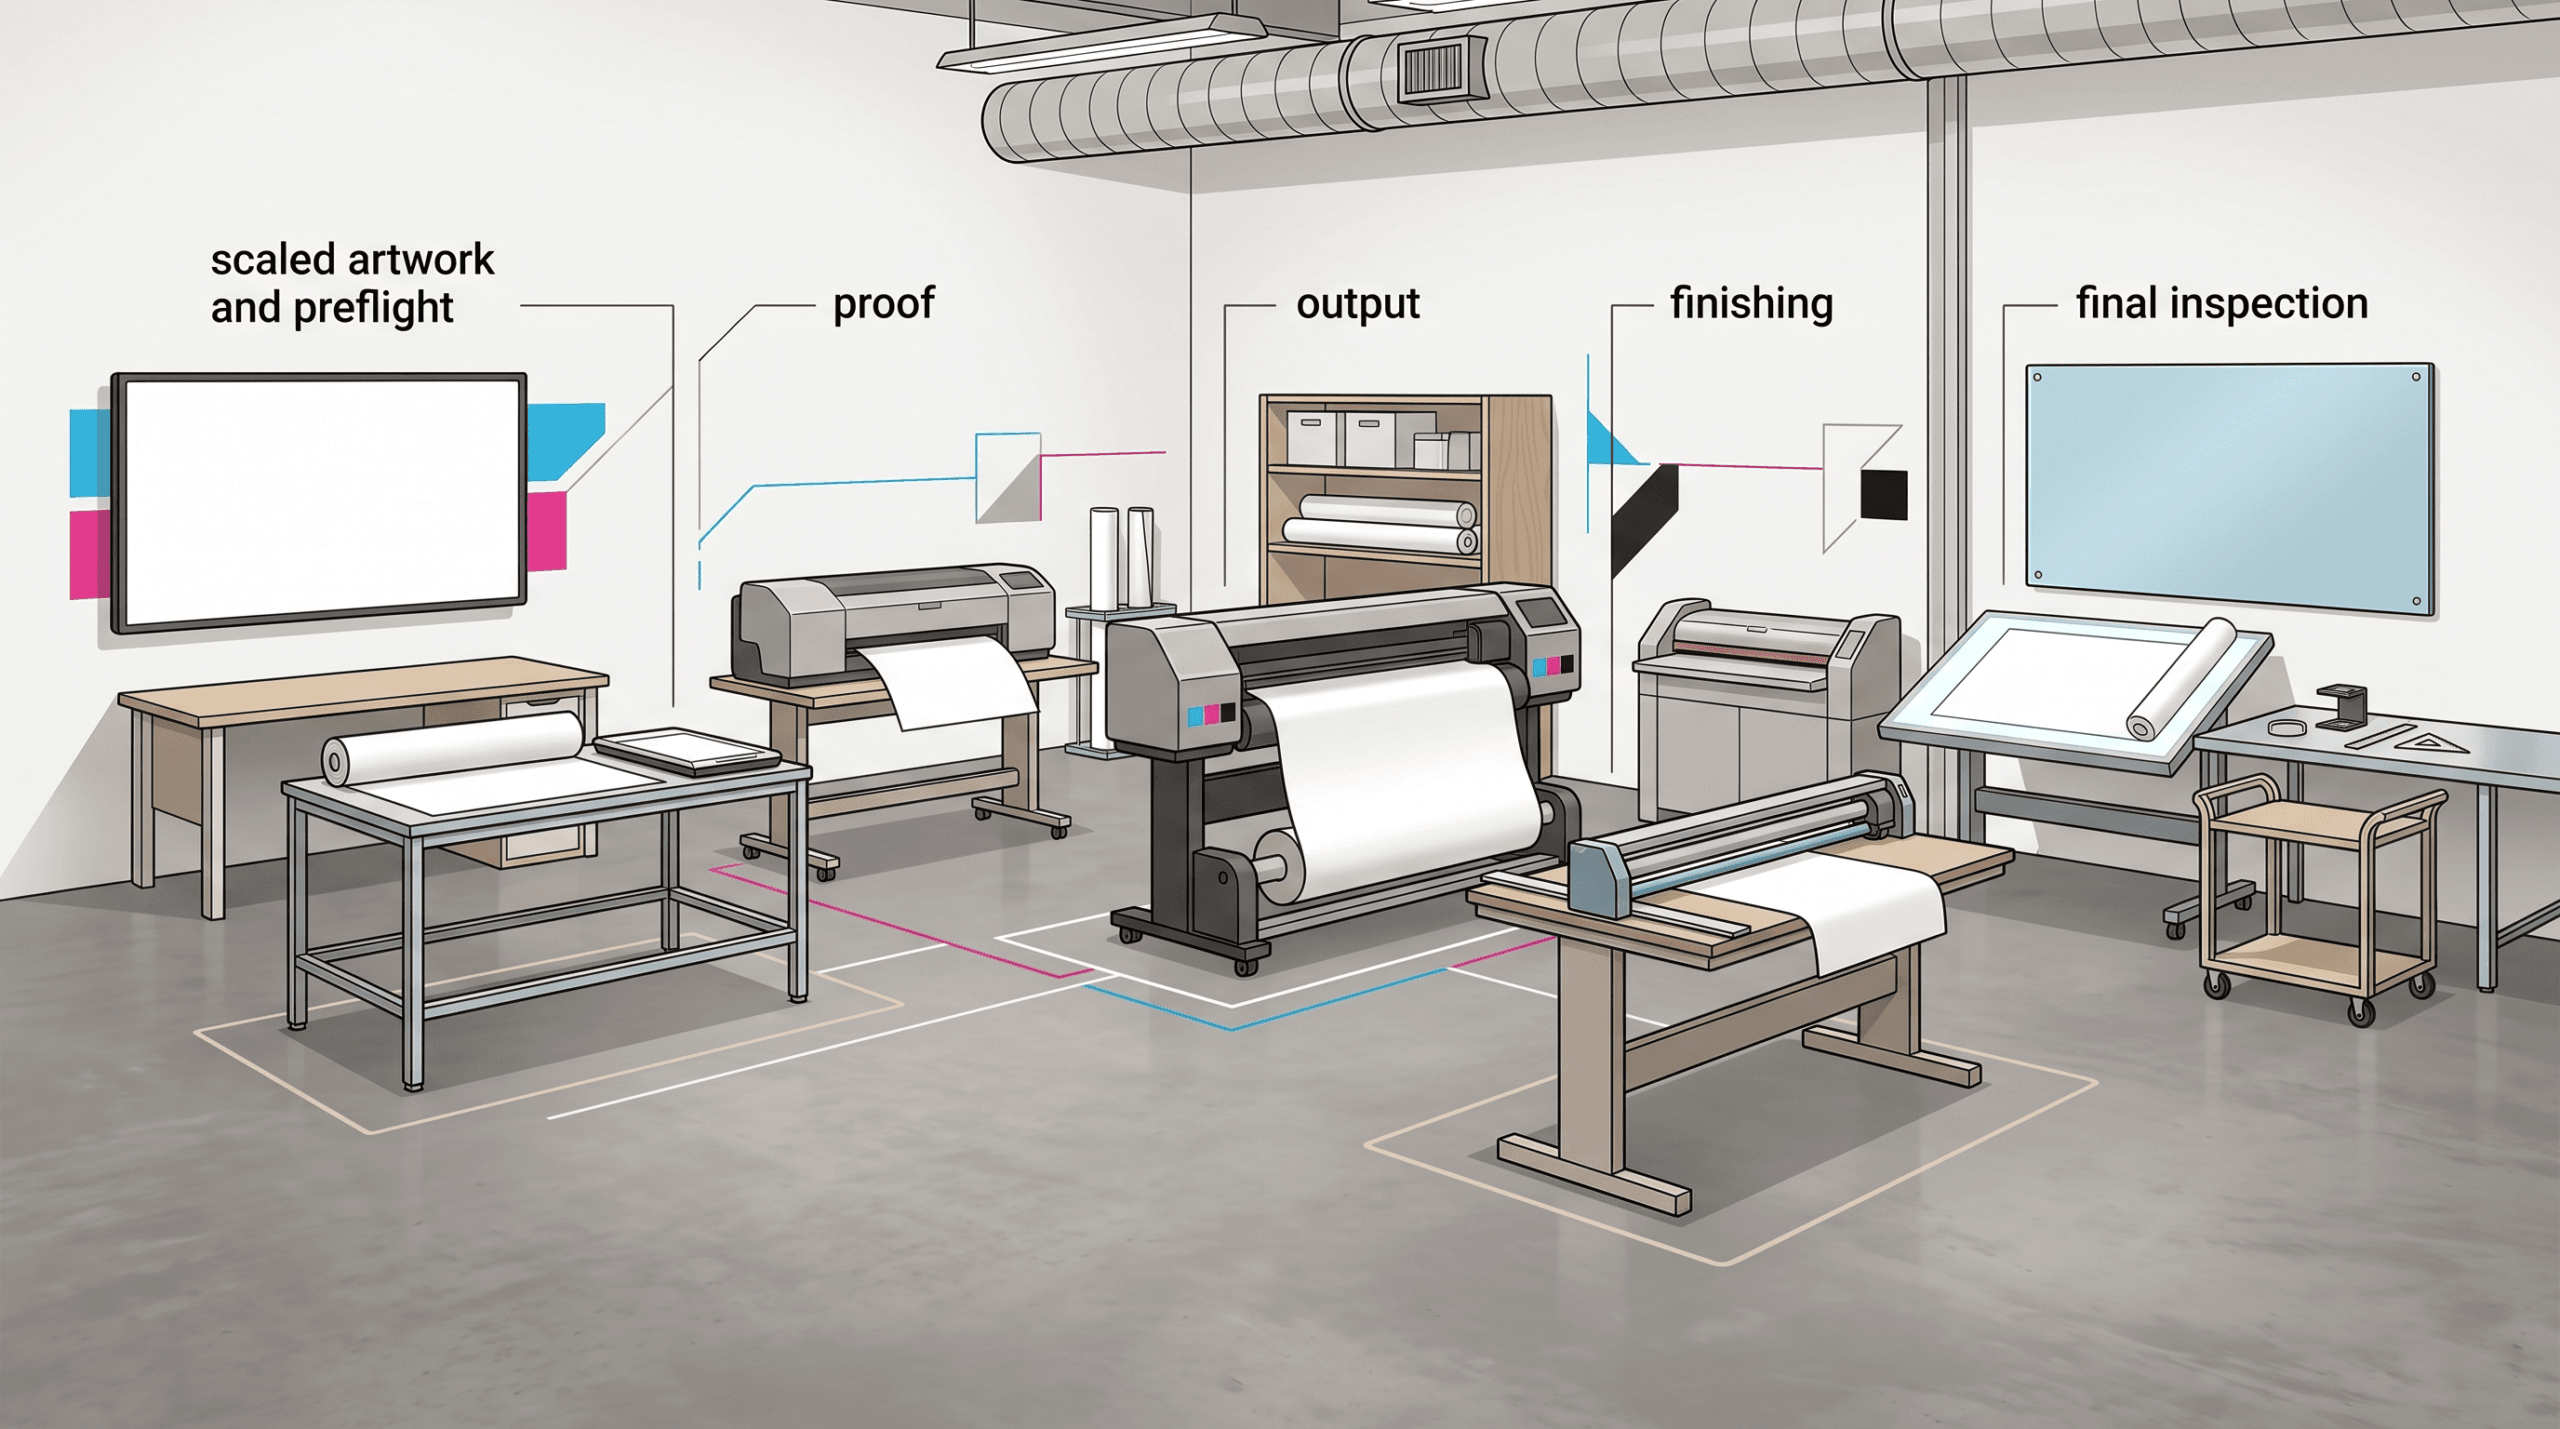
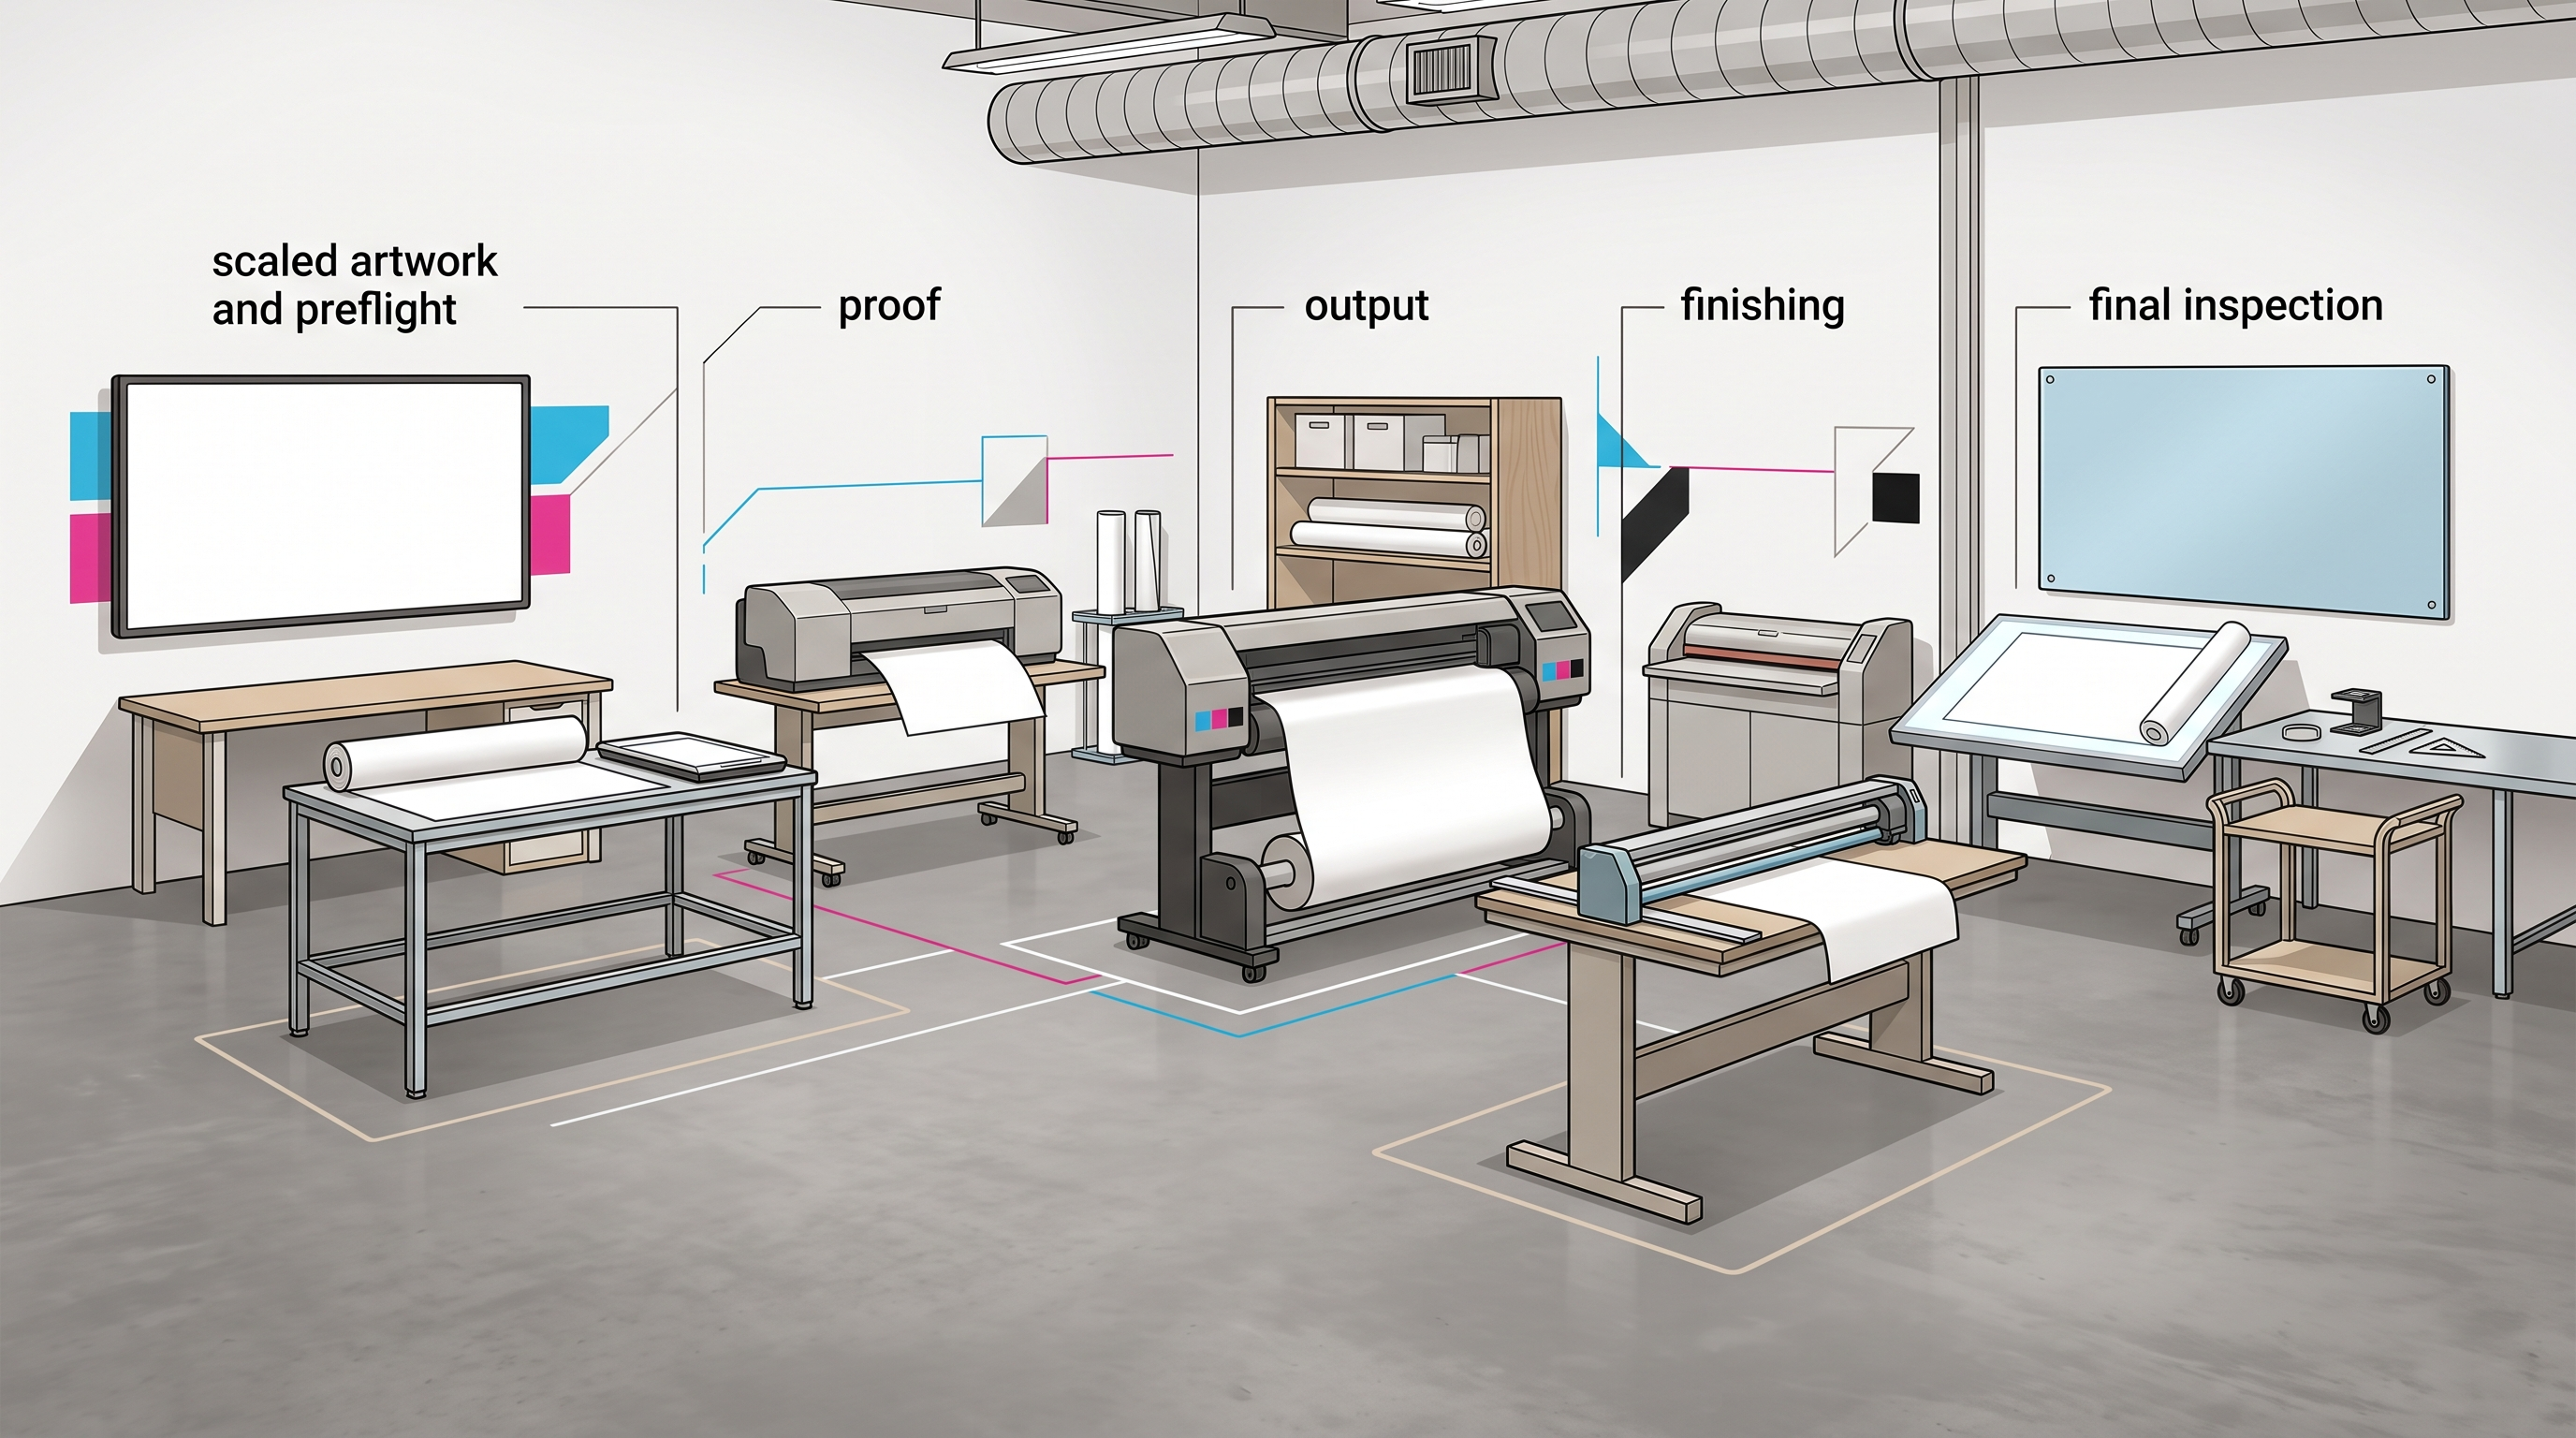
Short answer: large format digital printing converts a digital design into oversized output for a defined location and viewing distance. A buyer first sets the final size, use, environment and finishing needs. The provider then checks artwork scale, image detail, bleed, colour, fonts and cut information; supplies an approval method; produces the output; finishes it; and inspects the job. Every technical value should come from the actual provider and product specification.
The process starts with use, size and viewing distance
Large format is not one product or production standard. The same artwork may need different decisions when used as a close-viewed display, a window graphic, a directional sign, a wall panel, a banner or an outdoor installation. Before opening the design file, define where the piece will go, how long it is expected to remain, how people will view it and how it will be mounted.
Record the final visible size, not only the ordered sheet or roll size. Identify trim, folds, seams, pockets, hems, grommets, hardware, mounting zones and any part hidden by a frame. If several panels form one image, show panel sequence, overlap and alignment reference.
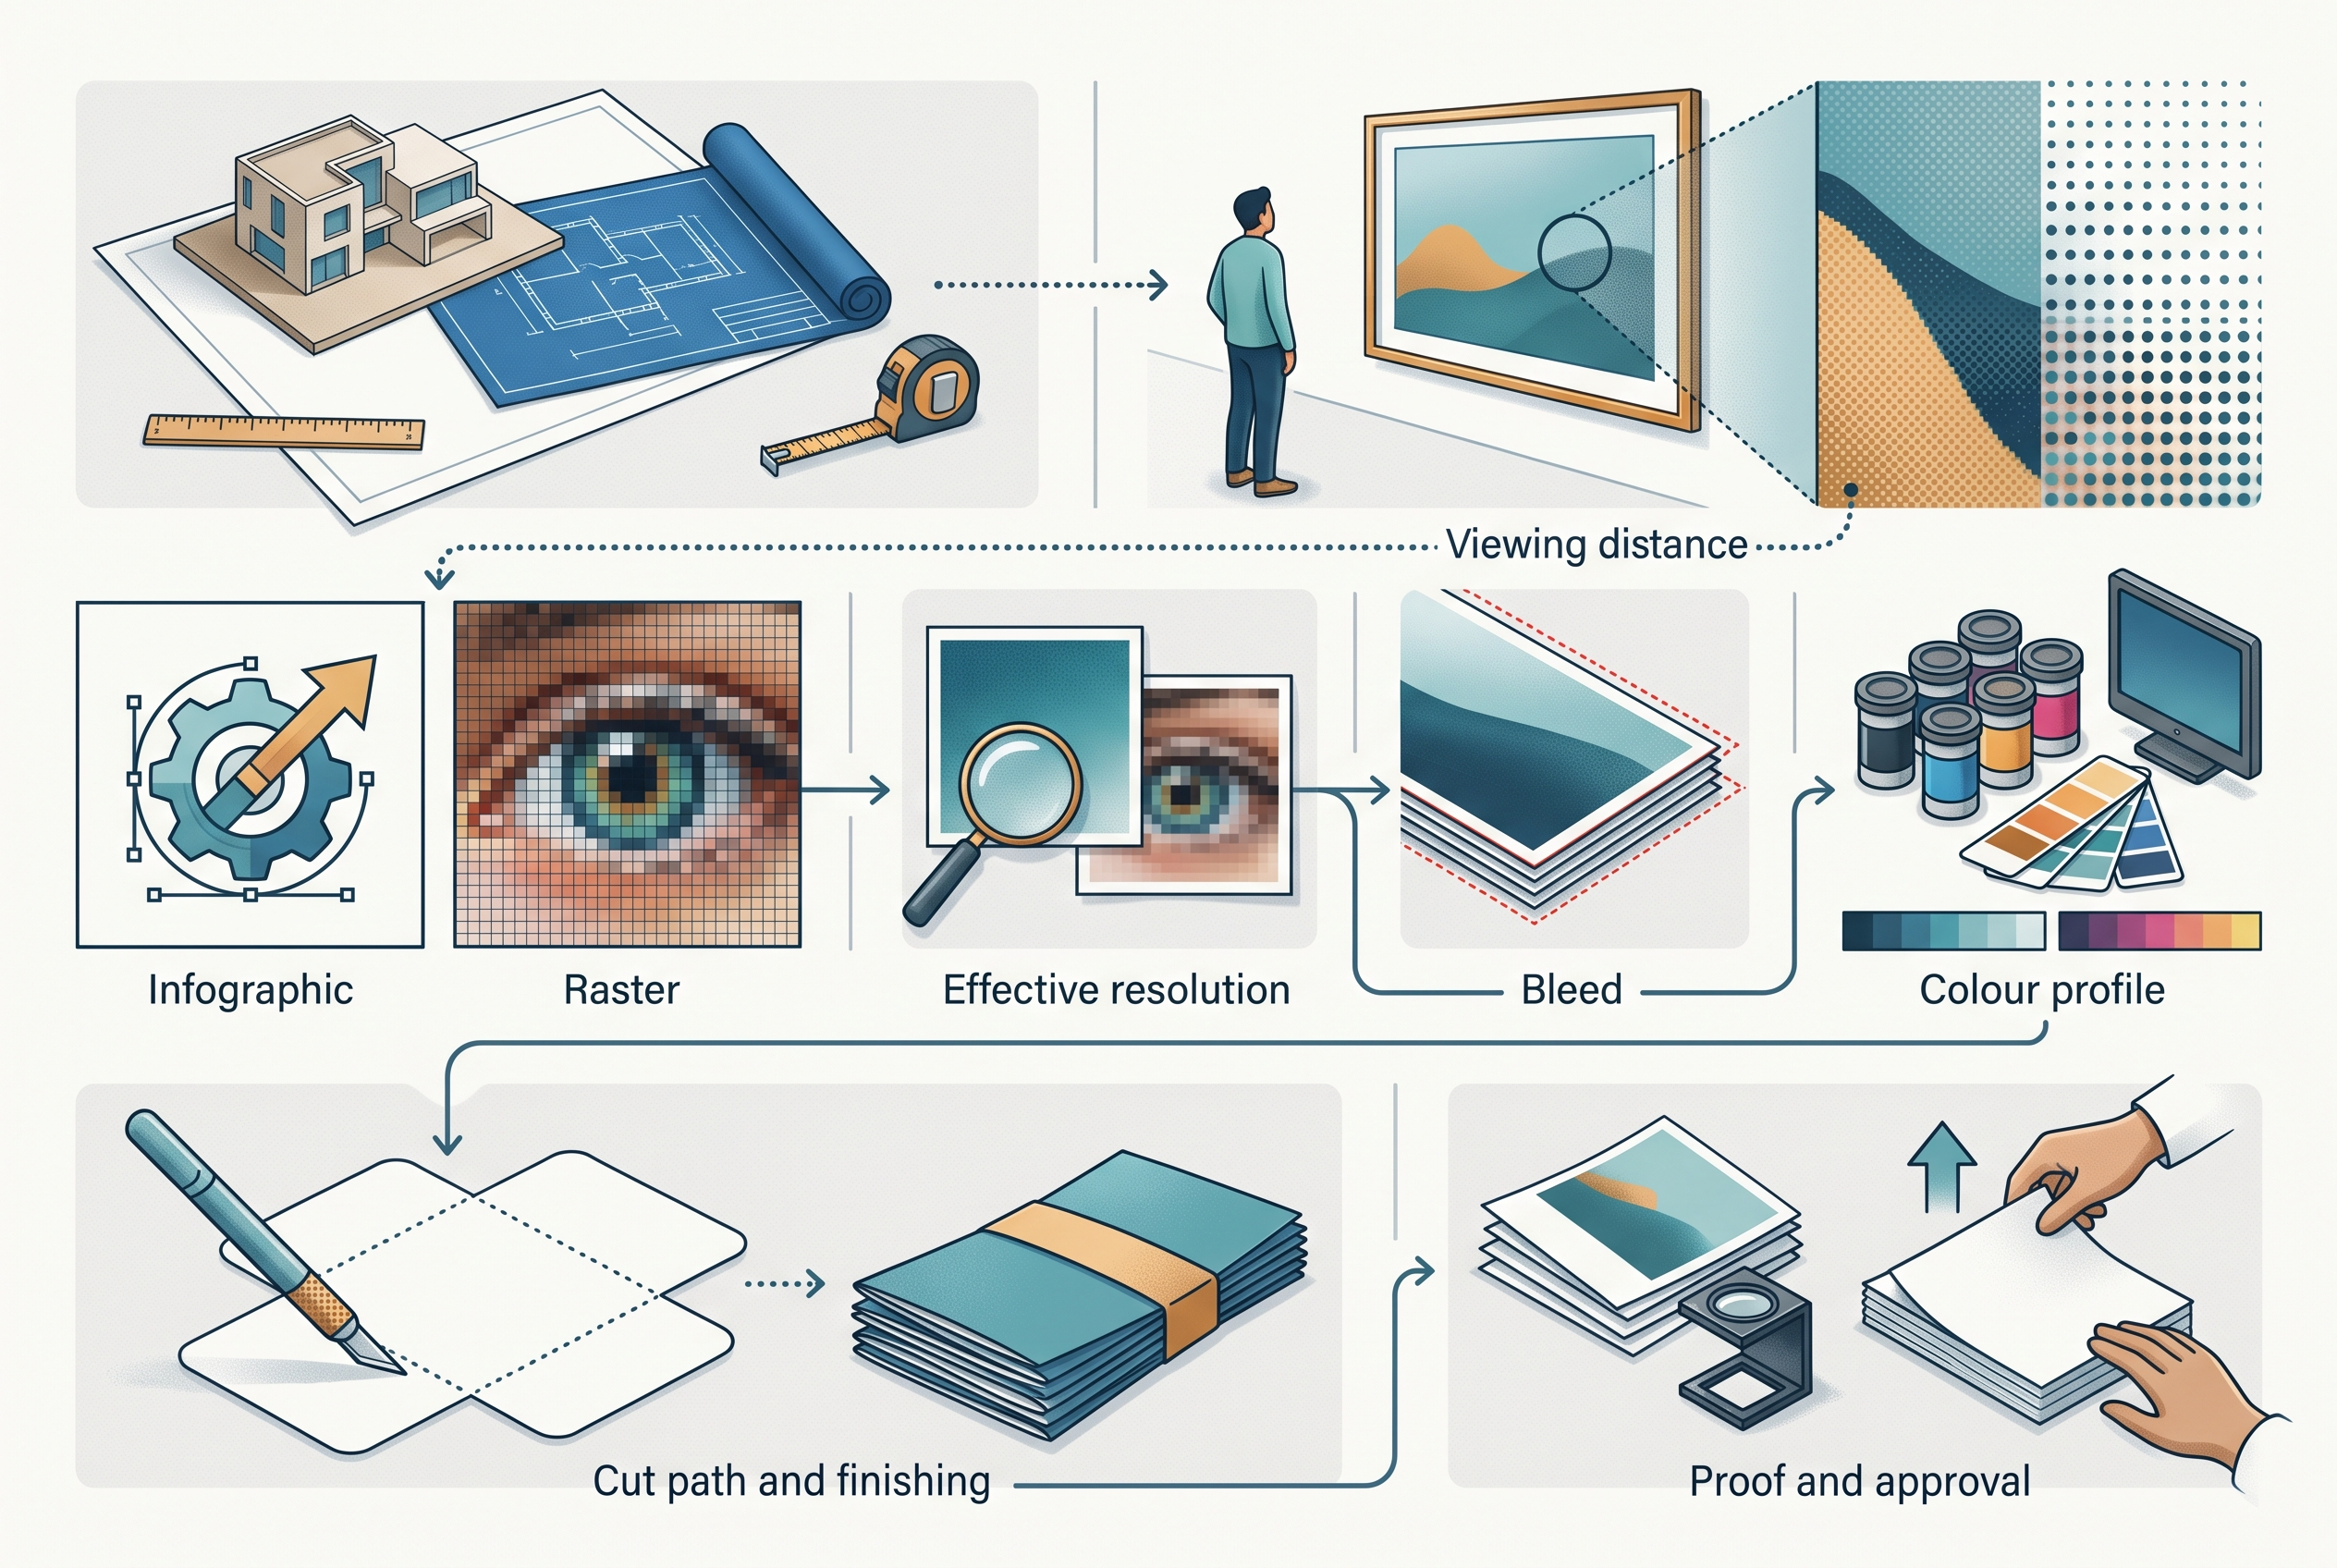
Viewing distance changes the design. A close-viewed panel may need finer detail than a sign seen from farther away, while distant communication needs larger type and simpler hierarchy. Do not choose image resolution from a universal internet table. Ask the print provider for the required effective resolution at final output size.
Top Realtor Sign & Print publishes a large-format digital printing services article. Use it to understand the site’s topic coverage, then request the exact current specification for the product being quoted. This explainer is deliberately about workflow and limitations rather than repeating that service page.
How a large-format file moves through preflight
Preflight checks whether the file can produce the approved result. It does not improve a low-quality source image, identify a missing legal permission or decide what the customer intended. The buyer and provider need a shared specification.
Final size and scale
Some design applications have page-size limits. A large piece may be created at an approved scale, such as a fraction of final size, but the scale must be written into the file name, job notes and proof. Stroke widths, effects, image resolution, cut paths and finishing marks must be evaluated at final size, not only on the scaled artboard.
Vector and raster content
Vector logos, type and simple shapes can usually scale without pixelation when preserved correctly. Photographs and other raster images have a finite number of pixels. Check the effective resolution after scaling and inspect the original for compression, blur, noise, sharpening halos and missing detail. Upsampling does not recreate information that was never captured.
Fonts, links and transparency
Missing fonts or links can change the file. Package native files only when requested, respect font licensing and provide the provider’s preferred print PDF. Inspect flattened effects, overprints, transparency and small text at the intended scale. Adobe’s current print-ready PDF guidance recommends checking links, fonts, preflight warnings, bleed and the print provider’s colour settings.
Bleed, trim and safe areas
Bleed extends artwork beyond the trim line so small cutting variation does not leave an unintended white edge. The correct amount depends on the product, size and finishing process. Adobe’s bleed guidance explains the principle and notes that oversized designs may require scaled export or tiling. Use the provider’s value, not Adobe’s interface default or a value from a different printer.
How colour management works and where it stops
A screen emits light; printed colour is viewed from ink or another imaging process on a physical surface under ambient light. The two can look different even when the file is prepared correctly. Material colour, texture, gloss, ink set, printer condition, lighting and surrounding colours all affect appearance.
Colour management uses profiles to describe device or printing conditions and transform colour more consistently. The International Color Consortium’s profile specification overview explains that ICC profiles connect colour encodings and that a suitable profile should be selected for the intended use. Do not choose a profile simply because it contains “CMYK”; ask the provider for the required working and output instructions.
If a brand colour is important, supply the approved colour reference and discuss how it will be evaluated. A named spot colour, screen value or prior print is a reference—not an automatic guarantee across different materials and processes. Ask whether a physical sample, contract proof or production test is appropriate.
Rich black, small black type, gradients, transparent shadows and saturated colours need workflow-specific handling. Avoid building a colour recipe from an unrelated press guide. The provider should identify total ink or colour limits, black construction and profile policy for the selected output.
A proof confirms defined things, not everything
“Proof approved” is ambiguous unless the proof type and responsibility are defined. A digital PDF proof can confirm copy, layout, page size, panel order, trim marks and basic content. It may not accurately simulate colour, texture, opacity, scale perception, finishing or installation.
A colour-managed hard proof can provide stronger colour guidance when produced to an agreed condition, but it may still use a different substrate or process. A production sample uses the intended material and output method for a smaller or representative section. It may be appropriate when colour, fine detail, white ink, opacity, contour cutting or finishing is critical.
| Approval method | Useful for | Do not assume |
|---|---|---|
| Digital PDF proof | Text, layout, scale notes, panel order and obvious content errors | Exact colour, texture or final-size appearance |
| Soft proof on a calibrated display | Profile-based colour preview within display limits | Every viewer or screen will match |
| Hard colour proof | Agreed colour reference under defined viewing conditions | Identical material, ink or finishing |
| Production sample | Selected material, process, detail or finishing evaluation | Every part of the full job is represented |
The approver should check spelling, contact information, legal marks, image permissions, quantities, dimensions, orientation, panel sequence, finishing notes and version number. Record the approved proof, date and approver. A screenshot in a message thread is not necessarily the production file.
What happens during output, finishing and inspection
After approval, the provider prepares the job for the selected output device and material. This can include nesting, tiling, panelization, colour processing, cut paths and production marks. Exact steps vary; the buyer should not infer a machine or method from the phrase “digital printing.”
Finishing turns output into a usable item. Depending on the product, it may involve trimming, contour cutting, mounting, laminating, sewing, hemming, pockets, grommets or hardware. These are categories to ask about, not capabilities attributed to Top Realtor Sign & Print. Each finish changes file, safe-area, durability, packing or installation decisions.
Inspection should match the approved specification. Check quantity, dimensions, version, visible damage, print defects, panel sequence, finishing and packaging. Colour should be evaluated using the agreed proof or reference and viewing condition, not an unrelated phone screen.
Plan delivery and installation before production. Confirm packaging size, access, lifting, wall or window preparation, permits, landlord approvals, surface compatibility and installer responsibility. Do not describe a material as fire-rated, weatherproof, removable or code-compliant without current documentation for the exact product and use.
A buyer specification worksheet
- Purpose: What action or information should the piece support?
- Location: Indoor or outdoor, surface, exposure, access and required approvals.
- Viewing: Typical distance, angle, lighting and time available to read.
- Size: Final visible size, panel count, orientation and scale.
- Product: Provider-confirmed material, thickness, opacity and intended use.
- Finishing: Trim, cut path, folds, seams, holes, hardware, mounting and installation.
- Artwork: File type, scale, effective resolution, fonts, links and transparency.
- Colour: Working space, output profile, brand references and proof requirement.
- Approval: Proof type, approver, version and deadline.
- Commercial: Quantity, taxes, production schedule, delivery, changes, damage process and warranty.
Send this worksheet with the request for quote. Ask the provider to return it with exceptions and assumptions. A written difference is easier to solve before artwork approval than after output.
Common large-format printing mistakes
- Designing before measuring the final location and viewing distance.
- Using the ordered sheet size as the visible finished size.
- Scaling a file without recalculating raster detail, strokes and effects.
- Sending low-quality web images and expecting upsampling to restore detail.
- Copying a generic bleed or resolution rule instead of using the provider’s specification.
- Embedding the wrong colour profile or omitting colour instructions.
- Expecting a phone or laptop screen to prove printed colour.
- Approving a PDF without checking version, dimensions, panel order and finishing.
- Placing text or logos inside holes, seams, folds, frames or trim risk areas.
- Assuming material suitability, durability, fire rating or removability from a category name.
- Leaving delivery, access and installation until after production.
- Changing artwork after approval without issuing a new controlled version.
Frequently asked questions
What counts as large format digital printing?
It generally describes digitally produced output larger than common sheet-print sizes, but there is no single buyer specification. Size, device, material and finishing depend on the provider and product.
What resolution should a large-format file use?
Use the provider’s required effective resolution at final size. Viewing distance, output process, content and scale matter, so one universal number can be misleading.
Will printed colour match my screen exactly?
Exact screen-to-print matching should not be assumed. Use the provider’s colour instructions and agree on an appropriate proof or production sample when colour is critical.
Can a PDF proof show the finished result?
It can confirm important layout and content details but may not show final colour, texture, opacity, size perception, finishing or installation. Define what the selected proof approves.
Request a product-specific print specification
Review Top Realtor Sign & Print’s printing and signage site, then use the quote route or contact page to submit the worksheet. Before preparing final art, request the live product, size, material, file, colour, bleed, proof, finishing, turnaround, delivery and warranty details in writing.